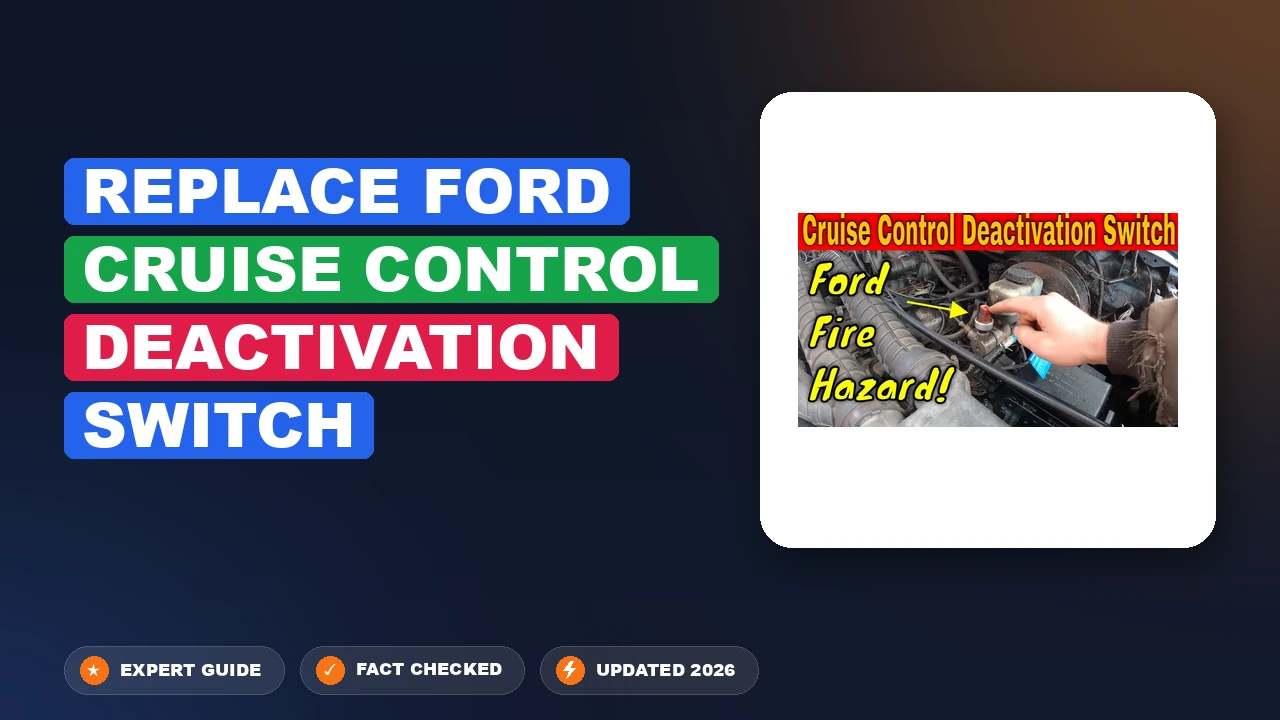
Replace Ford Cruise Control Deactivation Switch: A Pro Guide
Is your cruise control acting up, or worse, leaving you worried about a potential fire hazard under your hood? Many Ford owners experience cruise control failures linked to the brake master cylinder pressure switch. This guide provides an expert-led, step-by-step process to safely replace your Ford cruise control deactivation switch, including critical safety recall information and installation best practices.

Why Your Ford Cruise Control Deactivation Switch Fails
Recommended Best Deal Products


📤 Share Image
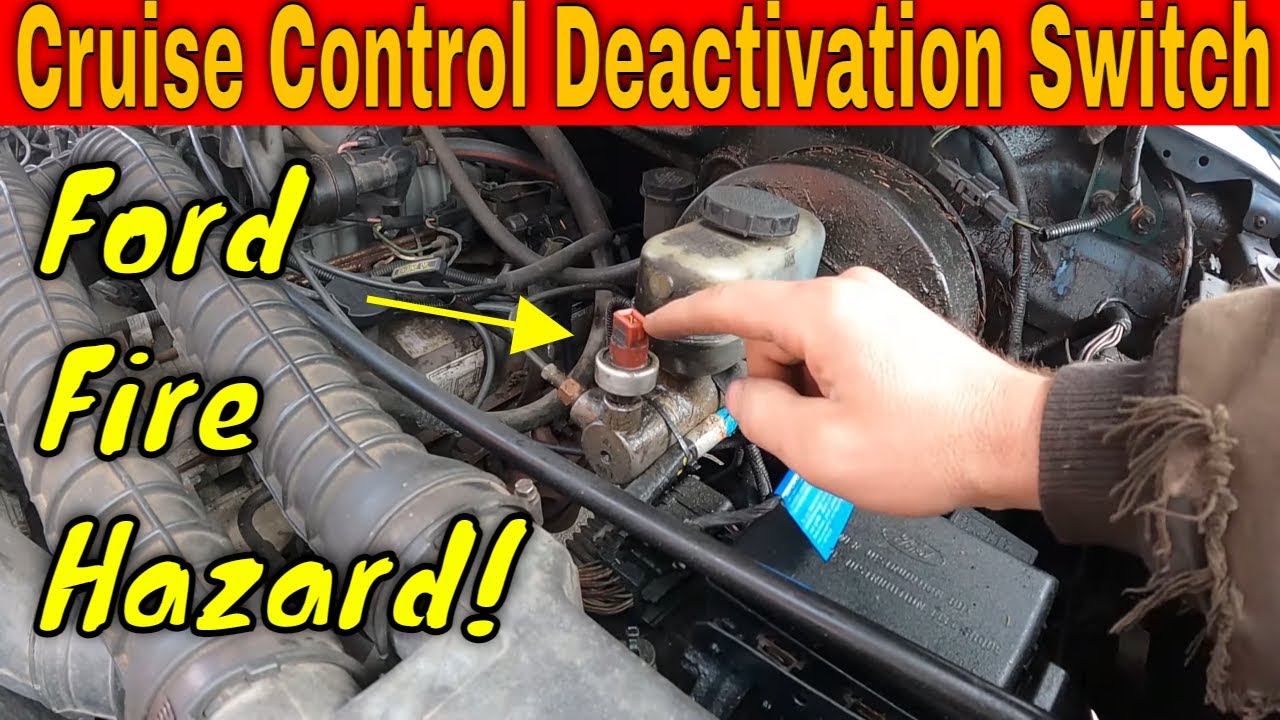
Understanding the mechanics of this component is essential for any Ford owner. The cruise control deactivation switch is not merely a sensor; it is a high-pressure safety device installed directly into the brake master cylinder. Its primary function is to monitor hydraulic pressure and provide an instantaneous electrical signal to the cruise control module to disengage the throttle system the moment the brake pedal is depressed.
The Role of the Normally Closed Circuit
The switch operates on a normally closed circuit. When you press the brake, hydraulic pressure increases, opening the internal contacts of the switch and signaling the module to drop the cruise control throttle. Because it operates under constant pressure, the internal diaphragm is subject to significant wear over time.
Identifying Signs of Internal Fluid Leaks
Internal failure often manifests as a slow leak of brake fluid through the internal diaphragm. This is a critical failure mode: fluid can track through the internal wiring harness, corroding the connection and potentially causing a short circuit. A common symptom is the cruise control failing to disengage, or the “Speed Control” light blinking on the dashboard even when the system is not actively in use.

Safety Risks: Why Failure Causes Cruise Control Issues
If the switch fails to open the circuit during a braking event, the cruise control system may stay engaged despite the pedal movement, leading to a dangerous loss of vehicle control. Furthermore, if brake fluid travels into the electrical connector, the risk of an engine compartment fire increases significantly. Distinguishing this switch from the brake light switch is vital; while the brake light switch is located at the pedal assembly, the deactivation switch is under the hood on the master cylinder.
Industry Data: Safety Implications
Safety-Critical Function
Link to Fire Risk
How to Replace Ford Cruise Control Deactivation Switch Safely
Performing this task requires attention to detail, especially when handling hydraulic components. You must ensure no debris enters the pressure sensing port during the transition.
Tools Required for a Professional Installation
- Flare nut wrench (typically 5/8″ or 16mm, depending on the model)
- High-quality shop rags for spill containment
- DOT-approved brake fluid for topping off
- Safety glasses and gloves
- Torque wrench (capable of low-range settings)
📋
Step-by-Step Guide
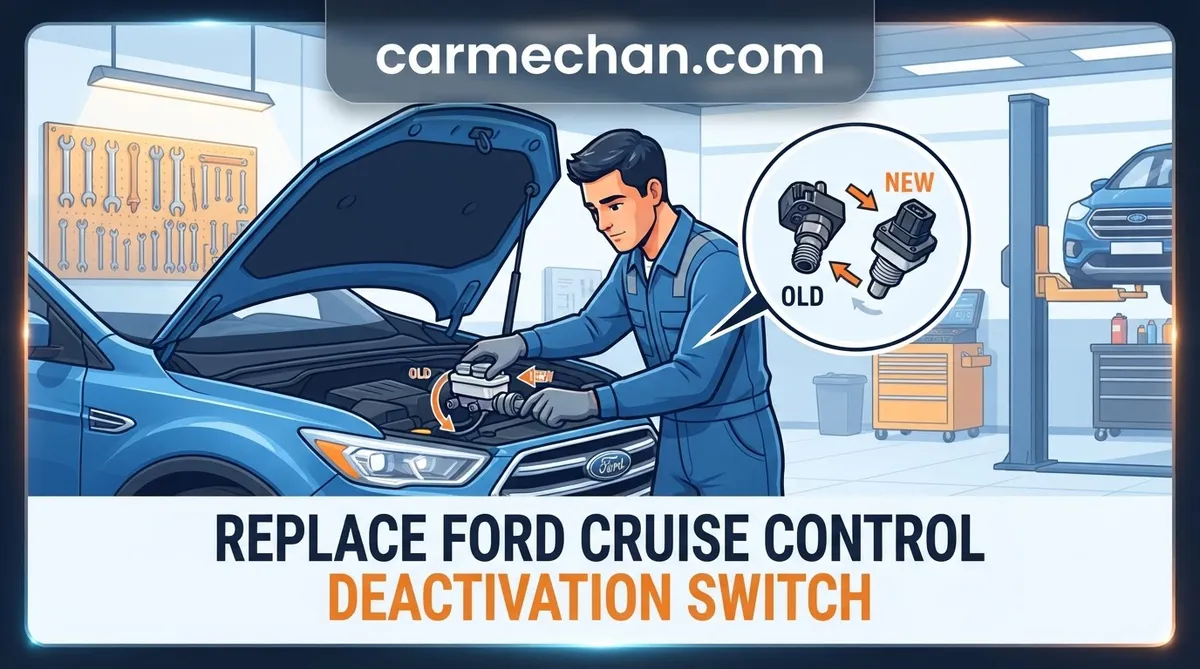
Locate the switch on the side of the master cylinder. Carefully release the locking tab on the electrical connector and pull it away. Inspect the pins for signs of fluid infiltration or corrosion.
Place shop rags beneath the switch to catch leaking fluid. Use the flare nut wrench to unscrew the old switch. Work quickly but steadily to minimize fluid loss from the port.
Thread the new switch by hand to avoid cross-threading. Tighten to the manufacturer’s specified torque—typically very light—to prevent cracking the master cylinder housing. Reconnect the harness and top off the reservoir.

Audible — Listen Free for 30 Days
One free credit a month and thousands of titles included.
Listen Free for 30 DaysProper Torque Specs to Protect the Master Cylinder
The master cylinder is often constructed of aluminum or a brittle alloy. Over-tightening the switch is a common professional error that leads to hairline cracks in the housing. Always refer to your service manual for exact torque values, as “snug” is rarely sufficient, but “tight” can be catastrophic.
Critical Safety Updates and Fused Jumper Harness Installation
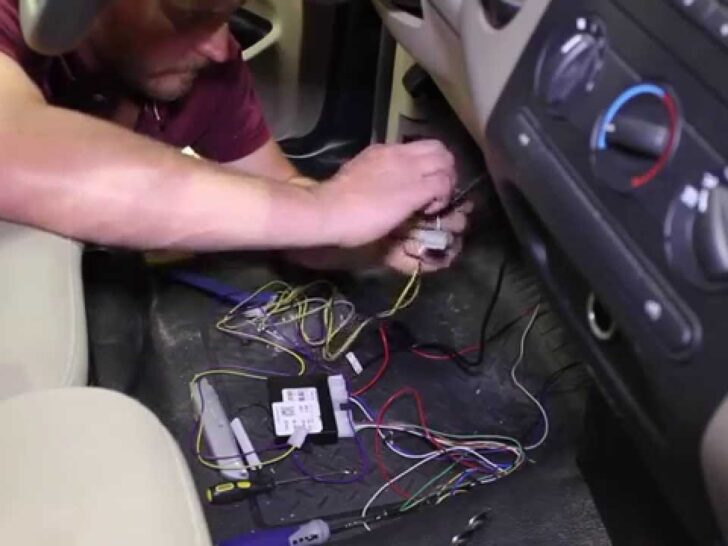
Many older Ford models were subject to safety recalls regarding this specific switch design. A primary part of the recall resolution involves the installation of a fused jumper harness between the main wiring and the switch.
Do You Need a Fused Jumper Harness?
The fused jumper acts as an electrical circuit breaker. If the switch develops an internal leak and shorts out, the fuse blows, preventing the electricity from continuing to heat the fluid and risking a fire. This is a non-negotiable safety requirement for affected vehicles.
Verifying Safety Recall Notices via VIN
- Visit the NHTSA recall website and input your 17-digit VIN.
- Check if the recall for the “Cruise Control Deactivation Switch” is marked as “Incomplete.”
- If a recall is open, contact your local dealership; these repairs are often performed free of charge.
- Always source high-quality OEM or certified aftermarket switches that are compatible with the jumper harness.
If you find the electrical connector is damaged, do not simply try to clean it. If the pins show melting or discoloration, the entire connector shell must be replaced to ensure a reliable, safe connection.
Troubleshooting When the Deactivation Switch Fails to Fix the Issue
If you have successfully performed the replacement but the cruise control remains unresponsive, you must look deeper into the system’s electrical and hydraulic health.
Bleeding the Brake System After Switch Replacement
If significant fluid escaped during the switch replacement, there is a possibility that air has entered the port. Air is compressible, which can prevent the switch from detecting the pressure change accurately. Ensure the area is properly bled if you notice a “spongy” feel or if the cruise system remains inconsistent.
Testing for Correct Electrical Resistance
Using a multimeter is the only way to verify the functionality of a new switch. Check for continuity in the closed state and an open circuit when pressure is applied. If you installed a generic, low-quality replacement, it may not meet the specific electrical resistance requirements established by the cruise control module, leading to system faults.
✅ Why Choose Quality
- Ensures consistent signal timing
- Matches exact factory resistance values
- Longer diaphragm lifespan
- Compatible with fused harnesses
❌ Pitfalls to Avoid
- Over-tightening housing cracks
- Ignoring corroded harness pins
- Using non-DOT brake fluid
- Skipping system bleeding
By following these professional guidelines, you ensure that your vehicle remains not only functional but safe. Replacing the Ford cruise control deactivation switch is a straightforward task if you respect the importance of torque specifications, the need for electrical integrity, and the critical nature of the safety-related recall components. Always prioritize the use of high-quality, trusted parts, and verify that your VIN is clear of any open recall requirements before hitting the road. Should you encounter persistent issues after a quality replacement, consult a certified technician to inspect the cruise control module for potential internal faults.
Replace Ford Cruise Control Deactivation Switch: Frequently Asked Questions
Why does my cruise control not engage?
If your cruise control refuses to engage, it is often due to a blown fuse caused by a shorted deactivation switch, a faulty brake pedal position sensor, or a failed clock spring. A professional diagnosis starts by checking the deactivation switch for signs of fluid leakage, which is a common failure point that breaks the cruise control circuit.
Audible Premium Plus — Annual Membership
12 audiobook credits up front, plus the full Audible catalogue.
See Annual PlansIs my cruise control switch a fire hazard?
Yes. On many Ford vehicles, the cruise control deactivation switch has been linked to fire hazards. If the internal diaphragm fails, brake fluid can leak into the switch’s electrical housing, causing a short circuit. This can lead to overheating, smoking, or fire, even when the engine is turned off. If your switch is leaking, it should be replaced immediately.
Do I need to bleed the brakes after replacing the switch?
Generally, you do not need to perform a full system brake bleed if you act quickly. If you remove the old switch and install the new one promptly, the amount of fluid lost is negligible. However, you should check your brake fluid reservoir level after the repair to ensure it remains at the ‘Max’ mark and top it off if necessary.
Where is the cruise control deactivation switch located?
The cruise control deactivation switch is typically located on the master cylinder, which is found in the engine bay on the driver’s side. It is usually screwed into the side or bottom of the master cylinder body. It is easily identified by a two-wire electrical connector that pulls off once the retaining clip or release tab is depressed.
Why is there brake fluid in my electrical connector?
Finding brake fluid in your electrical connector is a clear indication that the internal seal (diaphragm) inside the switch has failed. The switch is designed to keep hydraulic fluid separate from the electrical components. Once this seal is breached, high-pressure brake fluid is forced into the connector, which is what causes the electrical shorts and potential safety hazards mentioned in safety recalls.