How To Paint Plastic Car Parts Paint Plastic Car Parts 2026
Last Updated on September 1, 2026 by Albert Duke
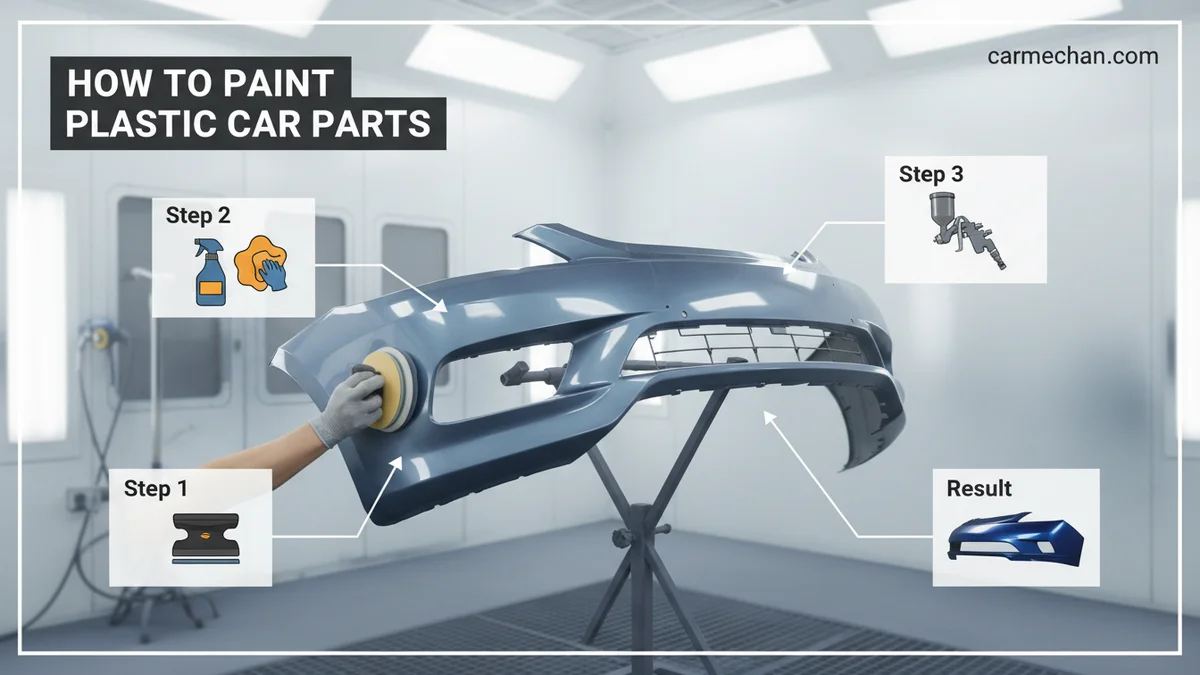
Painting plastic car parts requires a specific approach different from metal. The key involves thorough cleaning, correct sanding, applying an adhesion promoter, flexible primer, compatible paint, and a clear coat, ensuring each layer cures properly for a durable finish.
We detail the process from preparation to protection, helping you achieve professional-looking results yourself.
Painting plastic car parts successfully involves a precise sequence of steps, distinct from painting metal, to ensure proper adhesion and a durable finish. We’re guiding you through this intricate process, providing the knowledge required for a lasting, professional-looking outcome. Our approach recognizes the unique challenges plastic surfaces present, from their inherent flexibility to their resistance to standard paints.
We focus on specialized products and techniques that make painting plastic car parts achievable for any DIY enthusiast by 2026.
The key involves thorough cleaning, correct sanding, applying an adhesion promoter, flexible primer, compatible paint, and a clear coat, ensuring each layer cures properly for a durable finish. We detail the process from preparation to protection, helping you achieve professional-looking results yourself. To truly understand why plastic requires this special attention, we first need to explore its unique characteristics.
Key Takeaways


- Plastic needs specific adhesion promoters.
- Thorough cleaning prevents paint defects.
- Flexible primers are essential for plastic.
- Apply thin, even paint layers.
- Proper curing ensures paint durability.
3 Crucial Differences Painting Plastic Car Parts


Painting plastic components on your car presents unique challenges compared to metal surfaces, primarily due to three key differences. Understanding these distinctions is fundamental to achieving a successful and durable paint job.

Flexibility Challenges
Plastic car parts, especially bumpers and trim, are designed to flex. This inherent flexibility can cause standard, rigid paints to crack, chip, or peel prematurely. Successful painting requires specialized paints and primers that retain flexibility even after curing, moving with the plastic rather than resisting it.
Common automotive plastics like polypropylene (PP), acrylonitrile butadiene styrene (ABS), and thermoplastic olefins (TPO) each exhibit varying degrees of flexibility. . Choosing the right paint system, often containing flex additives, is paramount.
Adhesion Issues
Plastic surfaces are notoriously difficult for paint to adhere to naturally. Their smooth, non-porous nature and chemical composition often repel conventional primers and paints, leading to poor adhesion and eventual flaking. This is why a critical step in painting plastic car parts involves promoting proper paint adhesion.
An adhesion promoter specifically formulated for plastic creates a chemical bond between the plastic surface and subsequent primer layers. Without this specialized product, even the best automotive paint will struggle to maintain its grip, compromising the entire project’s durability.
Surface Preparation Needs
Preparing plastic surfaces demands a meticulous approach distinct from metal. Contaminants like mold release agents, oils, and waxes embedded in the plastic can cause immediate paint defects if not thoroughly removed. Improper sanding techniques can also damage the plastic, creating swirl marks or reducing adhesion. We must consider how best to clean, abrade, and etch the surface.
Specialized plastic cleaners and specific grit sandpaper ensure the surface is perfectly clean and has the optimal profile for adhesion without causing damage. This careful preparation prevents issues such as fish eyes or delamination down the road. Understanding these differences helps us select the right tools and materials for the job.
What Specific Tools Do You Need


Before starting any painting project, gathering the correct specific tools and materials is crucial for success. Having everything at hand ensures a smooth, efficient, and professional-grade painting experience.
Essential Cleaning
Thorough cleaning is the first defense against paint defects. You will need a dedicated automotive degreaser to remove oils and waxes. Use lint-free cloths to wipe down the surface after cleaning, preventing fibers from sticking. An isopropyl alcohol solution can also be used for a final wipe, ensuring a perfectly clean surface.
Adhesion Products
The cornerstone of painting plastic is a high-quality plastic adhesion promoter. This product is non-negotiable for ensuring your primer and paint bond securely. Look for aerosol or spray gun compatible versions depending on your application method, which are readily available from automotive paint suppliers.
Primer Options
Select a flexible primer specifically designed for automotive plastic parts. These primers are typically formulated to flex with the plastic, preventing cracking. Many flexible primers are available in aerosol cans for smaller jobs or larger quantities for spray guns. This ensures a consistent base for your paint layers.
Paint Selection
Choose an automotive-grade paint that is compatible with flexible plastic primers and intended for exterior use. Urethane paints are highly recommended for their durability and flexibility on car parts. Ensure your chosen color is matched precisely if painting adjacent panels, and consider using a paint designed to be flexible with plastic.
Clear Coat Types
A good quality clear coat provides protection and enhances the finish. Opt for a 2K (two-part) clear coat for maximum durability and UV resistance on plastic car parts. These clear coats offer superior gloss retention and scratch resistance compared to single-stage clear coats. Many reputable brands offer excellent 2K clear coat options.
Personal Safety
Protecting yourself from paint fumes and particulates is critical. We recommend a proper respirator with organic vapor cartridges, along with safety glasses or goggles. Chemical-resistant gloves will protect your hands from paint and solvents. Always work in a well-ventilated area, adhering to recommended safety guidelines for painting processes.
With all your supplies ready, the next critical step is preparing the plastic surface itself.
How to Prepare Plastic Surfaces in 4 Steps
Proper surface preparation is arguably the most vital stage when painting plastic, and we break it down into four essential steps. Skipping or rushing any of these stages will likely compromise the final paint job’s adhesion and longevity.
Initial Cleaning
Begin by thoroughly washing the plastic part with warm water and soap to remove loose dirt and grime. Follow this with an automotive degreaser and a clean, lint-free cloth, wiping down the entire surface multiple times. Pay close attention to crevices and textured areas where contaminants might hide, ensuring a pristine surface.
A final wipe with isopropyl alcohol removes any residual cleaners or oils.
Strategic Sanding
Lightly sand the entire plastic surface to create a mechanical bond for the adhesion promoter and primer. Start with 320-grit sandpaper for initial scuffing, then progress to 400-grit for a smoother profile. For final preparation, wet sand with 600-800 grit sandpaper to achieve a perfectly smooth, uniform texture without deep scratches.
. This process removes surface imperfections and promotes mechanical bonding.
Adhesion Boosting
After sanding and cleaning the dust, apply a plastic adhesion promoter in several light, even coats. Follow the manufacturer’s instructions for flash times between coats, which are typically 5-10 minutes. The promoter creates a bonding layer that helps the primer and paint adhere firmly to the otherwise slick plastic surface.
Do not apply too heavily, as this can lead to adhesion issues.
Precise Masking
Mask off any areas of the car part or surrounding vehicle that you do not want painted. Use high-quality automotive masking tape and paper or plastic sheeting. Ensure all edges are tightly sealed to prevent overspray from creeping under the tape. Take your time with this step; neat masking contributes significantly to a professional finish and protects surrounding surfaces.
Once your plastic surface is perfectly prepped, we move onto the exciting part: applying the paint layers with precision.
How to Apply Paint Layers Flawlessly
Applying the primer, base coat, and clear coat correctly is crucial for achieving a durable and professional-looking finish on your plastic car parts. Each layer plays a specific role in the overall quality and resilience of the paint job.
Primer Application
Apply 2-3 thin, even coats of flexible plastic primer. Maintain a consistent distance from the surface, typically 6-8 inches, and use steady, overlapping passes. Allow adequate flash time between each coat, usually 10-15 minutes, as specified by the product manufacturer. The primer layer provides a uniform color base and further enhances adhesion, ensuring a smooth foundation for the base coat.
After the primer has fully dried according to its technical data sheet, you can very lightly wet sand with 800-1000 grit sandpaper if any imperfections are present. This step ensures an ultra-smooth surface for the base coat. Remember to clean thoroughly before proceeding.
Base Coat Sprays
Spray 2-3 thin, even coats of your chosen automotive base coat. Hold the spray gun or aerosol can at a consistent distance, typically 6-8 inches, and move in smooth, overlapping strokes. The goal is to achieve full coverage without applying the paint too heavily, which can lead to runs or uneven color.
Allow each coat to flash off for 10-15 minutes until it appears dull before applying the next. .
Consistency is key during base coat application. Aim for uniform color across the entire surface. If you are blending color into an existing panel, feather the edges carefully. Avoid touching the surface once the base coat is applied to prevent contamination before the clear coat.
Clear Coat Finishes
Once the base coat has adequately flashed off (check product instructions), apply 2-3 medium-wet coats of 2K clear coat. The first coat should be a lighter “tack coat” to provide a gripping surface, followed by two slightly wetter coats to build depth and gloss. Maintain a consistent spray distance and overlapping pattern, ensuring even coverage.
The clear coat is responsible for the paint’s gloss, depth, and protection against UV rays and environmental damage. Aim for a smooth, wet appearance without causing runs. Allow each clear coat to flash off for 10-20 minutes before applying the next. After the final coat, let the clear coat cure according to the manufacturer’s specifications.
This is crucial for its hardness and durability.
After applying all layers, the job isn’t quite done; proper curing and finishing techniques are essential for longevity and a perfect shine.
When to Cure and Buff New Paint
Understanding the correct curing times and finishing processes is vital to ensure the new paint on your plastic car parts achieves maximum durability and a flawless appearance. Patience during these final stages will greatly impact the paint’s lifespan and look.
Drying Timelines
Newly painted plastic car parts need specific time to dry and cure properly. The paint will be dry to the touch within a few hours, but it takes significantly longer to fully cure and reach its maximum hardness. Surface dry times for common automotive clear coats are usually 24-48 hours.
However, full chemical curing can take anywhere from 7 to 30 days, depending on temperature, humidity, and the specific paint system used.
During this full curing period, avoid washing the painted part with harsh chemicals or subjecting it to excessive stress. We recommend keeping the part away from extreme temperatures and direct sunlight immediately after painting. Rushing the curing process can lead to paint softening, premature chipping, or dulling of the finish.
Wet Sanding Steps
Once the clear coat has fully cured, you can address minor imperfections like dust nibs or light orange peel through wet sanding. Start with 2000-grit sandpaper, using plenty of water and a sanding block for even pressure. Work in small sections, gently sanding until the imperfection is removed and the surface looks uniformly dull.
.
Progress to finer grits, such as 2500-grit and then 3000-grit, to remove the sanding marks from the previous step. The goal is to create an increasingly smooth surface, ready for polishing. Always ensure the surface remains wet during the entire wet sanding process to prevent scratching and reduce friction.
Polishing for Shine
After wet sanding, the surface will appear dull. This is normal and prepares it for polishing to restore gloss. Use an automotive polishing compound with a dual-action or rotary polisher, starting with a coarser compound if needed, then moving to a finer polish. Apply a small amount of compound to a foam pad and work a small section at a time, ensuring even coverage.
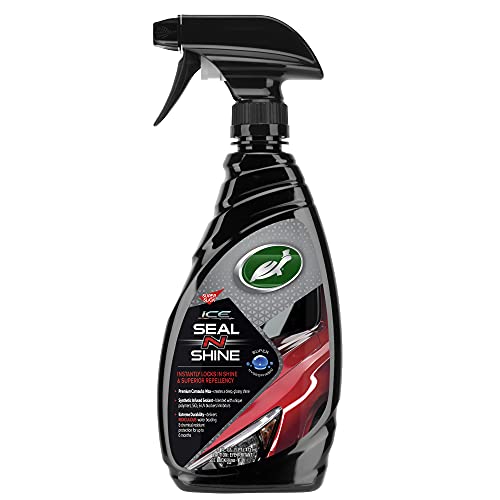
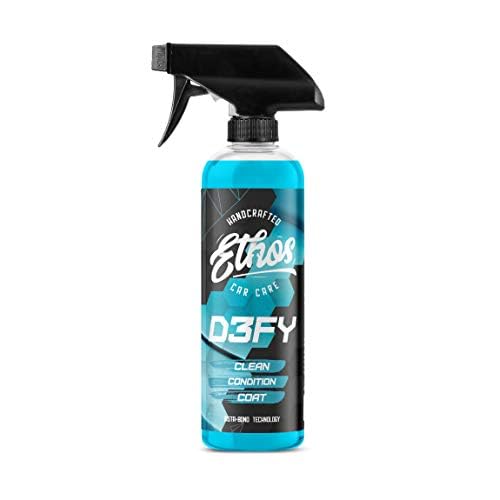
The polishing process removes the microscopic sanding marks and brings out the paint’s deep gloss. Follow with a swirl remover or finishing polish to eliminate any haze or holograms. Finally, apply a high-quality wax or sealant to protect your newly painted plastic car parts. This enhances durability and maintains the pristine finish for longer.
Even with meticulous care, problems can sometimes arise, so knowing how to troubleshoot them can save your project.
5 Common Problems When Painting Plastic
Even experienced DIYers can encounter common issues when painting plastic, but knowing how to identify and fix them is key. Understanding the root cause helps prevent future occurrences and ensures a higher quality finish.
Unsightful Fish Eyes
Fish eyes appear as small, crater-like circular depressions in the paint, often caused by surface contamination. Silicone, wax, or oil residue on the plastic repels the paint, preventing it from flowing smoothly. Ensure meticulous cleaning with a dedicated degreaser and an adhesion promoter for plastic. Re-clean and sand the affected area before repainting.
Orange Peel Texture
Orange peel describes a paint surface that resembles the texture of an orange peel, lacking smoothness and gloss. This usually happens when paint is applied too dry, from improper spray gun settings, or applying coats too thickly. Adjust your spray gun pressure, reduce paint viscosity if necessary, and ensure each coat is applied wet enough to flow out smoothly.
Wet sanding and polishing can correct minor orange peel after the paint has fully cured.
Paint Sagging
Paint sagging or running occurs when too much paint is applied in one area, or the coats are too wet. Gravity pulls the excess paint downwards, creating drips. To prevent sagging, apply thin, even coats, allowing sufficient flash time between each layer. Maintain a consistent spray distance and don’t linger in one spot.
For existing sags, let the paint cure, then carefully sand down the run and repaint the area.
Premature Peeling
Peeling paint on plastic car parts is almost always a sign of poor adhesion. This typically results from inadequate surface preparation, such as not properly cleaning, sanding, or failing to use a plastic adhesion promoter. The paint never truly bonded to the plastic. To fix, strip the peeling paint entirely, meticulously re-prepare the surface following all adhesion steps, and then repaint.
Dull Finish
A dull finish or lack of gloss can occur if the clear coat is applied too thin, if there’s insufficient polishing, or if the paint cures improperly. Sometimes, using an incompatible clear coat or improper mixing ratios can also contribute. Ensure you apply the recommended number of clear coats, allow proper curing, and follow with thorough wet sanding and polishing steps to achieve maximum shine.
Using a high-quality 2K clear coat is essential for a lasting, glossy finish.
How Can You Achieve Flawless Results When Painting Plastic Car Parts
Painting plastic car parts effectively in 2026 demands a precise, multi-step approach that prioritizes adhesion and flexibility over traditional metal painting methods. We’ve outlined the critical differences, essential tools, and detailed application techniques, from meticulous surface preparation to the final buffing. By following these practical, expert-backed steps, you gain the confidence to transform your car’s plastic components with a durable, factory-like finish.
patience and adherence to product specifications are your greatest allies for an outstanding result. Embracing these methods allows you to successfully paint plastic car parts, enhancing your vehicle’s aesthetic and longevity.
Frequently Asked Questions About Painting Plastic Car Parts
Do You Need Special Paint for Plastic Car Parts?
Yes, you absolutely need special paint for plastic car parts. Standard paints can crack and peel due to plastic’s flexibility. Look for automotive paints and primers specifically designed with flex agents and always use a dedicated plastic adhesion promoter for proper bonding.
Why Is My Paint Peeling Off Plastic?
Paint typically peels off plastic due to poor adhesion, often caused by inadequate surface preparation. This includes not thoroughly cleaning the plastic, failing to scuff it properly, or skipping the crucial step of applying a plastic adhesion promoter before priming and painting.
Can You Spray Paint Plastic Car Parts?
You can spray paint plastic car parts, but not with just any spray paint. Use automotive-grade aerosol paints formulated for plastic, along with a plastic adhesion promoter and flexible primer. Applying multiple thin coats ensures durability and a professional finish.
How Long Does Paint Last on Plastic Car Parts?
When painted correctly with proper preparation, flexible primers, and suitable topcoats, paint on plastic car parts can last for many years. It can achieve durability comparable to factory finishes, often 5-10 years or more, depending on environmental factors and care.
What Is the Best Primer for Plastic Car Parts?
The best primer for plastic car parts is a flexible adhesion-promoting primer specifically designed for automotive plastics. These primers create a strong bond to the plastic and remain pliable, preventing the topcoat from cracking or flaking when the plastic flexes.