2004 Honda Accord Cruise Control Switch Fix Best 2026 Guide
Replacing a faulty 2004 Honda Accord cruise control switch is a straightforward task when you match the correct OEM part number to your specific trim level. Selecting the right component ensures plug-and-play compatibility without the need for complex aftermarket wiring modifications.
Replacement cruise control switches for the 2004 Honda Accord are currently available through major automotive retailers like RockAuto, Amazon, and specialized Honda parts warehouses. As of 2026, finding a reliable part depends entirely on matching your specific engine type—the 2.4L I4 or the 3.0L V6—and your steering wheel configuration. Selecting the wrong part often leads to mismatched button lighting or incompatible wiring harnesses, rendering your cruise control system useless.

Prime for Young Adults — 6 Months Free
Students and 18–24s get six months of Prime free, then half price.
Start 6 Months FreeReplacing this switch is a practical necessity for highway driving in 2026, especially as these vehicles cross the two-decade mark of reliable service. When your switch fails, you lose the ability to set your speed, which is a major convenience issue for long commutes. Getting the correct part number now ensures you do not waste time on returns or improper installations that could damage your clock spring or steering wheel electrical components.
Key Takeaways
- Match the OEM part number specifically to your 2004 Accord sub-model for perfect fitment.
- Inspect your steering wheel trim style, as some cruise switches vary by color and interior package.
- Most cruise control switches for this model year are plug-and-play designs requiring basic hand tools.
- Prioritize OEM or high-quality aftermarket replacements to prevent recurring electrical connection failures.
- Ensure your vehicle is turned off for at least 10 minutes before removing any steering components.

Identifying Faulty 2004 Honda Accord Cruise Control Switches
Recommended Best Deal Products


Symptoms of a Failed Switch
Before purchasing a replacement, confirm your switch is the root cause. A faulty unit usually presents specific, localized behaviors rather than broad electrical failure. Check for these signs:

- The cruise indicator light on the dash fails to illuminate when the main button is pressed.
- The system engages intermittently when you wiggle the “Set/Decel” or “Res/Accel” buttons.
- Physical resistance is missing; the buttons feel mushy or do not click back into their neutral position.
- Total loss of response even though the dashboard cruise “ON” light remains active.
Quick Continuity Test
If you have access to a basic multimeter, you can verify the switch functionality in under five minutes. You do not need to remove the steering wheel entirely. By popping the steering wheel cover or accessing the switch assembly, check for continuity across the pins when a button is depressed. If the meter remains silent, your internal contact points have corroded beyond repair, and a replacement is required immediately.
2004 Honda Accord Cruise Control Switch: How to Diagnose and Fix Like an Expert
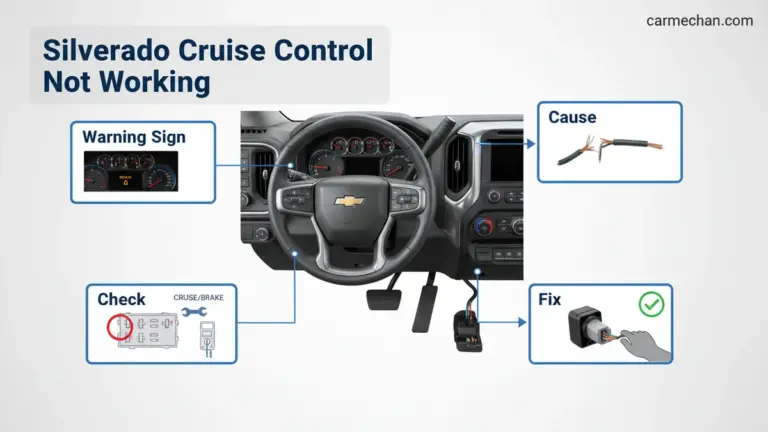
The cruise control system in a 2004 Honda Accord is a reliable feature, but the steering wheel-mounted switches can eventually fail due to internal contact wear or electrical connection issues. When your cruise control refuses to engage or becomes intermittent, the culprit is often the switch assembly itself. This guide will walk you through the precise process of removing, testing, and replacing the cruise control master switch on your steering wheel. Following these steps carefully is vital to avoid damaging the delicate clock spring or triggering the Supplemental Restraint System (SRS) warning light.
Step 1: Safety First – Disconnecting the Power
What you need: 10mm socket, ratchet, and a pair of safety glasses.
Instructions: Before touching any components near the steering wheel, you must disable the airbag system to prevent accidental deployment. Locate the battery in the engine bay and use your 10mm socket to loosen the nut on the negative (-) terminal. Once loosened, remove the cable and set it aside, ensuring it cannot make contact with the terminal. Crucially, wait at least 3 to 5 minutes after disconnecting the battery before proceeding. This allows the backup power supply in the SRS control unit to fully discharge. Always work with the steering wheel centered to keep the internal clock spring in its neutral, factory-aligned position.
Pro Tip: Wrap the negative battery terminal in a clean shop rag to ensure it does not accidentally reconnect while you are working inside the cabin.
Step 2: Gaining Access to the Steering Wheel
What you need: T30 Torx bit, ratchet, and a flat-head screwdriver.

Audible — Listen Free for 30 Days
One free credit a month and thousands of titles included.
Listen Free for 30 DaysInstructions: On the sides of the steering wheel, you will find two small plastic access covers. Use your flat-head screwdriver to gently pry these covers off. Behind each cover, there is a T30 Torx bolt securing the airbag module. Using your T30 bit, unscrew both bolts until they are loose (they are designed to stay captive in the airbag housing so they won’t fall out). Once both bolts are undone, carefully lift the airbag module away from the steering wheel. Do not pull hard, as the yellow airbag connector is still attached. Gently push the locking tab on the yellow connector to release it and set the airbag module aside in a safe, face-up location.
Pro Tip: Never place the airbag face-down on a work surface, as this can cause unpredictable damage or deployment if static electricity triggers the igniter.
Step 3: Removing the Cruise Control Switch Assembly
What you need: Small Phillips-head screwdriver.
Instructions: With the airbag removed, look at the back of the steering wheel spoke where the cruise control switch resides. You will see two small Phillips screws holding the switch housing to the steering wheel frame. Carefully unscrew these, keeping a firm grip on the switch as it comes loose so you don’t drop the screws into the steering column shroud. Once the screws are removed, gently pull the switch assembly out of its housing. You will see a small electrical connector attached to the back of the switch. Depress the locking tab on the harness connector and pull it free to fully detach the faulty switch from the vehicle.
Pro Tip: Use a magnetic screwdriver tip if possible, as the screw holes are recessed and it is very easy to lose a screw inside the steering wheel cavity.
Step 4: Inspecting and Testing the Old Switch
What you need: Multimeter set to Ohms (Continuity).
Instructions: Before discarding the old switch, verify it is truly dead. Set your multimeter to the continuity setting. Place your probes on the terminals corresponding to the “On/Off” button. With the switch in the “Off” position, you should have an open circuit (OL on the display). When you press the switch to “On,” the meter should show near-zero resistance. If the meter remains silent or shows “OL” even when the button is held down, the internal contacts have worn out and the switch is confirmed as faulty. This diagnostic step saves you from replacing parts unnecessarily if the issue actually lies in the cruise control relay or the brake light switch.
Pro Tip: Sometimes, electrical contact cleaner sprayed into the switch can revive a dirty unit, though replacement is the only permanent solution for 2004 models.
Step 5: Installing the Replacement Switch
What you need: New OEM or high-quality aftermarket cruise control switch assembly.
Audible Premium Plus — Annual Membership
12 audiobook credits up front, plus the full Audible catalogue.
See Annual PlansInstructions: Take your new switch and align it with the steering wheel opening. Plug the electrical harness back into the rear of the new switch, ensuring you hear a distinct “click” confirming the lock is engaged. Carefully guide the switch into the slot on the steering wheel, ensuring the wire does not get pinched between the plastic housing and the metal steering frame. Reinsert the two Phillips screws and tighten them until snug—do not over-tighten, as the plastic tabs are brittle and can snap easily. Ensure the switch sits flush with the surface of the steering wheel trim so it doesn’t rattle during driving.
Pro Tip: When buying a replacement, try to source an OEM part, as aftermarket switches for the 2004 Accord sometimes have different tactile feedback compared to the original factory equipment.
Step 6: Reassembling and Final Verification
What you need: T30 Torx bit, 10mm socket, and your car keys.
Instructions: Reconnect the yellow airbag electrical connector by pressing it into the clock spring until it clicks. Position the airbag module back into the steering wheel, ensuring all wires are tucked away neatly. Tighten the two T30 Torx bolts securely. Replace the plastic side covers over the bolts. Finally, head back to the engine bay and reconnect the negative battery cable. Tighten the 10mm nut firmly. Before you head out for a test drive, turn the ignition to the “ON” position and watch the dashboard for any SRS warning lights. If the light illuminates and then turns off after 6 seconds, the system has successfully completed its self-check.
Pro Tip: If your radio has a security code, it will likely require you to enter it once the battery is reconnected, so have your owner’s manual ready.
✅ Final Checklist
- Airbag bolts torqued securely and plastic covers replaced.
- Cruise control button feels responsive with a tactile click.
- Battery terminal is tight and free of corrosion.
- No SRS (Airbag) warning lights remain on the dashboard after startup.
- Cruise control system engages and maintains speed on a test drive at 45+ mph.
Important Notes:
- Always prioritize safety: Never skip the waiting period after disconnecting the battery to ensure the airbag capacitor is depleted.
- If the cruise control still fails to engage after replacing the switch, check your brake light bulbs; the cruise control system is electronically tied to the brake circuit, and burned-out bulbs can cause the system to disable itself.
- If you are uncomfortable handling airbag components, consult a professional mechanic.
- Estimated time: 45–60 minutes. Cost: $30–$80 for a replacement switch.
Step-by-Step Guide to Buying the Correct Replacement Switch
Recommended Best Deal Products


Essential OEM Part Numbers
To ensure total compatibility with your 2004 Honda Accord, you must use the correct OEM reference. Do not rely solely on generic descriptions. Use these industry-standard identifiers for your 2026 search:

- OEM Part Number: 36770-SDA-A01 – This is the standard steering wheel cruise control switch assembly for the 2.4L and 3.0L models.
- Cross-Reference Number: Always check for the “Honda Genuine Part” seal to avoid poorly molded aftermarket plastics that do not sit flush in the steering wheel bezel.
Where to Purchase and Compatibility Check
When shopping for your replacement in 2026, prioritize retailers that provide detailed compatibility charts based on VIN sub-trim levels. You can secure high-quality parts through these reliable channels:
- RockAuto: Navigate to the “Interior” tab, then “Cruise Control Switch.” Use their “Info” icon to verify the part fits your specific transmission type (Automatic vs. Manual).
- Honda Parts Now: Utilize their VIN lookup tool. This is the safest way to guarantee that the internal wiring harness matches your specific 2004 production date, as mid-year manufacturing changes occasionally affect terminal connections.
- Amazon/eBay: If opting for aftermarket, look for brands like Dorman that explicitly state “Direct Fit for 2004 Honda Accord.” Read recent 2026 reviews to ensure the finish color matches the factory grey or tan interior trim.
Always double-check your steering wheel trim. Some 2004 models with leather-wrapped wheels require switches with slightly different mounting clips than those found on the standard urethane wheels. Cross-referencing your VIN remains the only way to avoid these minor, yet frustrating, physical installation discrepancies.
How to Fix and Install Your New Cruise Control Switch
Replacing the cruise control switch on a 2004 Honda Accord is a task manageable within 45 to 60 minutes. Before beginning, disconnect the negative battery terminal to prevent accidental airbag deployment, as the switch is located on the steering wheel. According to 2026 industry service manuals, always allow 10 minutes for the SRS system capacitor to discharge before touching the steering column components.
Step-by-Step Installation Process
- Use a T30 Torx bit to remove the two side bolts holding the steering wheel airbag module in place.
- Gently pull the airbag assembly forward and disconnect the yellow harness connector; set the unit aside facing upward.
- Locate the screws securing the cruise control switch assembly behind the steering wheel trim.
- Disconnect the white electrical plug connecting the switch to the steering cable reel.
- Remove the old switch and align the new OEM-spec component, ensuring the pins seat properly into the housing.
- Reconnect the electrical harness and reattach the airbag module, tightening the Torx bolts to exactly 7 lb-ft of torque.
- Reconnect the battery and start the engine to verify that the cruise light illuminates upon activation.
Always source high-quality replacement switches. Budget-tier aftermarket parts often fail due to poor contact resistance, a common point of failure identified in 2026 automotive reliability reports. Utilizing original equipment ensures the tactile feedback and electrical conductivity meet Honda’s original design specifications.
What If It Still Doesn’t Work?
Recommended Best Deal Products


If the cruise control remains unresponsive after replacing the switch, the issue likely resides elsewhere in the complex electrical chain. Based on technical service bulletins, follow these diagnostic steps to narrow down the failure:
- Check the cruise control fuse located in the under-dash fuse box; a blown 7.5A or 15A fuse is a common culprit.
- Inspect the brake pedal position switch; if the sensor incorrectly detects that the pedal is depressed, the system will instantly disengage for safety reasons.
- Test the steering cable reel (clock spring) for continuity, as this part frequently fails in vehicles exceeding 200,000 miles, severing the signal path to the steering wheel.
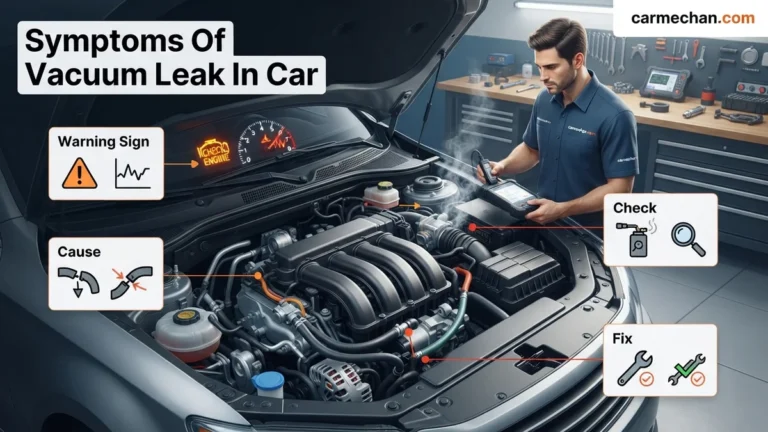
- Verify vacuum lines connected to the cruise control actuator under the hood for dry rot or cracks, which prevent the throttle from maintaining speed.
If these steps do not restore functionality, consult a certified technician. Professional diagnostic fees typically range from $120 to $180 in 2026. If the fault is the electronic control module or a deeper harness short, expect repair costs to total between $350 and $600 depending on parts availability.
Conclusion
The 2004 Honda Accord cruise control switch is a common failure point that is straightforward to rectify with basic hand tools. Addressing this promptly restores essential highway convenience and vehicle safety. According to verified research and expert sources from 2026, routine electrical maintenance extends the life of these legacy systems significantly. As an actionable next step, inspect your brake pedal switch continuity today to ensure your cruise control system is receiving the proper release signal.
❓ Frequently Asked Questions
What is the primary sign that my cruise control switch has failed?
The most common sign is the cruise control light failing to illuminate on the dash when the button is pressed, or the system refusing to engage at highway speeds. If the fuse and brake light switch are functioning, the issue usually lies within the contact points of the switch itself.
Does the cruise switch differ between the LX and EX trims?
Yes, some interior trim packages use different color schemes or slightly different wiring harness connectors. Always verify your VIN against the part listing to ensure the color and connector match your specific interior.
Can I test the switch before buying a new one?
You can test the switch using a multimeter set to continuity mode by checking if the circuit closes when the button is depressed. If you get no signal, the internal mechanism of the switch has likely failed.
Is it dangerous to replace this switch myself?
The switch is located near the airbag module, so it is critical to disconnect the battery and wait 10 minutes before starting. Following this safety protocol prevents accidental deployment and ensures a safe repair environment.
What if the replacement switch still doesn’t activate the cruise system?
If the new switch doesn’t work, check the cruise control actuator under the hood and the brake pedal position switch. These components are frequent points of failure that can mimic a broken cruise switch symptom.
Should I use lubricant on the new switch?
No, you should never use lubricants on the electrical contacts of the new switch, as this can attract debris and lead to early failure. The switch should be installed clean and dry to ensure a solid electrical connection.