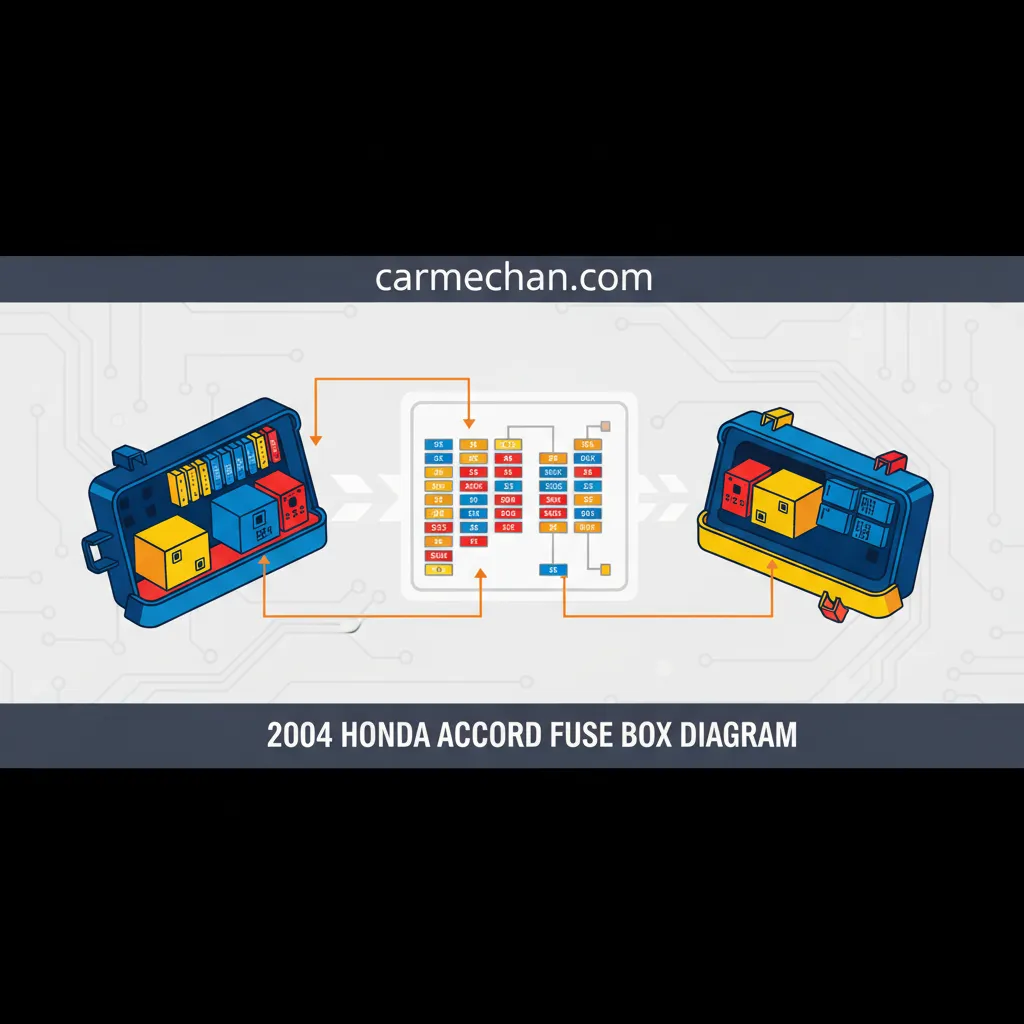
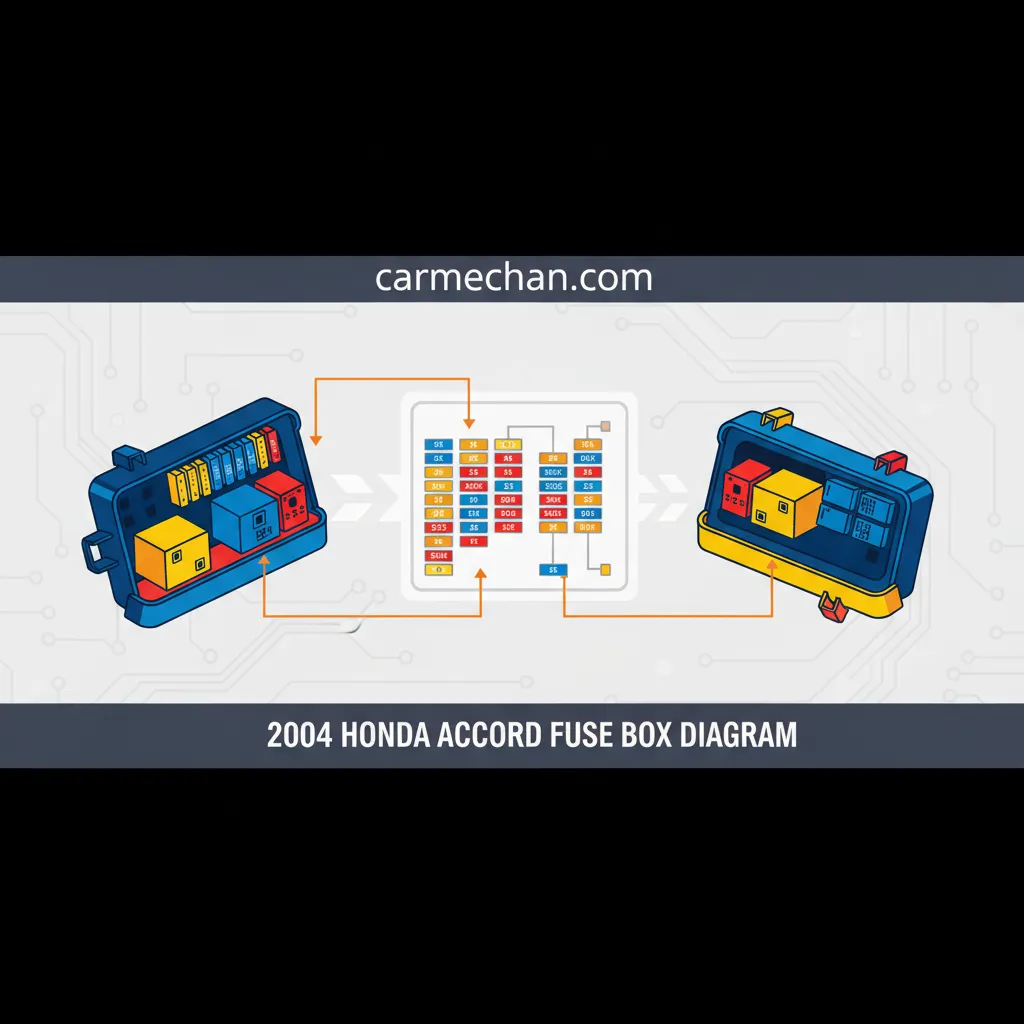
2004 Honda Accord Fuse Box Diagram: Complete Guide
The intricate electrical system of your 2004 Honda Accord is a marvel of engineering, delivering power to everything from the ignition to the power windows. However, when an electrical component suddenly ceases to function, the typical driver is often left frustrated, unsure of where to begin troubleshooting. The root cause of many such failures is often a simple blown fuse, yet without a clear, complete guide to your vehicle’s fuse box diagram, diagnosing and rectifying the issue can feel like navigating a labyrinth. This article provides a comprehensive, expert breakdown of your 2004 Honda Accord’s fuse box diagrams, empowering you with the knowledge to perform reliable diagnostics and maintenance.

Overview: Decoding Your 2004 Honda Accord’s Electrical Hubs
Recommended Best Deal Products


📤 Share Image
As a seasoned automotive expert with over 15 years in the field, I’ve seen firsthand how a rudimentary understanding of a vehicle’s electrical system can save countless hours and dollars. For the 2004 Honda Accord, the electrical protection scheme is distributed across two primary fuse boxes. These enclosures house various types of fuses and relays, each designed to safeguard specific electrical circuits from current overload. A fuse, at its core, is a sacrificial component; it contains a thin wire or filament that melts and breaks the circuit when an excessive electrical current flows through it, preventing damage to more expensive components like wiring harnesses, modules, or the connected device itself.
The fuses themselves come in several standard types, primarily mini-blade (ATM) fuses for lower amperage circuits and standard blade (ATO/ATC) fuses for slightly higher loads, alongside Maxi fuses for very high-current applications and larger cartridge fuses for main power distribution. Each fuse type, regardless of its physical size, is color-coded to indicate its amperage rating. This standardization is a global practice, making it relatively straightforward to identify and replace fuses correctly, provided you have the appropriate diagram.
By The Numbers: Common Fuse Applications in the 2004 Honda Accord
Radio, Interior Lights, Turn Signals
Power Windows, Wipers, Horn
Cooling Fan, ABS Pump, Power Seats
Main Power, Starter, HVAC Blower
Understanding the specific layout and function of each fuse is paramount for any DIY enthusiast or professional technician. The information presented here, combined with your vehicle’s owner’s manual, forms a robust foundation for maintaining the electrical integrity of your 2004 Honda Accord.
Key Benefits: Why a Fuse Box Diagram is Indispensable
Possessing a complete and accurate fuse box diagram for your 2004 Honda Accord isn’t merely a convenience; it’s a critical tool for efficient vehicle maintenance and problem-solving. Over my years of hands-on experience, I’ve observed that access to this specific documentation significantly impacts both the speed and accuracy of electrical diagnostics. Here are the key benefits:
Faster, Reliable Diagnostics
Instead of blindly testing every fuse, a diagram allows you to instantly identify the fuse protecting a non-functional component (e.g., “DRL” for daytime running lights, “ACC” for accessory). This precision leads to significantly reduced diagnostic time, making troubleshooting a much more efficient and professional process. It’s the cornerstone of reliable issue identification.
Significant Cost Savings
A common scenario: a technician charges for diagnostic labor when the problem is a simple blown fuse. With the diagram, you can often identify and replace a faulty fuse yourself in minutes, saving you the expense of a shop visit. This represents direct, tangible savings for routine electrical issues, positioning you as a trusted and informed vehicle owner.
Enhanced Safety and Prevention
Understanding which fuse protects which circuit prevents the dangerous practice of using incorrect amperage fuses (e.g., replacing a 10A fuse with a 20A). Over-fusing can lead to overheated wiring, potential fires, or severe damage to sensitive electronic control units (ECUs). Correct fuse replacement is a quality control measure that protects your vehicle.
DIY Empowerment and Confidence
Armed with the correct diagram and this expert guide, you gain the confidence to handle basic electrical issues, reducing dependence on external services. This fosters a deeper understanding of your vehicle’s systems, enabling you to make more informed decisions about its care. It’s an empowering step towards becoming a more competent vehicle owner.

Audible — Listen Free for 30 Days
One free credit a month and thousands of titles included.
Listen Free for 30 DaysUltimately, a detailed fuse box diagram is a non-negotiable component of any comprehensive automotive toolkit, whether physical or informational. Its utility extends beyond simple fuse replacement, aiding in complex circuit tracing and the installation of aftermarket accessories safely.

How It Works: Navigating Your Accord’s Fuse Boxes
Recommended Best Deal Products


The electrical architecture of the 2004 Honda Accord is intelligently compartmentalized to manage diverse power demands and protect various systems. Understanding where these electrical safeguards are located and what they protect is fundamental. I’ll outline the two primary fuse box locations and their typical responsibilities.
Under-Hood Fuse/Relay Box (Engine Compartment)
This fuse box, often larger and more robust, is typically located on the driver’s side of the engine bay, near the battery. It is designed to house fuses and relays for high-current applications and critical engine systems. These include components essential for the car’s operation and safety.
Typical components protected by the under-hood fuse box:
- Main Power Distribution: Maxi fuses for the entire electrical system.
- Engine Management: Fuses for the Engine Control Unit (ECU), fuel pump, injectors, ignition coils.
- Lighting: Headlights (low and high beam), fog lights, daytime running lights (DRL).
- Cooling Systems: Radiator fan and condenser fan motors.
- Braking Systems: Anti-lock Braking System (ABS) pump motor and control unit.
- Power Steering: Electric Power Steering (EPS) system (if applicable).
- Starting/Charging: Fuses related to the starter and alternator output.
- Horn: The vehicle’s audible warning device.
Interior Fuse Box (Under-Dash)
The interior fuse box, sometimes referred to as the “under-dash” or “cabin” fuse box, is generally smaller and located inside the passenger compartment. In the 2004 Honda Accord, it’s typically found behind a removable panel on the driver’s side kick panel, or sometimes underneath the steering column. This box manages the electrical systems for the convenience features and accessories within the cabin.
Typical components protected by the interior fuse box:
- Audio & Infotainment: Radio, CD player, navigation system.
- Power Accessories: Power windows, power door locks, power seats, sunroof, heated mirrors.
- Interior Lighting: Dome lights, map lights, trunk light, dashboard illumination.
- HVAC: Blower motor, air conditioning clutch, climate control panel.
- Safety & Security: Airbag system (SRS), alarm system, immobilizer.
- Charging Ports: Cigarette lighter/accessory power outlets.
- Cruise Control: System components.
Understanding Fuse Ratings and Color Codes
Fuses are standardized by color, making it easy to identify their amperage rating without needing to read tiny numbers. This universal system is critical for selecting the correct replacement fuse, ensuring the quality and safety of your electrical repair. Common color codes include:
- 5A: Tan
- 7.5A: Brown
- 10A: Red (Extremely common for small accessories, radio, lights)
- 15A: Blue (Often for power windows, fuel pump, horn)
- 20A: Yellow (Headlights, blower motor)
- 25A: Clear/White
- 30A: Green (ABS, cooling fans, main power windows)
Always replace a blown fuse with one of the exact same amperage rating. Using a fuse with a higher amperage rating is a serious safety hazard. A larger fuse will allow more current to flow through a circuit designed for less, potentially overheating wires, causing component damage, or even leading to an electrical fire. This is a common, dangerous pitfall that must be avoided to ensure the reliable and safe operation of your vehicle.
Common Symptoms of Blown Fuses
Recognizing the symptoms of a blown fuse is the first step in effective troubleshooting. Generally, a blown fuse will result in the complete failure of the component it protects. Specific examples include:
Audible Premium Plus — Annual Membership
12 audiobook credits up front, plus the full Audible catalogue.
See Annual Plans- No power to the radio or infotainment system.
- Power windows or sunroof fail to operate.
- Headlights, taillights, or interior lights are out.
- Cigarette lighter/12V power outlet has no power.
- Horn doesn’t sound when pressed.
- Wipers stop working mid-operation or do not activate.
✅ Pros of Fuse Troubleshooting
- Often a quick, inexpensive fix.
- Empowers DIYers to resolve common issues.
- Prevents unnecessary professional diagnostic fees.
❌ Cons of Fuse Troubleshooting
- Repeatedly blown fuses indicate a deeper electrical fault.
- Requires accurate diagram interpretation.
- Can be tedious without proper tools (test light).
Getting Started: Your Actionable Guide to Fuse Management
Now that we’ve covered the theoretical aspects, let’s delve into the practical steps for inspecting and replacing fuses in your 2004 Honda Accord. As an expert who has performed these tasks countless times, I emphasize the importance of methodical practice and safety.
Tools You’ll Need for a Professional Approach
Before you begin, gather these essential tools:
- Owner’s Manual: This is your primary and most accurate source for the 2004 Honda Accord fuse box diagram.
- Fuse Puller: Many fuse boxes include a small plastic fuse puller. If not, small needle-nose pliers can work with caution.
- Test Light or Multimeter: Essential for quickly checking if a fuse is blown without removing it.
- Replacement Fuses: A variety pack of mini-blade fuses is a smart investment.
- Flashlight or Headlamp: Crucial for illuminating cramped, dark fuse box locations.
If your owner’s manual is missing or unclear, search online for “2004 Honda Accord fuse box diagram PDF.” Reputable automotive forums and service manual sites often provide high-resolution, user-generated, or scanned diagrams that can be very helpful. However, always cross-reference information if possible to ensure the highest quality and accuracy for your specific vehicle trim.
Step-by-Step Fuse Inspection and Replacement
📋
Complete Step-by-Step Guide
Recommended Best Deal Products


Always start by turning off the ignition and removing the key. For under-hood fuse boxes dealing with main power, it’s a professional best practice to disconnect the negative terminal of your car battery to prevent accidental short circuits, although this isn’t strictly necessary for all fuse replacements. Ensure no power is flowing to the circuit you intend to inspect.
Determine if the faulty component is engine-related (under-hood box) or cabin-related (under-dash box). Access the relevant fuse box. The under-hood box has a black plastic cover; the interior box is behind a small panel on the driver’s side or under the dash. Remove the covers carefully.
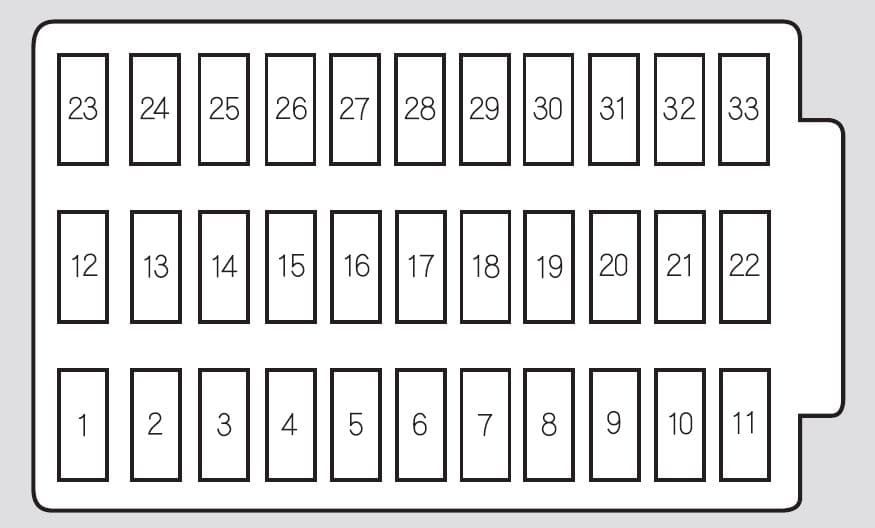
Refer to your owner’s manual or the diagram printed on the inside of the fuse box cover. Find the specific fuse number and amperage rating associated with the malfunctioning component. This complete guide to the diagram ensures you’re targeting the correct fuse.
Using the fuse puller, carefully remove the suspected fuse. Hold it up to a light source. A healthy fuse will have an intact metal wire or filament inside. A blown fuse will show a visibly broken or charred filament. For added certainty, use a test light or multimeter to check for continuity across the fuse terminals; a blown fuse will show no continuity.
Insert a new fuse of the exact same amperage rating and physical type into the slot. Ensure it’s firmly seated. This adherence to quality specifications is crucial for reliable performance.
Reconnect the battery (if disconnected), turn the ignition on, and test the previously malfunctioning component. If it works, you’ve successfully replaced the fuse! Replace the fuse box covers securely to protect against dust and moisture.
Advanced Troubleshooting Tips: When to Seek Expert Help
While replacing a blown fuse is often a straightforward fix, it’s important to recognize when a simple fuse replacement isn’t enough. If a new fuse blows immediately or repeatedly, it indicates a deeper underlying electrical issue, such as a short circuit in the wiring, a faulty component drawing excessive current, or a problem with a relay. In these scenarios, attempting further DIY repairs without specialized diagnostic equipment and in-depth electrical knowledge can be counterproductive and even dangerous.
For persistent issues, it is strongly recommended to seek assistance from a trusted and professional automotive electrician or a Honda dealership. They possess the necessary diagnostic tools (e.g., advanced multimeters, oscilloscopes, scan tools) and the expert training to trace complex electrical faults safely and accurately. Investing in quality professional diagnosis can prevent cascading failures and ensure the long-term reliability of your 2004 Honda Accord’s electrical system.
Conclusion: Empowering Your 2004 Honda Accord Ownership
Mastering the intricacies of your 2004 Honda Accord’s fuse box diagrams is more than just learning a maintenance task; it’s about gaining a deeper, more comprehensive understanding of your vehicle’s fundamental operations. This complete guide has equipped you with the knowledge to confidently identify, diagnose, and resolve common electrical issues, transforming you from a passive driver into an empowered owner. Remember these key takeaways:
- Your Accord has two crucial fuse boxes: under the hood for critical systems and under the dash for cabin electronics.
- Always consult your owner’s manual or a reliable diagram and adhere strictly to correct fuse amperage ratings for safety and quality repairs.
- Persistent fuse blowing is a red flag indicating a deeper electrical issue requiring expert professional attention.
Take the initiative to familiarize yourself with these diagrams today. Keep a copy in your glove compartment. This proactive step will ensure reliable performance and save you considerable time and expense should an electrical issue arise. Your ability to perform basic electrical troubleshooting is a testament to savvy vehicle ownership, enhancing both your confidence and your 2004 Honda Accord’s longevity.