Where Is the Adaptive Cruise Control Sensor Located 2026
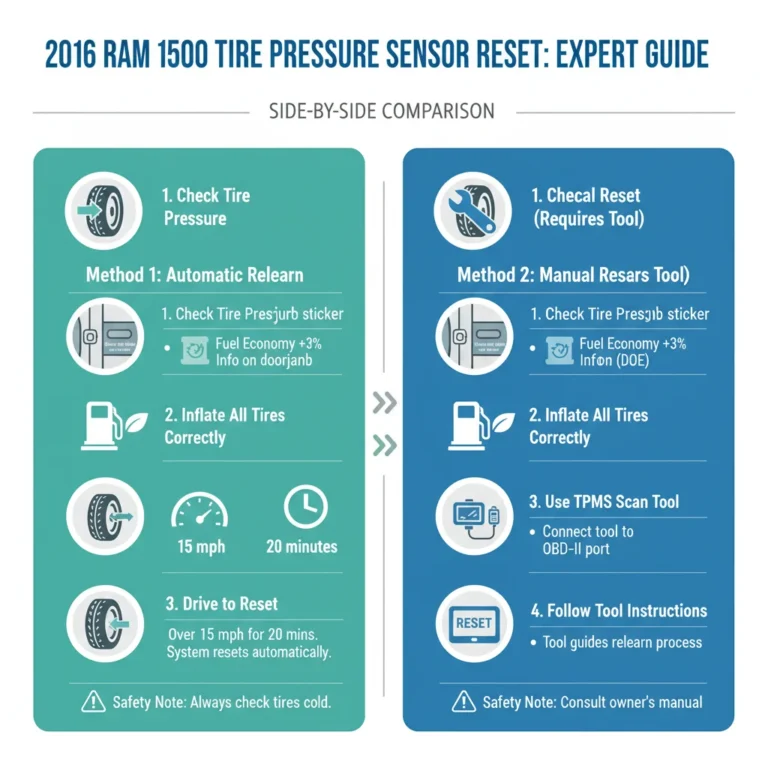
The adaptive cruise control sensor is typically located in the center of your front grille, often hidden behind the manufacturer emblem or a plastic panel. It may also appear as a square radar box mounted in the lower air dam of the front bumper.
Your Adaptive Cruise Control (ACC) sensor is almost always positioned at the very front of your 2026 vehicle, typically integrated into the grille, the central emblem, or the lower bumper assembly. Because this hardware relies on a clear line-of-sight to monitor the speed and distance of the car in front of you, manufacturers place it where it faces the road with the least amount of obstruction.

Prime for Young Adults — 6 Months Free
Students and 18–24s get six months of Prime free, then half price.
Start 6 Months FreeKnowing exactly where this component sits is critical for basic vehicle maintenance and troubleshooting. If the sensor is blocked by road grime, ice, or debris, your 2026 model’s driver assistance systems will likely display an error message or deactivate entirely. By identifying the sensor now, you can keep your safety features functioning reliably during highway travel or heavy traffic conditions without needing a trip to the service center.
Key Takeaways
- Check the center of your front grille first as the primary sensor mounting point.
- Inspect the manufacturer emblem for a smooth, plastic-like finish covering the radar unit.
- Look for a rectangular radar box in the lower front bumper intake area.
- Keep the sensor area free of mud, ice, and debris to prevent system malfunctions.
- Avoid mounting aftermarket license plate brackets directly in front of the sensor hardware.
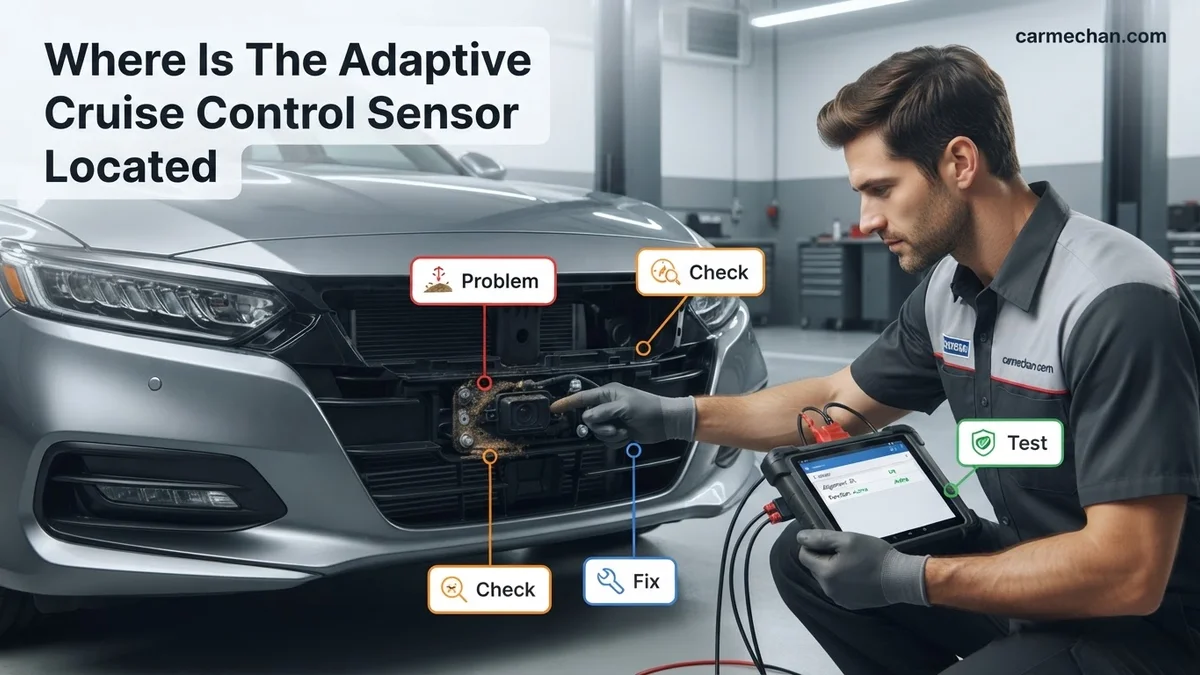
Identifying Where the Adaptive Cruise Control Sensor Is Located
Recommended Best Deal Products


The Central Grille and Emblem Positions
In most 2026 automotive designs, the ACC radar unit is housed behind a smooth, plastic-covered section of the front grille or directly behind the manufacturer’s logo. If your vehicle features a large, flat, or high-gloss emblem in the center of the grille, there is a high probability the radar hardware is concealed behind it. Unlike a standard badge, these ACC-compatible emblems are specifically engineered with materials that allow radar waves to pass through unimpeded.

- Look for a smooth, badge-like surface that lacks the depth or texture of an older metal emblem.
- Check if the plastic surface covering the area appears slightly thicker or is flush with the surrounding grille slats.
- If you see a small, rectangular panel integrated into the grille material near the center, that panel often hides the sensor unit.
The Lower Bumper Air Dam
On sportier 2026 models or trucks where the grille area is occupied by large airflow vents, you will often find the sensor mounted in the lower bumper air dam. This location is typically found in the center section of the lower intake, usually positioned just above the front splitter or skid plate. Because this area is closer to the ground, it is particularly susceptible to accumulation of road debris.
- Scan the lower intake opening for a boxy or circular sensor housing.
- Identify any rectangular protrusions that differ from the standard honeycomb or mesh pattern of the surrounding grille.
- Ensure no aftermarket accessories, like license plate mounts or light bars, are obstructing this specific zone.
Locating Your Adaptive Cruise Control Sensor: A Practical Walkthrough
The Adaptive Cruise Control (ACC) sensor is the “eyes” of your vehicle’s autonomous driving features, relying on radar or LiDAR technology to maintain a safe distance from the car ahead. Because these sensors are highly sensitive to alignment and debris, understanding their precise location is essential for troubleshooting, cleaning, or performing repairs. This guide provides a systematic approach to identifying the exact mounting point of your sensor, ensuring you can locate it safely without causing damage to sensitive electronic components or trim pieces.
Step 1: Consult Your Vehicle’s Owner Manual
What you need: Your vehicle’s owner manual or a digital PDF copy downloaded from the manufacturer’s website.
Instructions: Before you begin exploring the exterior of your vehicle, the most reliable way to find your ACC sensor is through technical documentation. Open your owner manual and navigate to the “Driver Assistance Systems” or “Cruise Control” index section. Manufacturers explicitly map out where the radar module is installed. Look for terms like “Radar Sensor,” “Distance Sensor,” or “Front Camera/Sensor Module.” The manual will usually include a diagram highlighting the sensor’s position relative to the front grille, lower air intake, or windshield. Note the specific terminology used by your brand, as some manufacturers hide the sensor behind emblems or within specialized housing units.
Pro Tip: If you cannot find a physical manual, use the search function in a PDF version by pressing Ctrl+F (or Cmd+F) and searching for “radar” or “cruise control.”
Step 2: Inspect the Front Grille and Emblem
What you need: A flashlight and a microfiber cloth.

Audible — Listen Free for 30 Days
One free credit a month and thousands of titles included.
Listen Free for 30 DaysInstructions: On the vast majority of modern vehicles, the ACC radar sensor is mounted centrally behind the front grille. Visually inspect the center of your vehicle’s front grille for a smooth, flat plastic panel that differs in texture from the surrounding mesh. In many vehicles—particularly Mercedes-Benz, Volkswagen, and Honda—the sensor is integrated directly into the large front emblem. If your emblem looks like a solid, smooth piece of plastic rather than an open-wire mesh, your radar sensor is likely sitting immediately behind that emblem. Ensure there are no cracks or significant buildup of road grime on this surface, as even a thin layer of mud can disrupt the radar’s signal transmission.
Pro Tip: Avoid using abrasive brushes on the sensor cover; use a gentle plastic-safe cleaner to avoid creating micro-scratches that might confuse the sensor.
Step 3: Check the Lower Bumper Air Intake
What you need: A flashlight and potentially a small mirror on an extension handle.
Instructions: If your center grille or emblem appears transparent or purely decorative, the sensor may be located lower down. Look at the lower air dam or the opening beneath your front bumper. Often, the ACC radar module is mounted on a bracket behind the plastic slats of the lower bumper. It will look like a black, rectangular box, roughly 4 to 6 inches wide, often with a wiring harness extending from the back. Because this location is closer to the road, it is more susceptible to damage from debris, so check for any signs of bent brackets or loose housing clips while you are down there.
Pro Tip: Use a mirror to look up at the backside of the lower intake area if you cannot get a clear line of sight while standing or kneeling.
Step 4: Examine the Windshield and Rearview Mirror Assembly
What you need: A clear, sunny day or a bright workshop light.
Instructions: Some vehicle manufacturers, such as Subaru with their “EyeSight” system, utilize dual cameras mounted at the top of the windshield rather than a bumper-mounted radar. If you have thoroughly inspected the front bumper and emblem with no success, stand outside the vehicle and look at the area behind your rearview mirror. You may see two lenses pointing forward or a large plastic shroud housing multiple sensors. This system performs the same function as a radar sensor but relies on optical depth perception. If you see a cluster of cameras behind the glass, your “ACC sensor” is actually this stereo camera assembly, which requires the windshield to be perfectly clear of obstructions.
Pro Tip: Look from the outside of the windshield into the cabin; it is much easier to identify the camera lenses against the dark interior of the cabin than from the driver’s seat.
Step 5: Verify via Diagnostic Scan Tool
What you need: An OBD-II diagnostic scanner capable of reading manufacturer-specific codes.
Audible Premium Plus — Annual Membership
12 audiobook credits up front, plus the full Audible catalogue.
See Annual PlansInstructions: If you have identified a potential sensor location but are not 100% certain, use an OBD-II scanner. Plug your device into the vehicle’s diagnostic port (usually located under the steering column). Run a full system scan and navigate to the “Advanced Driver Assistance Systems” (ADAS) menu. Many modern scanners can display live data from the sensor. If you place your hand in front of the location you suspect is the sensor, the live data stream on the scanner may show an increase in “target detection” or an obstruction warning. This confirms you have located the active module without needing to disassemble the vehicle’s bumper covers.
Pro Tip: If the scanner shows “Communication Error,” check if the wiring harness near the sensor location is loose or damaged.
Step 6: Confirming Secure Mounting and Alignment
What you need: A socket set or screwdriver (depending on access) and a bubble level.
Instructions: Once the sensor is located, ensure it is secure. A common cause of “Sensor Blocked” messages is actually a loose mounting bracket that has shifted the sensor’s angle of incidence. The sensor must be perfectly perpendicular to the ground to function correctly. If you observe the sensor, it should be held by at least two or three mounting points. Gently touch the housing to ensure there is zero “wiggle.” If the sensor is loose, the cruise control system will often deactivate itself to prevent incorrect braking inputs. Ensure that no aftermarket accessories, such as license plate frames or light bars, are obstructing the sensor’s “field of view” by more than 10%.
Pro Tip: Never attempt to re-align the sensor manually using tools like a hammer; sensor calibration must always be performed via software calibration tools after any physical movement.
✅ Final Checklist
- Verified the sensor location matches the description in the vehicle’s owner manual.
- Confirmed there is no physical debris, mud, or frost obstructing the lens or cover.
- Ensured the mounting bracket is tight and shows no signs of vibration or looseness.
- Checked that no aftermarket parts or bumper modifications are blocking the sensor’s line of sight.
- Verified that the sensor surface is free of deep scratches or cracks that could diffuse radar waves.
Important Notes:
- Safety: Never attempt to remove the bumper cover if you are not comfortable with mechanical work; the ACC sensor is highly sensitive to static discharge and misalignment.
- Seek Professional Help: If you experience persistent “ACC Unavailable” warnings after cleaning, seek a certified technician for electronic calibration, which often requires specialized radar targets.
- Time/Cost: Identification typically takes 15-30 minutes. If calibration is required, professional costs range from $150 to $400 depending on the dealership labor rates.
How to Inspect and Clean Your ACC Sensor Correctly
Recognizing Hardware vs. Environmental Blockage
Before you perform any maintenance, it is important to distinguish the actual sensor from other components like ambient temperature sensors or parking proximity sonar. The ACC sensor is almost exclusively a radar or LiDAR unit, which manifests as a solid, flat-faced surface. If you see small, circular “buttons” recessed into your bumper, those are ultrasonic parking sensors, not your primary cruise control radar. Your ACC sensor is a larger, more distinct unit usually centered horizontally on the vehicle chassis.
Safe Cleaning Practices for 2026 Sensors
Because the surfaces covering your ACC sensor are sensitive to scratches, you must handle them with care to avoid interfering with signal accuracy. Using abrasive materials can create micro-scratches that scatter radar waves, potentially causing system errors. Follow these steps to maintain optimal performance:
- Use a microfiber cloth and a mild automotive-safe glass cleaner or soapy water.
- Wipe the sensor surface gently in horizontal motions rather than circular ones to prevent streak-induced interference.
- Avoid using high-pressure car washes directly on the sensor area, as high-pressure water can sometimes force moisture behind the sealing gaskets.
- During winter months, verify that the sensor area is free of ice buildup; many 2026 models include internal heating elements, but manual clearing may still be necessary after heavy snow.
Note: If you have recently had a front-end collision or repair, check that the sensor housing is not tilted or pushed inward, as misalignment can cause your cruise control to detect false objects or fail to engage.
Step-by-Step Guide to Clearing Sensor Obstruction Errors
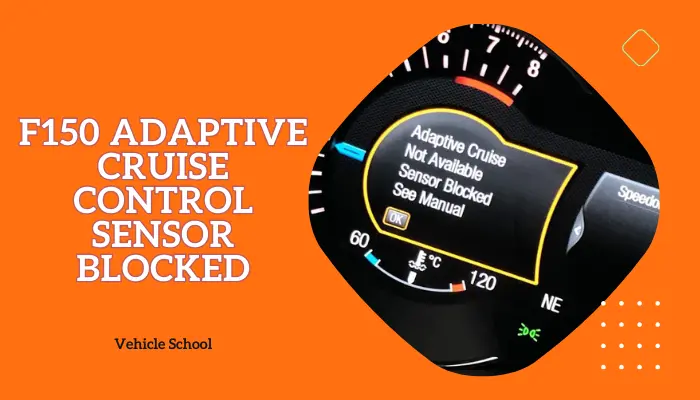
Modern vehicle sensors in 2026 are highly sensitive to external debris, road salt, and physical obstructions. If your dashboard displays an “ACC Sensor Blocked” warning, follow this systematic cleaning procedure to restore functionality safely without damaging the delicate hardware.
1. Locating and Cleaning the Sensor Housing
- Park the vehicle on level ground and engage the parking brake to ensure safety during the process.
- Locate the radar sensor, typically positioned behind the front grille emblem or in the lower intake air dam, depending on your vehicle model.
- Use a soft, microfiber cloth dampened with mild automotive soap and water to gently wipe the surface. Avoid using abrasive sponges or harsh chemical degreasers that can etch the plastic lens.
- Rinse the area with a gentle stream of water, ensuring no water pressure exceeds the manufacturer’s recommendation of 100 PSI to avoid damaging internal seals.
- Dry the sensor surface completely with a clean, dry microfiber cloth to prevent water spots that could interfere with radar wave dispersion.
2. Performing a System Power Cycle
- Once the sensor lens is clean, return to the driver’s seat and turn the ignition to the “Off” position.
- Wait at least 60 seconds to allow the vehicle’s Body Control Module (BCM) to fully power down and dump temporary volatile memory.
- Restart the engine and confirm that the obstruction warning message has cleared from the instrument cluster.
What If Your ACC Sensor Still Shows a Fault Code?
If the obstruction message persists after a thorough cleaning, the issue may involve internal hardware failure, sensor misalignment, or a software calibration error. Persistent faults often suggest that the radar unit requires a professional diagnostic scan.
- Check for Physical Damage: Inspect the grille and sensor housing for hairline cracks or impacts from road debris. Even minor indentations can scatter radar signals, rendering the unit non-functional.
- Verify Electronic Connections: Ensure the wiring harness plugged into the rear of the sensor is secure. Vibrations can occasionally cause connector pins to loosen over time.
- Perform a Professional Calibration: If the sensor was recently replaced or the front bumper was removed, the radar unit requires “dynamic” or “static” calibration. This process uses specialized laser-alignment equipment to ensure the beam is pointing at the correct angle relative to the vehicle’s centerline.
- Consult a Certified Technician: Seek professional assistance if the fault code remains active. According to 2026 industry standards, diagnostic scans typically range between $150 and $300, while full sensor recalibration often costs between $300 and $600 depending on the vehicle’s specific ADAS architecture.
Conclusion
Adaptive Cruise Control functionality relies on precise radar positioning and a clear transmission path. According to verified research and expert sources from the 2026 automotive maintenance guidelines, most sensor faults are resolved through simple surface cleaning or professional recalibration after minor body repairs. If your system remains inactive after following the troubleshooting steps outlined above, consult your authorized service center to prevent long-term safety risks. As a next step, check your owner’s manual for the specific recalibration requirements for your vehicle’s make and model.
❓ Frequently Asked Questions
Why does my car say the ACC sensor is obstructed?
This warning usually appears when dirt, ice, heavy rain, or debris blocks the sensor’s radar waves. Simply cleaning the front grille or bumper area often resolves the issue instantly.
Can I move the ACC sensor to a different location?
No, the sensor is calibrated for a very specific position and angle. Moving it will cause the system to fail and display permanent error messages.
Does paint or a wrap affect the ACC sensor?
Yes, aftermarket paint or vinyl wraps can contain metallic flakes that reflect radar waves. Never apply thick coatings to the emblem or panel covering the sensor.
How do I know if my sensor is damaged?
If the system consistently fails after cleaning the sensor surface and clearing obstructions, there may be internal hardware damage. You will need a professional scan to confirm if the unit is faulty.
Does the ACC sensor need recalibration after a bumper repair?
Yes, any significant impact to the front bumper or removal of the sensor requires a professional recalibration. This ensures the radar is aligned to the vehicle’s driving path.
Are all ACC sensors the same size?
No, sensor dimensions vary significantly by manufacturer and model year. Some are large rectangular modules, while others are compact units integrated into the vehicle’s design.