How to Reset a TPMS Sensor Step-by-Step Fix Guide 2026
Last Updated on September 1, 2026 by Ryan
The TPMS light usually stays on because actual tire pressure remains low or the system hasn’t registered the adjustment. Check all tires with a manual gauge before attempting any reset procedure to ensure your safety.

Prime for Young Adults — 6 Months Free
Students and 18–24s get six months of Prime free, then half price.
Start 6 Months FreeThe Tire Pressure Monitoring System (TPMS) light remains illuminated because the vehicle’s computer has not yet recognized the corrected tire pressure. Simply filling your tires to the recommended PSI does not always trigger an immediate sensor update, as most systems require a specific “handshake” or recalibration sequence to clear the dashboard warning. In 2026, most modern vehicles require you to manually initiate this reset process to turn off the alert.
Ignoring this warning is dangerous because it masks potential issues, such as a slow leak or a failing sensor battery. Correcting the pressure is the essential first step, but completing the reset procedure ensures your safety system is active and monitoring your tires accurately. Follow the specific steps below to clear the light and get back on the road with confidence.
Key Takeaways
- Always inflate tires to the PSI listed on your driver-side door jamb, not the tire sidewall.
- Some vehicles reset automatically after driving for 10-20 minutes at speeds above 20 mph.
- Locate the dedicated TPMS reset button, often found under the steering wheel or in the glovebox.
- Check infotainment settings menus; modern cars often include a ‘Tire Calibration’ function.
- If the light flashes for 60 seconds, a physical sensor or battery failure is likely present.
Why Your TPMS Light Stays On After Inflation
Recommended Best Deal Products


The Importance of Proper PSI Verification
You cannot reset a TPMS light reliably if your tires are not at the exact manufacturer-recommended PSI. Check the placard located on the driver’s side door jamb for the correct cold inflation pressure—do not use the maximum PSI listed on the tire sidewall. Use a digital tire pressure gauge to verify all four tires before attempting any electronic reset procedure.
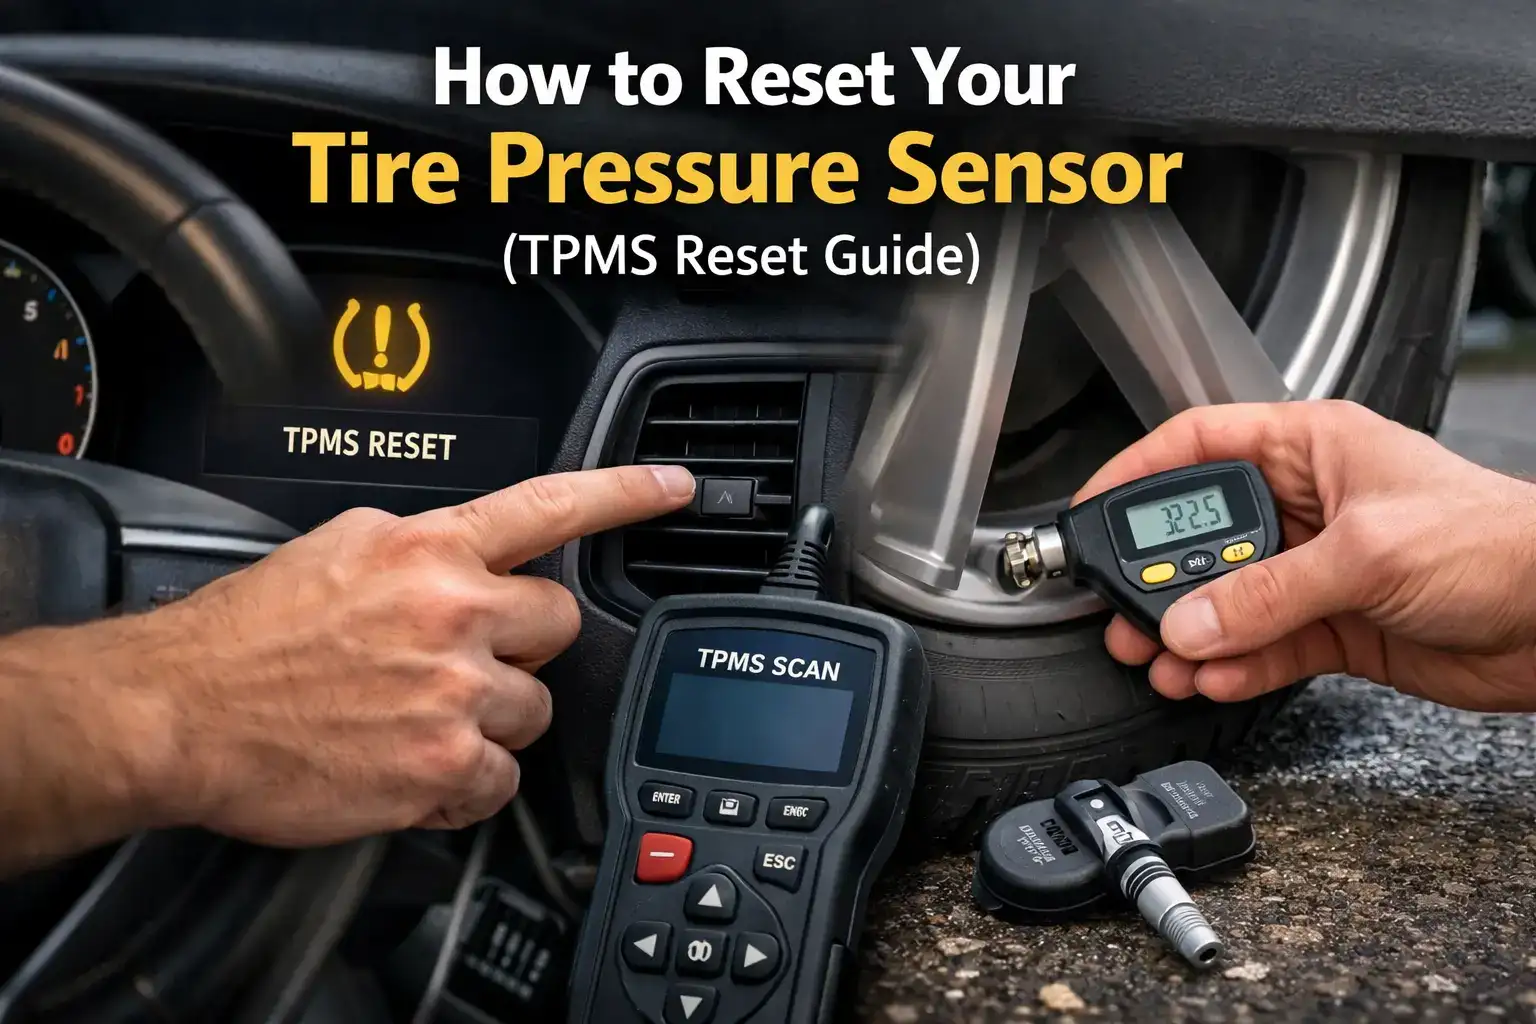
- Cold Inflation Pressure: Check tires before driving, as friction heat artificially raises PSI readings.
- Spare Tire Factor: Some vehicle systems monitor the spare tire; if your spare is low, the light will remain on regardless of the main four tires.
- System Latency: Sensors often enter a “sleep mode” to preserve battery; they require vehicle movement or a forced signal to wake up and transmit the new data.
When Manual Intervention Is Required
In 2026 vehicle models, the system is designed to be “self-learning” in most driving conditions. However, if you rotated your tires or replaced a sensor, the computer expects to see pressure changes in specific wheel positions. If the dashboard light stays solid or flashes for 60 seconds upon startup, it indicates a system malfunction or a sensor that has stopped transmitting entirely. In these cases, the reset procedure serves as a forced command to the ECU to poll the sensors again.
Master TPMS Sensor Resetting in 7 Simple Steps
The Tire Pressure Monitoring System (TPMS) is a vital safety feature designed to alert you when your tire pressure drops significantly. While a simple air top-off often clears the warning light, sometimes the system requires a manual reset to recognize the new pressure or a sensor battery change. This guide walks you through the precise procedures to calibrate your sensors, ensuring your dashboard alerts are accurate and your driving experience remains safe. Following these steps systematically prevents false alarms and ensures your vehicle’s electronic safety net functions exactly as the manufacturer intended.
Step 1: Inspect Tire Pressures and Valve Stems
What you need: A high-quality digital tire pressure gauge and your vehicle owner’s manual.
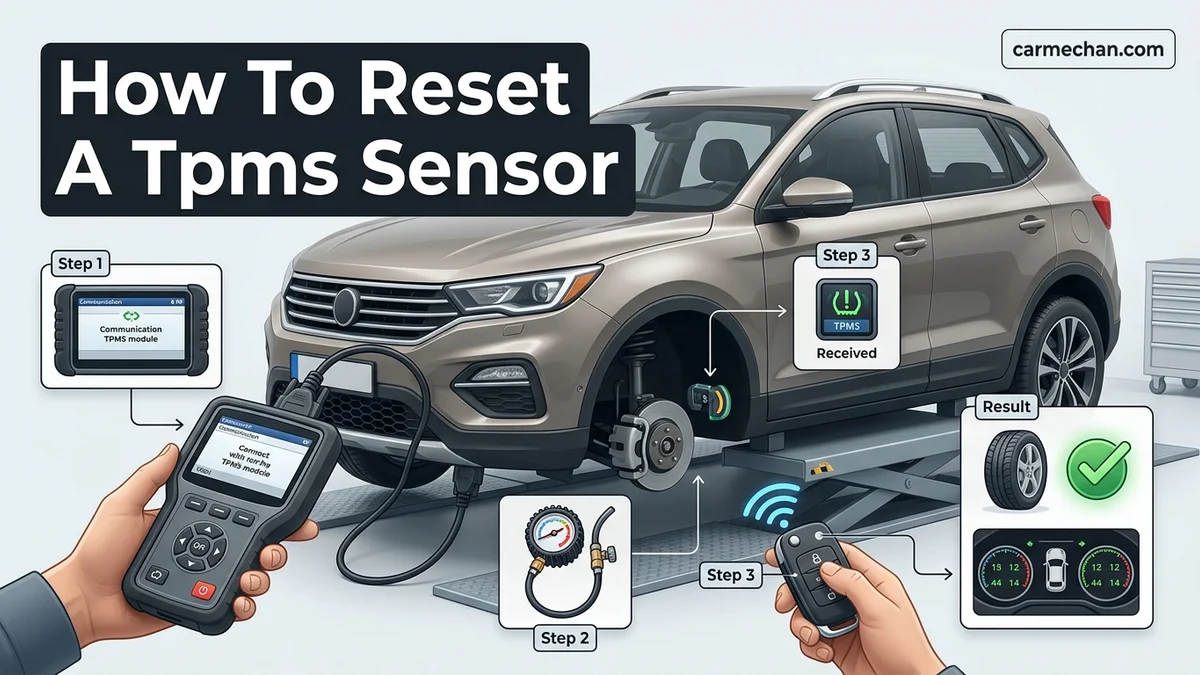
Instructions: Before attempting an electronic reset, verify the physical status of all tires. Use your digital gauge to check the pressure in all four tires, plus the spare if applicable. Inflate or deflate each tire to match the exact PSI recommended on the sticker located inside your driver’s side door jamb—do not rely on the number printed on the tire sidewall, as that is the maximum limit, not the operational pressure. Inspect each valve stem for cracks, debris, or leaks. If a valve stem is damaged, the sensor will never calibrate correctly, and the warning light will remain illuminated regardless of the system reset attempt.
Pro Tip: Always check your tire pressure when the tires are “cold,” meaning the car has been parked for at least three hours or driven less than one mile, to ensure the most accurate reading.

Audible — Listen Free for 30 Days
One free credit a month and thousands of titles included.
Listen Free for 30 DaysStep 2: Execute the Driving Reset Protocol
What you need: A clear, straight road with minimal traffic.
Instructions: Many modern vehicles, particularly those from manufacturers like Toyota or Honda, are designed to perform an “auto-learn” reset. After verifying your tire pressures, drive your vehicle at a consistent speed—typically between 30 and 50 mph—for at least 10 to 20 minutes without stopping. During this period, the TPMS receiver monitors the signal from each sensor as the wheels rotate. This constant movement allows the onboard computer to re-establish a handshake with the sensors and verify that the pressures are within the acceptable operating range, eventually extinguishing the dashboard warning light automatically.
Pro Tip: Avoid stop-and-go city traffic during this phase; maintaining a steady speed allows the computer to process sensor data without the interference of frequent braking or shifting gears.
Step 3: Utilize the Dashboard Menu Navigation
What you need: Your vehicle’s infotainment screen or instrument cluster display controls.
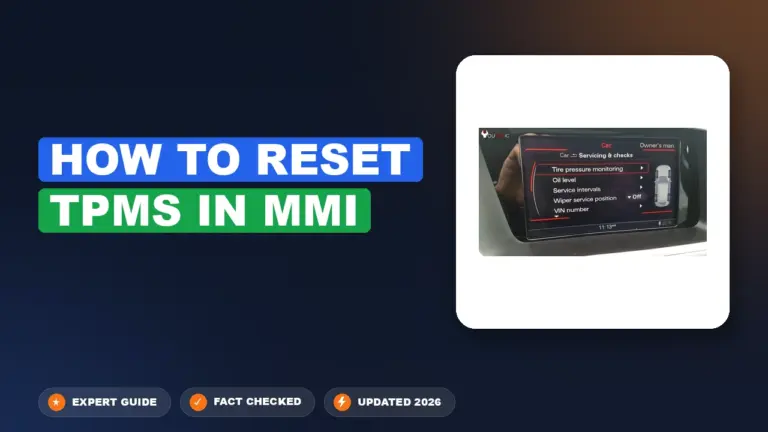
Instructions: Many luxury and late-model vehicles allow you to initiate a recalibration directly through the dashboard interface. Turn the ignition to the “On” position without starting the engine. Use your steering wheel controls or touchscreen to navigate to the “Vehicle Settings,” “Service,” or “Tire Pressure” menu. Look for an option labeled “Calibrate,” “Reset TPMS,” or “Initialize.” Select this option and confirm your choice. The system will then begin a diagnostic cycle. You may see a message indicating the system is “Learning” or “Resetting,” which confirms that the vehicle computer is waiting for fresh data from the wheel-mounted sensors.
Pro Tip: If the reset option is greyed out or inaccessible, double-check that your parking brake is fully engaged and the transmission is set to “Park,” as safety protocols prevent these changes while driving.
Step 4: Locate the Secret TPMS Reset Button
What you need: A small paperclip or the provided plastic reset tool, and a flashlight.
Instructions: Some vehicle models feature a physical reset button that is hidden from plain view to prevent accidental activation. Check the area beneath the steering column, inside the glove compartment, or near the driver’s side floorboard kick panel. Once you locate the button, turn your ignition key to the “On” position. Press and hold the reset button—which often glows or flashes—until the TPMS light on your instrument cluster blinks slowly, usually three times. This signal indicates that the vehicle has successfully entered its “Re-learn” mode. Release the button and allow the system a moment to sync before turning off the ignition.
Pro Tip: If the button is recessed, use a paperclip, but be gentle; the internal switches are often delicate and can be damaged by excessive force.
Audible Premium Plus — Annual Membership
12 audiobook credits up front, plus the full Audible catalogue.
See Annual PlansStep 5: Perform the “Hard Reset” via Battery Disconnect
What you need: A 10mm wrench or socket set, and protective work gloves.
Instructions: If a stubborn light refuses to turn off after multiple attempts, a hard reset of the vehicle’s electrical system may be required to clear the fault memory. Turn off the engine and remove the key. Locate the vehicle battery and disconnect the negative (black) terminal cable. Leave it disconnected for 15 to 20 minutes. This duration allows the capacitors in the Electronic Control Unit (ECU) to fully discharge, effectively erasing temporary error codes. After the time has passed, reconnect the terminal, start the engine, and allow it to idle for a few minutes. This forces the system to perform a fresh boot-up and re-scan the sensors.
Pro Tip: Be aware that disconnecting the battery may reset your radio presets, clock, and seat memory settings. Keep your radio security code handy if your vehicle requires one for rebooting.
Step 6: Confirm Sensor Battery Health
What you need: A TPMS diagnostic tool (available at most auto parts stores).
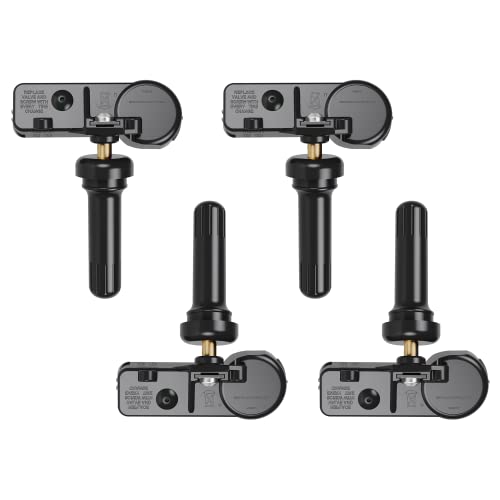
Instructions: If you have attempted the manual reset procedures and the light persists, one of your sensor batteries may have reached the end of its life. TPMS sensors are powered by sealed lithium batteries that typically last between 5 to 10 years. Use an inexpensive handheld TPMS diagnostic tool to scan each wheel. If the tool fails to detect a signal from a specific tire, that sensor is dead and must be replaced. Because these batteries are integrated into the valve stem assembly, you will need to have a tire professional dismount the tire to install a new sensor unit.
Pro Tip: Always replace sensors in sets if your vehicle is older than seven years; if one battery has failed, the others are likely near the end of their lifespan as well.
Step 7: Verify System Stability
What you need: A brief period of local driving and a follow-up pressure check.
Instructions: Once the light is successfully cleared, it is important to confirm that the fix holds. Drive your vehicle normally for a few days. During this time, keep an eye on the dashboard to ensure the warning light does not reappear. After 48 hours, use your tire gauge once more to check the pressures. If the pressure has remained stable at your target PSI and the warning light remains off, your system is fully functional. If the light returns, you likely have a slow leak in one of your tires or a malfunctioning sensor that requires professional diagnostic intervention to avoid premature tire wear.
Pro Tip: Keep a record of the dates you adjusted your tire pressure; it helps you notice patterns in tire performance and ensures you are checking your levels at least once a month.
✅ Final Checklist
- Tire pressures verified and set to the door jamb placard specifications.
- Dashboard indicator light confirmed to be off after the reset process.
- System reset method (menu or button) successfully initiated and acknowledged.
- No abnormal noises or vibrations noted during the “re-learn” driving period.
- All tires inspected for physical damage or slow-leaking punctures.
Important Notes:
- Always wear eye protection when working with compressed air and vehicle batteries.
- If the TPMS light flashes for one minute and then stays solid, this usually indicates a system malfunction rather than low pressure; see a professional.
- Estimated time: 30 minutes to 1 hour. Estimated cost: $0 (DIY) to $150 (if a new sensor must be installed by a shop).
Step-by-Step Fix: How to Reset Your TPMS Light
Recommended Best Deal Products


Method 1: The Dashboard Button Procedure
Many vehicles, particularly those from manufacturers like Toyota, Honda, and Subaru, feature a dedicated TPMS reset button. This is usually located under the steering wheel, inside the glove box, or near the center console storage area. Look for a button labeled “SET” or with the TPMS icon.

- Park the vehicle on a level surface and ensure the engine is off.
- Inflate all tires to the pressure listed on your door jamb placard.
- Turn the ignition to the “ON” position (do not start the engine).
- Press and hold the TPMS reset button until the dashboard light blinks slowly three times.
- Wait for the light to disappear, then turn off the ignition.
- Start the engine and allow the system to calibrate for 20 minutes of driving.
Method 2: The Infotainment Menu Reset
Most 2026 luxury and tech-focused vehicles manage tire pressure settings through the central infotainment touchscreen. This method replaces the physical button and provides direct feedback on the screen regarding calibration status.
- Navigate to the “Vehicle Settings” or “Service” menu on your main console display.
- Locate the “Tire Pressure” or “TPMS” submenu.
- Select “Calibrate Tires” or “Reset TPMS.”
- Confirm the selection when prompted by the system.
- Drive the vehicle at speeds above 20 mph for approximately 10 to 15 minutes to complete the learning process.
Automatic Relearn Methods for Modern Vehicles
By 2026, the majority of vehicles produced feature auto-relearn capabilities that eliminate the need for manual programming tools. This system identifies new sensor IDs automatically when the vehicle is driven under specific conditions. Understanding these parameters is essential for completing the reset process without visiting a dealership.
Driving Cycle Requirements
Manufacturers often require a specific “drive cycle” to trigger the sensor registration process. Follow these standardized steps to initiate the system handshake:
- Inflate all tires, including the spare, to the exact cold pressure rating found on the driver’s door jamb placard.
- Drive the vehicle at a consistent speed—typically between 15 and 30 miles per hour—for at least 10 to 20 minutes.
- Ensure the vehicle maintains this speed without frequent stops, as some sensors require a continuous signal to pair with the Engine Control Unit (ECU).
- Park the vehicle and let it sit for approximately 20 minutes to allow the sensors to complete their final synchronization.
Stationary Relearn Procedures
Some late-model vehicles require the vehicle to be in “Relearn Mode” while stationary. While this is less common, it remains a frequent requirement for domestic trucks and SUVs. Consult your digital owner’s manual via the vehicle’s infotainment system. Generally, this involves navigating to the “Tire Pressure” menu, selecting “Reset,” and waiting for the horn to chirp or the lights to flash, signaling the system is ready to receive sensor data.
What If the TPMS Reset Still Doesn’t Work?
Recommended Best Deal Products


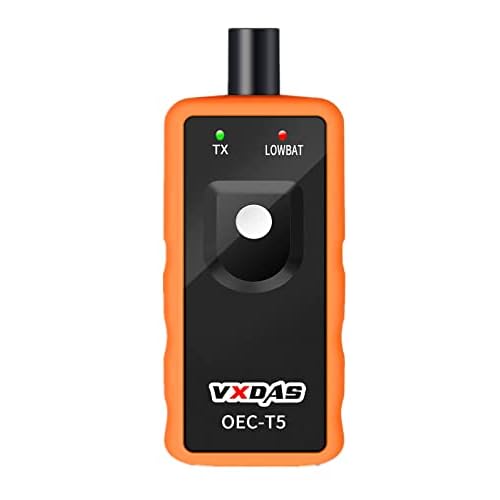
If the dashboard light remains illuminated after multiple drive cycles and manual resets, the issue likely resides in the hardware rather than the calibration. Persistent warnings indicate a mechanical or electrical failure that requires specialized diagnostic equipment to isolate.
Troubleshooting Failed Resets
- Inspect the battery life of the sensors: TPMS sensor batteries are designed to last 7 to 10 years. If your vehicle is approaching this age, the internal battery may be depleted, rendering the sensor dead.
- Check for sensor damage: Corroded valve stems or physical impacts from road debris can fracture the sensor housing.
- Verify tire pressure one last time: Always use a calibrated digital pressure gauge, as inexpensive pencil-style gauges often provide inaccurate readings.
- Scan for fault codes: An OBD-II diagnostic tool can pull specific manufacturer error codes to determine if a wheel speed sensor is interfering with the TPMS signal.
If these steps do not clear the alert, seek professional assistance. A local tire technician can use a high-frequency TPMS scan tool to confirm if the sensors are broadcasting a signal. According to 2026 industry standards, expect to pay between $60 and $150 per wheel for sensor replacement, which typically includes the hardware cost and labor for tire bead breaking and re-balancing.
Conclusion
Resetting a TPMS sensor is a manageable task when you follow the specific requirements for your vehicle’s make and model. Whether you utilize an automatic drive cycle or a manual reset menu, consistent tire pressure is the key to accuracy. According to verified research and expert sources from the Tire Industry Association, ignoring a persistent warning light can lead to decreased fuel economy and uneven tire wear. If the light remains on after these steps, visit a certified technician to prevent potential safety risks.
❓ Frequently Asked Questions
Why does my TPMS light flash when I start the car?
A flashing TPMS light signifies a fault within the system itself, such as a dead sensor battery or a damaged component. This is distinct from a solid light, which only indicates low pressure.
Where is the TPMS reset button located?
On many older vehicles, the reset button is located under the steering column, inside the glove box, or near the driver’s left knee. Check your owner’s manual for the specific location for your make and model.
How do I use the infotainment menu for a TPMS reset?
Navigate to ‘Vehicle Settings’ or ‘Vehicle Info’ on your center screen, locate the ‘Tire Pressure’ or ‘TPMS’ section, and select ‘Calibrate’ or ‘Reset’. Follow the on-screen prompts to confirm the process.
Can cold weather cause the TPMS light to trigger?
Yes, air contracts in cold temperatures, causing a drop in PSI. This often triggers the light even if the tires were fine during the warmer months, necessitating a pressure check and top-off.
How long do TPMS sensor batteries usually last?
TPMS sensor batteries typically last between 5 and 10 years. Once the internal battery dies, the entire sensor unit usually needs to be replaced at a tire shop.
Should I replace the sensor if the reset fails multiple times?
If you have verified the tire pressure is correct and the manual reset procedures fail, the sensor is likely damaged or the battery is depleted. You will need a professional shop to scan the sensors to identify the faulty unit.