Change Your 2014 Nissan Altima Headlight Bulb Easily
Last Updated on September 1, 2026 by Ryan


⚡ Key Takeaways
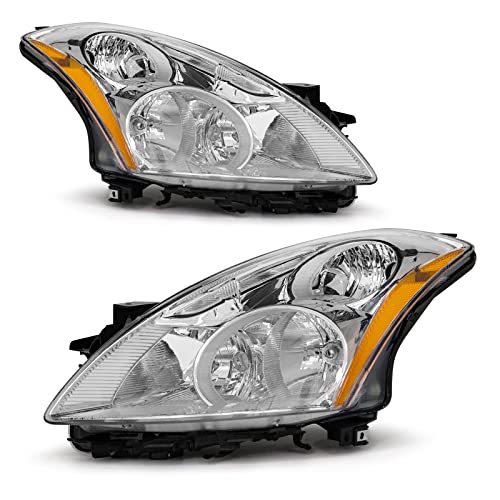
- The 2014 Nissan Altima primarily uses an H11 bulb for its low beam headlights.
- Replacing a 2014 Nissan Altima headlight bulb typically takes 30 to 60 minutes for one side, assuming no complications.
- You will need basic hand tools such as a flathead screwdriver, a Phillips head screwdriver, and a 10mm socket wrench for most of the process.
- While technically possible to replace just one bulb, it is highly recommended to replace both headlight bulbs simultaneously.
- Step-by-step instructions for replacing the headlight bulb on a 2014 Nissan Altima.
Replacing a 2014 Nissan Altima headlight bulb is a manageable task for many DIY car owners, offering a significant cost saving compared to a professional service. This procedure typically involves accessing the bulb from behind the headlight assembly, often requiring minimal tools and basic mechanical understanding.
We provide a precise, step-by-step guide to ensure you can perform this repair safely and effectively. This article details the entire process, outlines essential safety precautions, addresses common pitfalls, and advises on when professional intervention becomes necessary, empowering you to restore your Altima’s visibility with confidence.
What This Guide Covers for Your 2014 Altima
This section explicitly details the scope of this guide for your 2014 Nissan Altima headlight system. We focus specifically on the step-by-step procedure for replacing the low beam and high beam headlight bulbs. Our instructions cover the necessary tools, safety precautions, and the exact physical actions required to complete this common maintenance task.
We do not, however, cover the replacement of fog lights, daytime running lights, or advanced electrical troubleshooting beyond bulb replacement. This guide assumes your headlight assembly is intact and functional, without damage to the housing or wiring harnesses. If your Altima exhibits symptoms beyond a burnt-out bulb, such as flickering lights or melted connectors, further diagnosis by a qualified technician is required.
Who Should Use This Altima Repair Guide
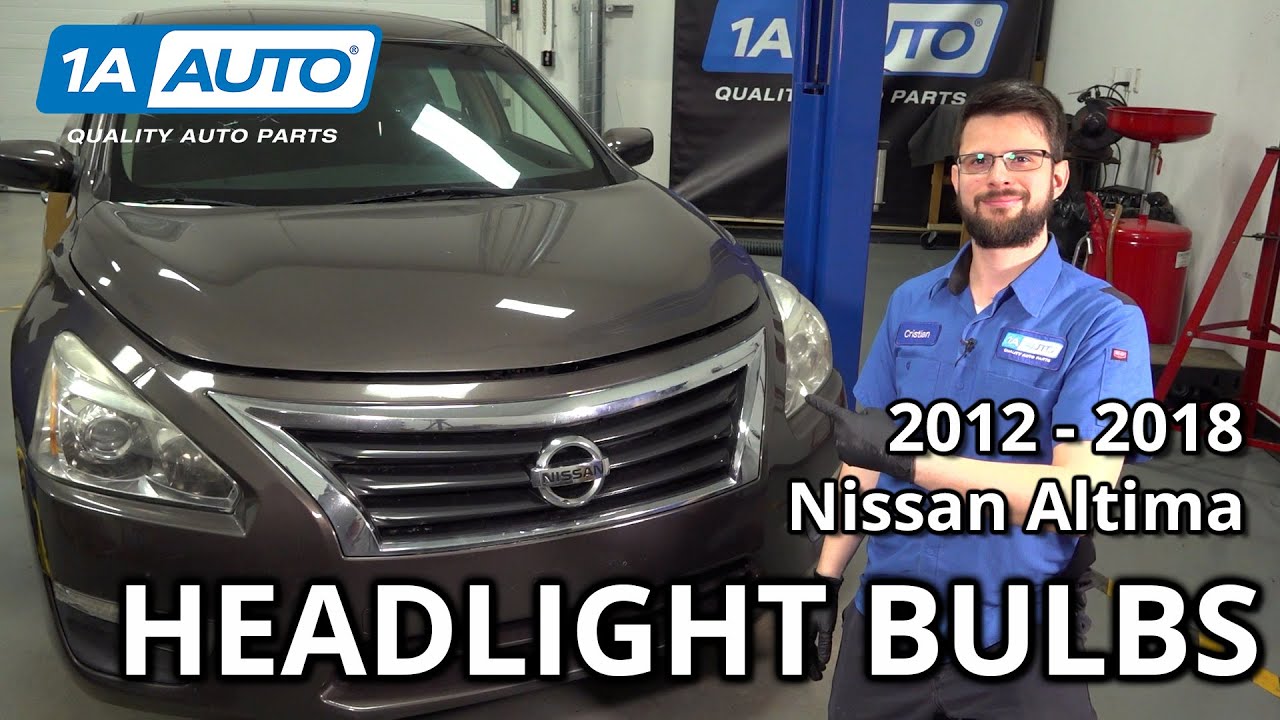
This Altima repair guide is specifically designed for DIY car owners, budget-conscious drivers, and novice car maintainers who possess a basic understanding of automotive components and a willingness to follow precise instructions. To successfully and safely complete this procedure, you should have access to standard hand tools, adequate lighting, and a level working surface.
If you are uncomfortable working with electrical components, lack basic mechanical aptitude, or do not have the patience for detailed procedural steps, we recommend consulting a certified automotive technician. Proceeding without these prerequisites may lead to component damage, electrical hazards, or personal injury. Your safety is our primary concern.
How to Replace Your Altima Headlight Bulb in 10 Steps
Replacing your Altima headlight bulb requires a systematic approach to ensure safety and proper functionality. We have outlined the precise steps below for a successful replacement.

-
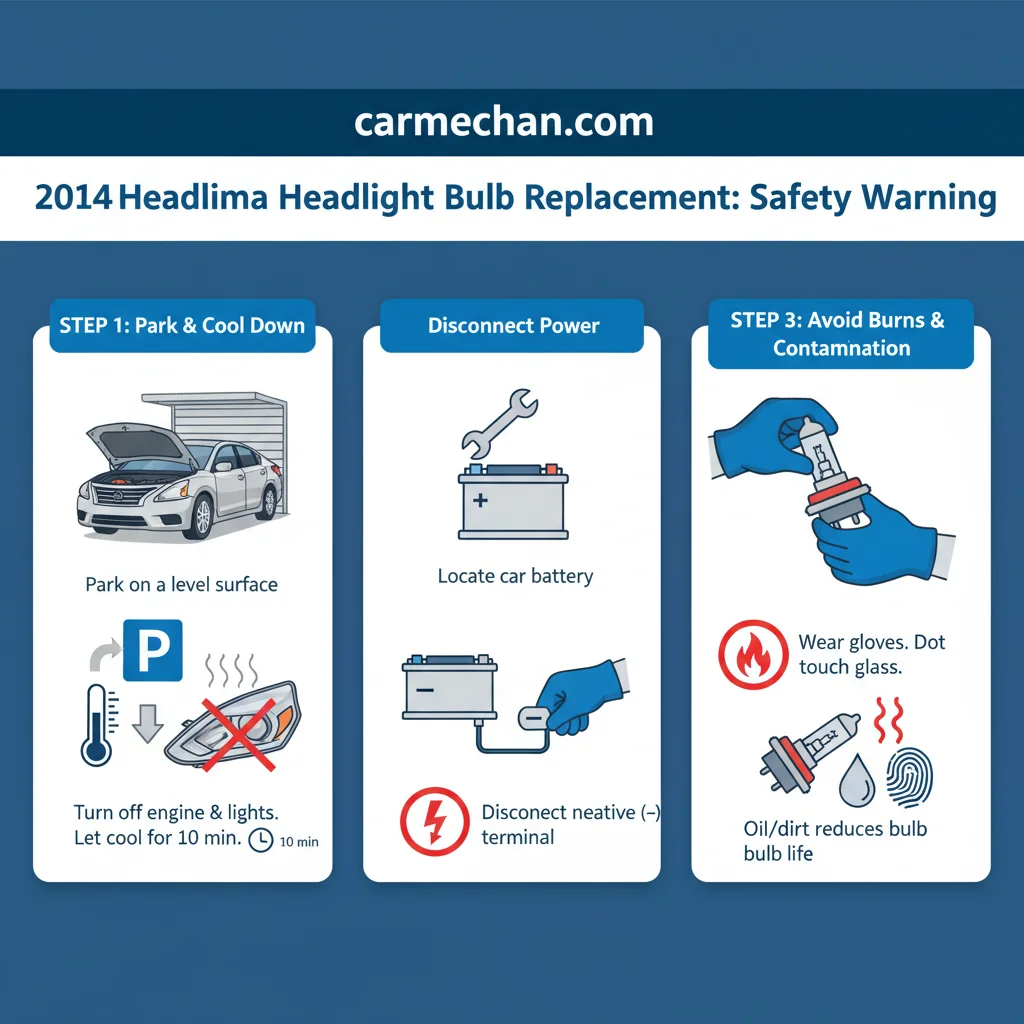
Step 1: Park your 2014 Nissan Altima on a level surface. Engage the parking brake to prevent any unintentional vehicle movement. Verify the vehicle is stable before proceeding with any work.
-
Step 2: Turn off the engine and remove the key from the ignition. This action de-energizes the vehicle’s electrical system, preventing accidental illumination or electrical shorts. If the vehicle’s electrical system is active, stop and reconfirm the key is removed.
-
Step 3: Disconnect the negative battery terminal. Locate the car battery, typically under the hood. Use a wrench to loosen the nut on the negative (-) terminal, then carefully remove the cable and tuck it away from the battery post. This isolates the electrical system and prevents accidental airbag deployment or short circuits FMVSS No.
108, ‘Lamps, Reflective Devices, and Associated Equipment,’ mandates specific performance requirements for automotive lighting to ensure vehicle visibility and safe operation. After replacement, a mechanic’s manual typically advises verifying proper aim and functionality to comply with these federal safety standards. (Source: NHTSA.gov). If you observe sparks or corrosion, stop and ensure proper safety gear (gloves, eye protection) is used or consult an expert.
Engine Bay Area+–Car Battery
1Locate the car battery, often prominent in the engine bay.
2Identify the negative terminal, marked with a ‘-‘ symbol. This is the first cable to disconnect for safety.
3Using a wrench, carefully loosen the nut on the negative terminal clamp and remove the cable.
For related electrical troubleshooting, you might find our Altima fuse box diagram guide useful.
-
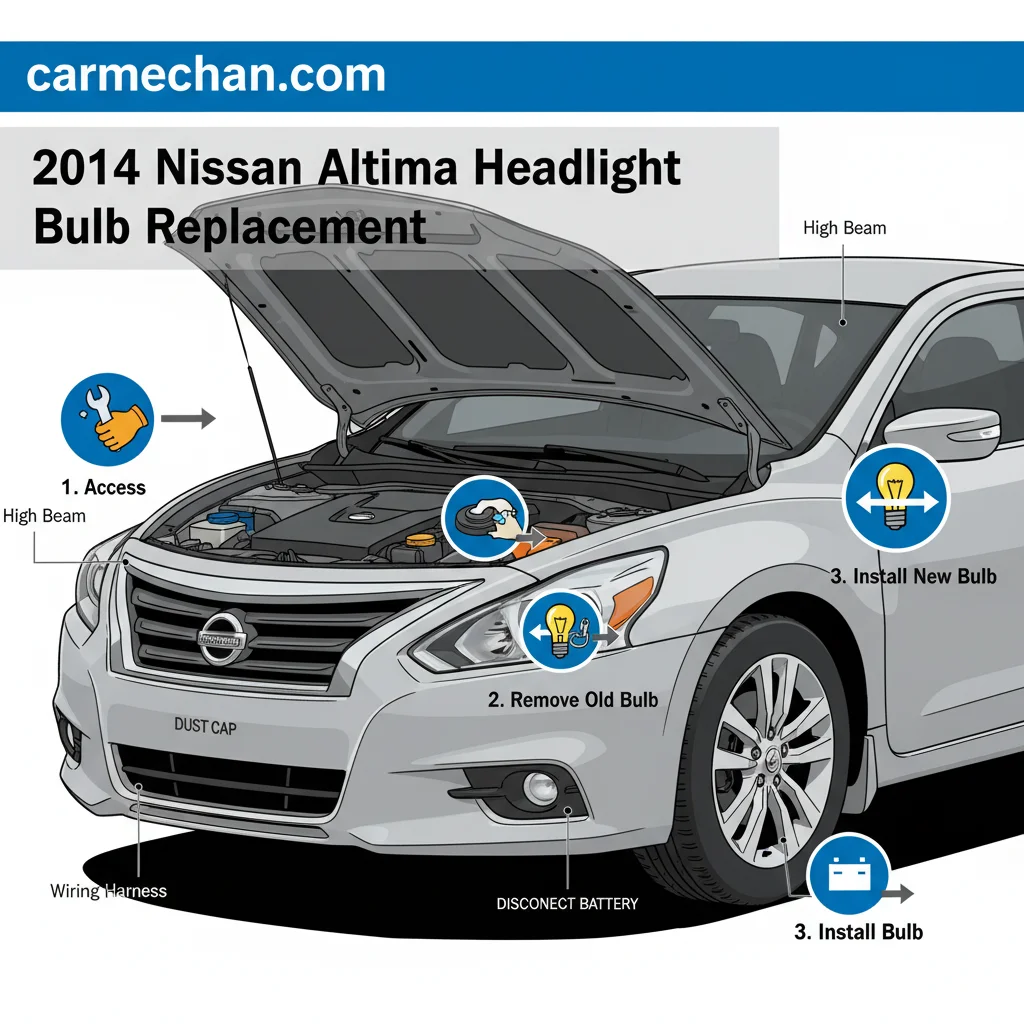
Step 4: Locate the headlight assembly access. For the 2014 Altima, access to the headlight bulbs is typically achieved by opening the hood and reaching behind the headlight unit. You may need to remove a plastic splash shield or air intake duct for better access. Verify you have clear, unobstructed access to the rear of the headlight housing.
2014 Nissan Altima Headlight Access DiagramLeft Headlight AssemblyAccess PointRight Headlight AssemblyAccess PointAir Duct (Obstruction)Splash Shield (Obstruction)1. Left Headlight Access2. Right Headlight Access3. Remove Air Duct4. Access Behind Shield -
Step 5: Disconnect the electrical connector from the bulb. Grasp the plastic connector and pull firmly, but gently, straight back. Avoid pulling on the wires themselves, as this can damage the wiring harness. Verify the connector separates cleanly from the bulb base.
-
Step 6: Remove the rubber dust cap. Twist the rubber dust cap counter-clockwise (if applicable) or pull it straight back to expose the bulb’s retaining clip. This cap protects the assembly from moisture and debris. Verify the cap comes off without excessive force.
-
Step 7: Unclip the bulb retaining spring or twist the bulb to remove. Some Altima models use a metal spring clip that needs to be unhooked to release the bulb. Others may require a quarter-turn counter-clockwise of the bulb itself. Carefully note the bulb’s orientation before removal. Verify the bulb is loose and can be gently pulled straight out.
-
Step 8: Remove the old bulb. Grasp the base of the old bulb and pull it straight out of the headlight housing. Avoid touching the glass portion of the bulb. If the bulb feels stuck, apply gentle wiggling pressure while pulling. Place the old bulb in a safe location for proper disposal.
-
Step 9: Insert the new bulb. Handle the new bulb ONLY by its plastic or metal base; never touch the glass. Oily residues from your skin can create hot spots on the bulb, drastically reducing its lifespan. Align the tabs on the bulb with the slots in the headlight housing and gently push it in until it’s seated.
Re-engage the retaining clip or twist clockwise to secure the bulb. Verify the bulb is firmly in place and does not wobble.
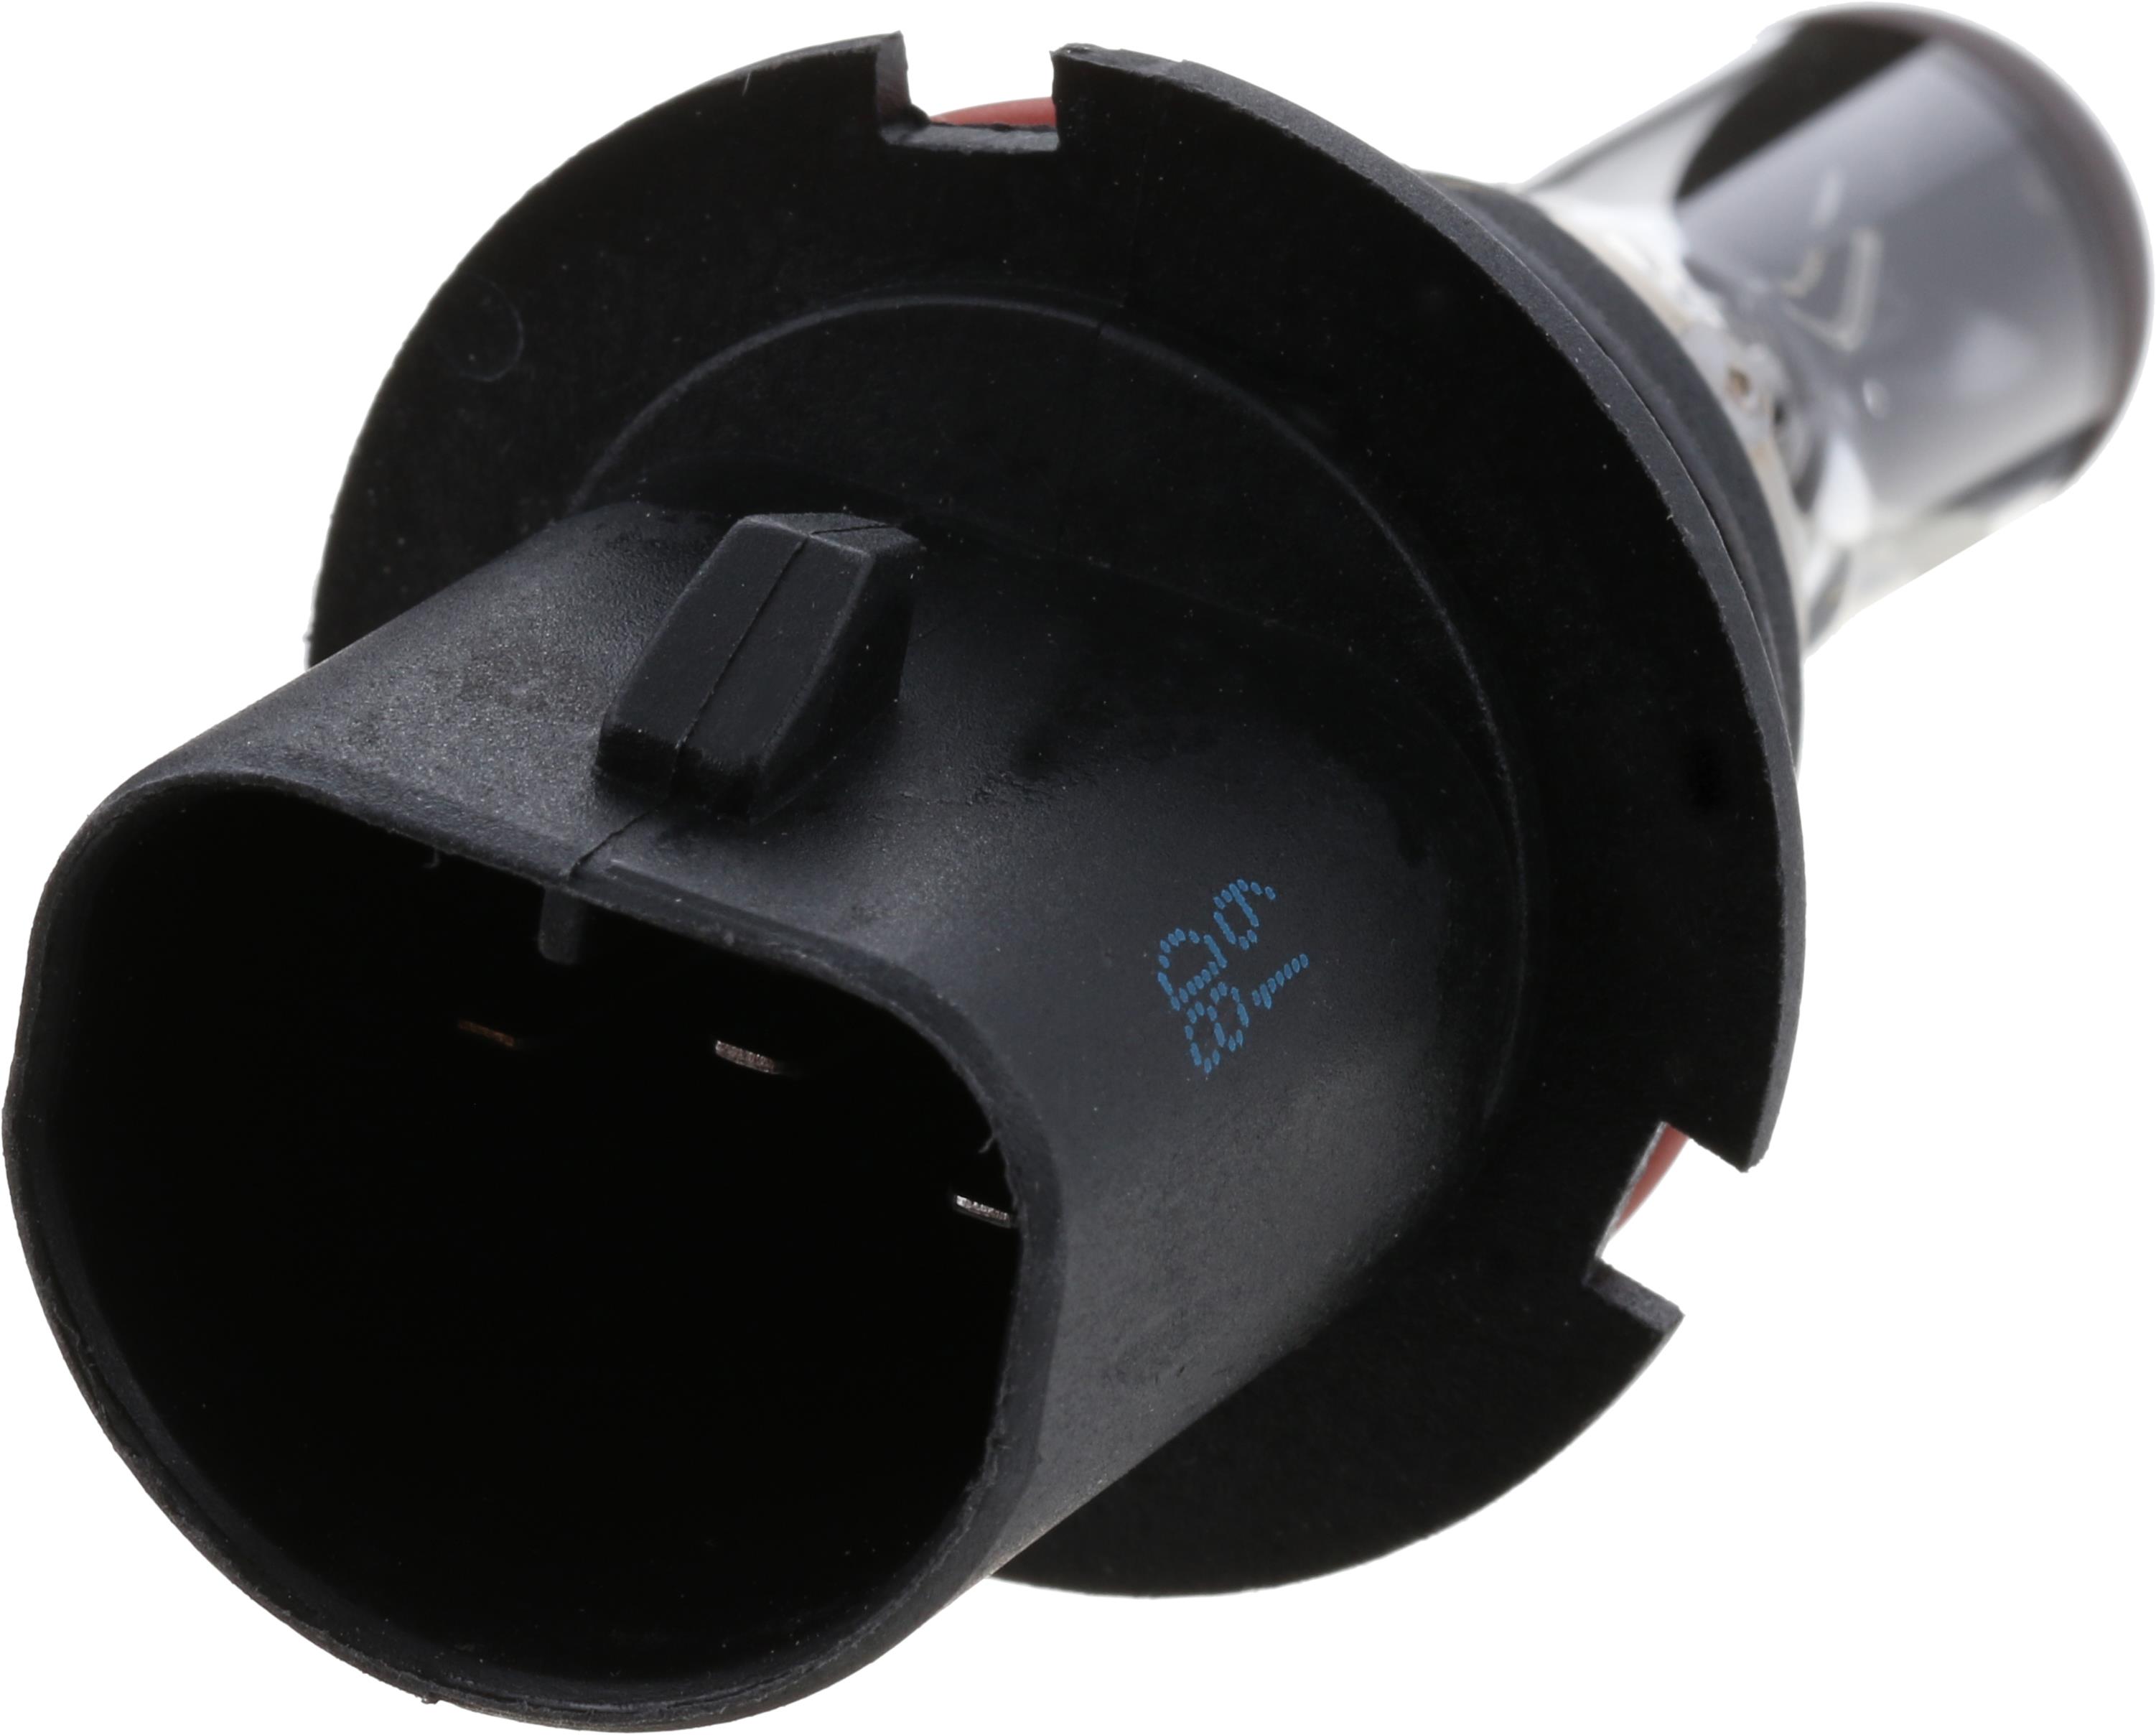
The 2014 Nissan Altima typically uses H11 bulbs for its low beam headlights and 9005 bulbs for its high beams According to the 2014 Nissan Altima owner’s manual and various automotive parts databases, the low beam headlight typically uses an H11 bulb type. For example, the Sylvania Automotive Lamp Replacement Guide specifies an H11 bulb for the low beam application.
(Source: Sylvania-Automotive.com).
-
Step 10: Reassemble and test. Replace the rubber dust cap, ensuring a snug seal. Reconnect the electrical connector until it clicks into place. Reconnect the negative battery terminal, ensuring a tight connection. Turn on your headlights to verify proper operation of the newly installed bulb.
If the bulb does not light, stop and recheck all connections before proceeding to professional escalation.
When Not to Attempt Altima Bulb Replacement
There are specific conditions under which you should not attempt to replace your Altima headlight bulb yourself. Recognizing these contraindications is crucial for your safety and to prevent further damage to your vehicle.
If you observe burnt wires, melted connectors, or a strong burning smell, do NOT proceed. These symptoms indicate a more severe electrical issue than a simple bulb replacement. Attempting to force a new bulb into damaged wiring can cause short circuits, fires, or damage to your vehicle’s complex electrical system. Immediately stop and consult a professional automotive electrician for diagnosis and repair.
Furthermore, if the headlight assembly housing itself is cracked, foggy, or filled with moisture, merely replacing the bulb will not resolve the underlying problem. Moisture ingress can quickly lead to repeat bulb failures and further corrosion of electrical components. In such cases, the entire headlight assembly may require replacement.


Do not attempt bulb replacement if the housing is compromised; instead, seek a professional assessment.
5 Common Mistakes Changing Altima Headlight Bulbs
When changing Altima headlight bulbs, several common mistakes can lead to premature bulb failure or further vehicle issues. We outline five frequent errors and their specific consequences to help you avoid them.

-
Touching the Glass of the New Bulb: Handling the glass portion of a halogen bulb leaves behind oils and residues from your skin. These residues create hot spots when the bulb heats up, causing the glass to weaken and the bulb to fail prematurely. Always handle new bulbs by their plastic or metal base.
-
Improperly Seating the Bulb: If the bulb is not fully seated or oriented correctly within the headlight housing, it will not properly focus the light. This results in a poor beam pattern, reduced visibility, and potentially blinding oncoming drivers. Verify the bulb’s tabs align perfectly with the housing slots.
-
Failing to Reinstall the Dust Cap: The rubber dust cap protects the headlight assembly from moisture, dust, and debris. Neglecting to reinstall it or installing it incorrectly allows contaminants to enter the housing, leading to condensation, corrosion of electrical contacts, and premature bulb failure. Ensure a tight, secure seal.
-
Forcing Connections: If the electrical connector or bulb does not slide easily into place, forcing it can bend pins, damage the wiring harness, or crack the bulb’s base. Always investigate the obstruction or misalignment rather than applying excessive force. Damaged connectors can lead to intermittent power or complete failure.
-
Incorrect Bulb Type: Installing a bulb with the wrong wattage or base type can damage the headlight assembly, wiring, or even the vehicle’s electrical system. Ensure you purchase the correct H11 (low beam) or 9005 (high beam) bulb for your 2014 Nissan Altima to prevent overheating or improper fitment Professional automotive repair guides, such as those found in the AllData database, typically estimate the labor time for a single 2014 Nissan Altima headlight bulb replacement at approximately 0.3 to 0.5 hours.
This accounts for accessing the bulb, replacement, and functional check. (Source: AllData.com).
⚠️ Environmental Hazard Warning
Improper disposal of old halogen bulbs can release mercury or other hazardous materials into the environment Many states, following EPA recommendations, classify automotive bulbs as universal waste, especially if they contain mercury (e.g., some HID bulbs) or other hazardous materials. The EPA recommends checking local municipal waste guidelines or taking old bulbs to designated household hazardous waste collection sites for proper disposal to prevent environmental contamination. (Source: EPA.gov). Always dispose of old bulbs responsibly at a designated recycling facility or automotive parts store.
3 Unusual Challenges for Altima Headlight Bulbs
While most Altima headlight bulb replacements are straightforward, certain unusual challenges can arise, requiring slightly different approaches. We discuss three such scenarios and what actions to take.
-
Corroded Electrical Connector: If the electrical connector is heavily corroded, it may be difficult to disconnect or reconnect. The corrosion can also impede electrical flow, causing the new bulb not to light.
If [corrosion is light]:
→ Carefully clean the connector pins with an electrical contact cleaner and a small brush. Apply dielectric grease before reconnecting.
If [corrosion is severe or pins are damaged]:
→ Stop and escalate to an automotive electrician. A new connector pigtail may be required to ensure reliable electrical contact and prevent future issues.
-
Stuck or Seized Bulb: Old bulbs can sometimes seize within the housing, making removal difficult. This often happens due to heat cycling and material expansion.
If [bulb is stuck but feels firm]:
→ Apply gentle, consistent wiggling pressure while pulling the bulb straight out. Avoid twisting if the design does not allow for it. Lubricate the rubber seal with silicone spray if applicable.
If [bulb breaks during removal]:
→ Stop and use needle-nose pliers to carefully extract any remaining fragments. Wear protective gloves and eyewear. If fragments are inaccessible, escalate to a professional to avoid damaging the headlight assembly.
-
Difficult Access Due to Engine Bay Components: Some 2014 Altima trims or engine configurations may have more cramped engine bays, making access to the headlight assembly challenging without removing adjacent components.
If [access is merely tight]:
→ Use smaller tools, flexible extensions, or long-nose pliers. Consult your owner’s manual for any specific recommended access procedures. Patience and good lighting are key.
If [major components like battery or airbox need removal]:
→ Proceed only if comfortable with such tasks and have the appropriate tools and guides. Otherwise, consider escalating to a professional to avoid accidental damage to unrelated vehicle systems. Our Altima oil filter location guide shows the general engine bay context.
When to Call a Mechanic for Your Altima
Knowing when to escalate a headlight bulb issue to a professional mechanic for your Altima is critical for safety and preventing costly damage. Do not hesitate to involve an expert if certain conditions arise.
If, after following all the procedural steps, your new bulb still does not illuminate, or if the headlight assembly shows signs of melting, smoke, or a burning smell, contact a certified automotive electrician immediately. These symptoms indicate a deeper electrical problem that could involve wiring shorts, a faulty fuse box, or issues with the body control module, which requires specialized diagnostic tools and expertise.
Do not attempt further DIY repairs in these instances, as this can exacerbate the problem or create a fire hazard.
Similarly, if you encounter extreme difficulty in accessing the bulb due to seized components, stripped fasteners, or if you accidentally break parts of the headlight assembly during your attempt, it is prudent to stop and contact a mechanic. Professional assistance can prevent further damage and ensure the repair is completed correctly and safely, usually within 24-48 hours, depending on parts availability.
Where to Find More Altima Headlight Information
For your 2014 Nissan Altima headlight information, it’s essential to consult reliable sources that provide accurate and expert guidance. We recommend referencing the following types of information to deepen your understanding and ensure proper maintenance.
- Manufacturer’s Manual: The official Nissan Altima owner’s manual provides specific details regarding bulb types, fuse locations, and general maintenance schedules for your vehicle.
- Automotive Parts Databases: Reputable online automotive parts retailers and databases often provide verified bulb specifications (e.g., H11 for low beam, 9005 for high beam) specific to your 2014 Altima model year.
- Certified Automotive Technicians: For complex issues, speaking directly with a certified mechanic can offer tailored advice and diagnostic insights specific to your vehicle’s condition.
- Environmental Agencies/Automotive Waste Guidelines: Consult local environmental agencies or automotive waste guidelines for proper disposal procedures of old bulbs, especially halogen types, which may contain hazardous materials.
- Automotive Safety Standards & Mechanic’s Manuals: These documents outline critical safety procedures, such as battery disconnection before electrical work, to prevent injuries and damage.
Frequently Asked Questions FAQ
What type of headlight bulb does a 2014 Nissan Altima use?
A 2014 Nissan Altima typically uses H11 bulbs for its low beam headlights and 9005 bulbs for its high beams. Always verify your specific model’s requirements with your owner’s manual or a reputable parts database before purchasing.
How long does it take to replace a 2014 Altima headlight bulb?
Replacing a 2014 Altima headlight bulb typically takes 15-30 minutes per side for someone with basic mechanical skills. Factors like cramped engine bay access or corrosion can extend this time.


Do I need special tools to change my Altima headlight bulb?
No, you generally only need basic hand tools such as a wrench (for the battery terminal) and possibly a screwdriver or pliers for clips. No specialized automotive tools are typically required for this specific task.
Why is my new 2014 Altima headlight bulb not working?
If your new bulb isn’t working, check if it’s properly seated, the electrical connector is secure, and the battery is reconnected. A blown fuse or deeper electrical issue may also be present, requiring professional diagnosis.
Can I upgrade my 2014 Altima headlights to LED?
Yes, LED conversion kits are available for the 2014 Altima, but ensure they are DOT-compliant and designed for your specific housing. Improper LED installations can cause glare for other drivers or reduce overall beam effectiveness.
Conclusion
Successfully replacing your 2014 Nissan Altima headlight bulb is a rewarding and cost-effective DIY repair, provided you follow precise, safety-first instructions. We’ve outlined a 10-step core protocol, emphasized critical safety measures like battery disconnection, and highlighted common mistakes such as touching the bulb glass. if you encounter severe electrical damage, persistent issues after replacement, or simply feel uncomfortable, escalating to a certified mechanic is the safest course of action.
By adhering to these guidelines, you can ensure your Altima’s headlights are fully functional, enhancing both your safety and visibility on the road. For more automotive repair insights, visit the Car Mechan homepage.