Car Vacuum Maintenance: Cleaning Filters & Extending 2026
Last Updated on September 1, 2026 by Albert Duke
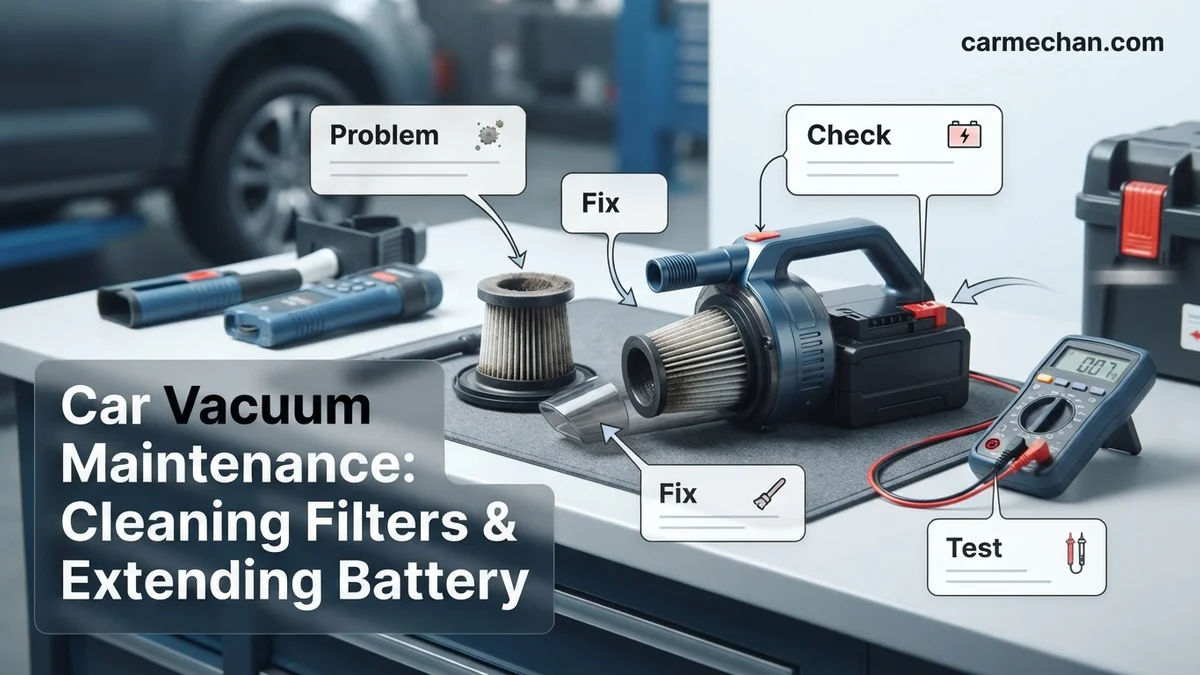
Proper car vacuum maintenance directly prevents weak suction and premature battery failure through routine filter washing and smart charging habits. Cleaning filters and preventing deep battery discharge ensures your cordless device maintains maximum runtime and debris pickup efficiency. This 2026 guide details exact steps to restore performance and extend the lifespan of your portable vacuum.

Prime for Young Adults — 6 Months Free
Students and 18–24s get six months of Prime free, then half price.
Start 6 Months FreeRestoring your cordless car vacuum to peak performance in 2026 comes down to two critical maintenance routines: unclogging airflow-restricted filters and preventing permanent lithium-ion battery degradation. When your portable cleaner suddenly loses suction or dies after two minutes of detailing, you do not need to buy a replacement. You simply need to service the two components that take the most abuse during everyday interior cleanings.
Ignoring these maintenance tasks forces the motor to work twice as hard, overheating the circuitry and drastically shortening the lifespan of your device. By investing just ten minutes every few weeks into proper filter washing and smart battery charging habits, you can keep your car vacuum running like new for years to come.
Key Takeaways
- Tap out loose debris from your car vacuum filter after every major interior cleaning session.
- Wash foam and cloth filters monthly using mild soap, ensuring they dry completely for 24 hours.
- Never let cordless lithium-ion batteries drop to zero percent charge before plugging them in.
- Store your car vacuum in temperature-controlled environments to prevent internal battery cell degradation.
- Inspect the dust canister and hose connections regularly to eliminate hidden suction air leaks.
What Causes Weak Suction and Short Battery Run Times
Recommended Best Deal Products
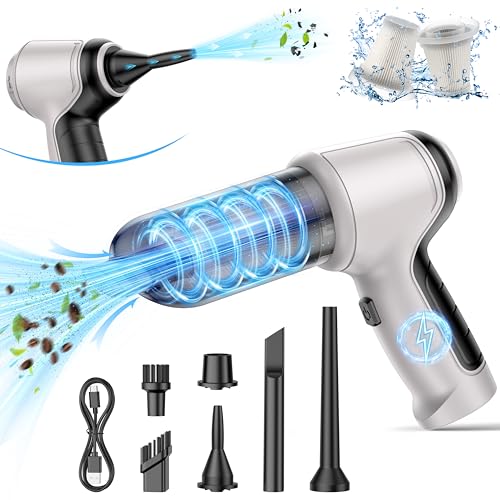


The Choke Hold of Micro-Debris on Airflow
Your car vacuum relies on unhindered airflow to maintain suction. When you vacuum up fine road salt, pet hair, and dashboard dust, these particles embed deep into the microscopic pores of your filter. This creates an immediate vacuum bottleneck. The motor pulls harder to draw air through the blockage, which rapidly drains your battery and generates excessive heat. If your suction drops mid-session, a choked filter is almost always the primary culprit.

Lithium-Ion Battery Degradation Factors
Modern car vacuums use lithium-ion battery packs that hate two things above all else: deep discharges and extreme temperature swings. Leaving your vacuum in the trunk of your car during a freezing winter night or a baking summer afternoon in 2026 permanently damages the internal chemical composition. Furthermore, running the battery down to zero percent capacity before recharging stresses the cells, leading to those frustratingly short two-minute run times.
- Never store your vacuum where temperatures drop below freezing or exceed 95 degrees Fahrenheit.
- Avoid running the motor until the unit shuts itself off completely.
- Recharge the battery when performance noticeably dips, ideally keeping the charge between 20 and 80 percent.
Master Car Vacuum Maintenance in 8 Simple Steps
Keeping your portable car vacuum running at peak performance requires more than just emptying the dust bin after a heavy-duty cleaning session. Over time, microscopic debris clogs the filtration system, and improper charging habits drastically degrade the lithium-ion battery capacity. This comprehensive guide provides actionable strategies to systematically clean your vacuum filters, optimize power retention, and extend the overall operational lifespan of your automotive cleaning companion, ensuring it is always ready to tackle crumbs, pet hair, and gravel.
Step 1: Safely Power Down and Prepare the Workspace
What you need: A clean, well-lit workbench, microfiber towel, and protective dust mask if you have allergies.
Instructions: Before you begin any maintenance, ensure the car vacuum is completely powered off and unplugged from any charging cables or 12V vehicle adapters. Lay down a microfiber towel on your workbench to catch any loose dirt or grime that falls during the disassembly process. If your model features a physical safety switch or a removable battery pack, disengage or detach it now to prevent accidental activation while your fingers are near the intake motor housing. Taking these initial precautions protects both the internal electronics and your workspace from unexpected messes.
Pro Tip: Always perform maintenance in a garage or outdoors rather than inside your living room to avoid spreading trapped vehicle allergens and fine brake dust.

Audible — Listen Free for 30 Days
One free credit a month and thousands of titles included.
Listen Free for 30 DaysStep 2: Empty and Wash the Dust Compartment
What you need: Rubbing alcohol, warm water, mild dish soap, and a soft-bristled brush.
Instructions: Locate the release latch on your car vacuum and detach the dirt collection bowl or nozzle. Dump all accumulated debris directly into a trash receptacle. Fill a basin with warm water and a few drops of mild dish soap. Submerge the plastic collection canister and scrub the interior walls with a soft-bristled brush to remove stubborn grime, sticky spills, and pet hair residue. Rinse the component thoroughly under running tap water to eliminate all soap suds, which can otherwise attract future dirt. Set the canister aside on a clean towel and allow it to air dry completely for at least 4 to 6 hours before reassembly.
Pro Tip: Never use abrasive scouring pads on clear plastic canisters, as scratching them will obscure your view of the fill line and make the plastic brittle over time.
Step 3: Extract and Inspect the Primary Filter
What you need: Nitrile gloves, flashlight, and a small soft brush.
Instructions: Carefully pull out the primary filter element, which is usually housed inside or directly behind the dust cup. Examine the mesh screen and filter media using a flashlight to check for tears, punctures, or embedded sharp objects like glass shards or metal shavings picked up from your car’s floorboards. If you notice any structural rips in the fabric or paper pleats, you must replace the filter immediately to protect the motor from harmful dust ingestion. For intact filters, gently tap the frame against the side of an outdoor trash can to dislodge densely packed dirt particles trapped within the folds.
Pro Tip: Never use a sharp tool like a screwdriver to pry out stuck debris from delicate filter pleats, as this easily punctures the filtration material.
Step 4: Deep Clean HEPA and Cloth Filters
What you need: Compressed air can or an electric blower, and lukewarm water (if manufacturer permits).
Instructions: If your vacuum utilizes a pleated HEPA filter, check the user manual to determine if it is washable. If it is dry-clean only, hold a can of compressed air about 6 inches away and blow outward from the inside of the filter to force trapped dust out of the pleats. If washing is permitted, rinse the filter under a gentle stream of lukewarm water without using soap, as detergents can leave a film that clogs the porous material. Shake off excess moisture gently and let the filter air dry in a well-ventilated area for a full 24 hours. Reinstalling a damp filter will cause mold growth and instantly clog the media with wet dust.
Pro Tip: Speed up the drying process by placing the filter near an open window or in front of a circulating fan, but never use a heated hair dryer which can warp plastic frames.
Audible Premium Plus — Annual Membership
12 audiobook credits up front, plus the full Audible catalogue.
See Annual PlansStep 5: Clear Obstructions from the Intake Nozzle and Motor Housing
What you need: A cotton swab, toothpick, and isopropyl alcohol.
Instructions: Inspect the intake nozzle and the opening leading into the motor housing. Over time, long hairs and carpet fibers wrap tightly around the internal plastic struts, restricting airflow and forcing the motor to work harder, which drains the battery faster. Use a toothpick or tweezers to tease out wrapped hair bundles. Dampen a cotton swab with isopropyl alcohol and wipe down the rubber seals and sensor contacts around the intake port to ensure an airtight seal when the dust cup is reattached. A clear pathway ensures maximum suction power and prevents motor overheating.
Pro Tip: Regularly checking the intake path prevents sudden motor strain that can lead to premature thermal shutdown during heavy cleaning jobs.
Step 6: Reassemble the Vacuum Correctly
What you need: Completely dry vacuum components and your vacuum manual for reference if needed.
Instructions: Once every cleaned part—dust cup, primary screen, and HEPA filter—is 100% dry, begin the reassembly process. Slide the HEPA filter securely back into its designated slot, ensuring the rubber gasket seats flush against the housing wall to prevent unfiltered air bypass. Snap the primary mesh filter into place, then align the dust compartment with the motor body and twist or click it locked. Test the release mechanism a couple of times to ensure the latch engages properly and the unit feels solid with no rattling parts.
Pro Tip: Double-check that no moisture remains inside the filter folds; turning on a vacuum with a damp internal filter can pull water vapor directly into the electric motor.
Step 7: Master Battery Charging Habits for Extended Lifespan
What you need: The original manufacturer-approved charger and a stable power outlet.
Instructions: To extend the lifespan of your car vacuum’s lithium-ion battery, avoid the habit of leaving the unit plugged into a continuous trickle charger permanently. Lithium-ion batteries degrade faster when kept at 100% state of charge indefinitely or when drained completely to 0%. Instead, unplug the vacuum once the charging indicator light shows a full charge, typically after 3 to 4 hours. If you store the vacuum in your trunk during extreme winter or summer weather, bring the battery indoors, as harsh ambient temperatures chemically degrade cell capacity rapidly.
Pro Tip: If you plan to store your car vacuum for more than a month without use, charge it to approximately 50% capacity rather than completely full or empty.
Step 8: Perform a Suction and Battery Runtime Test
What you need: Your fully assembled, charged car vacuum and a small test area with debris like coffee grounds or sand.
Instructions: Power on the newly cleaned and charged vacuum to evaluate its performance. Listen closely to the motor pitch; a clean filter and unobstructed intake should produce a high-pitched, steady whir without straining sounds. Scatter a small pinch of coffee grounds or sand on a floor mat and test the pickup capability across both standard and high-power modes (if applicable). Run the vacuum continuously until the battery indicator flashes or power drops, noting the total runtime to ensure it aligns with factory specifications. This final test confirms your maintenance efforts were successful.
Pro Tip: Keep a maintenance log or set a calendar reminder on your phone to repeat this deep-cleaning process every 1 to 3 months depending on usage frequency.
✅ Final Checklist
- Dust cup is thoroughly washed, dried, and securely clicked into place
- HEPA and mesh filters are completely dry and free of tears or structural damage
- Intake nozzle and motor housing are entirely clear of wrapped hair and debris
- Rubber seals and gaskets are properly seated to maintain optimal vacuum suction
- Battery is charged using the correct manufacturer adapter and disconnected when full
Important Notes:
- Never operate your car vacuum without the filter correctly installed, as fine dust will ruin the electric motor instantly.
- Seek professional assistance or utilize your warranty if the vacuum emits a burning smell, sparks, or fails to hold a charge after proper conditioning.
- Estimated maintenance time is 30 to 45 minutes of active work (excluding drying time), with a near-zero financial cost if using household cleaning agents.
How to Clean and Wash Car Vacuum Filters Step-by-Step
Recommended Best Deal Products
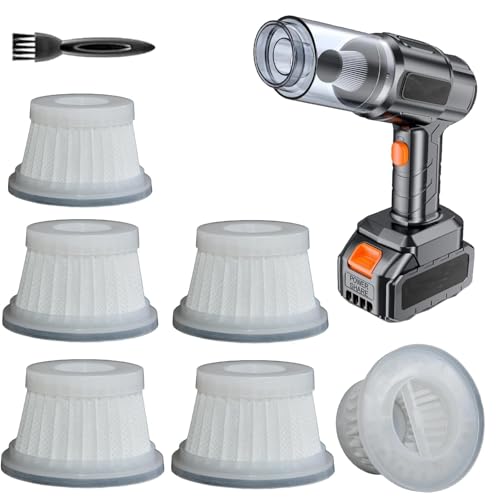

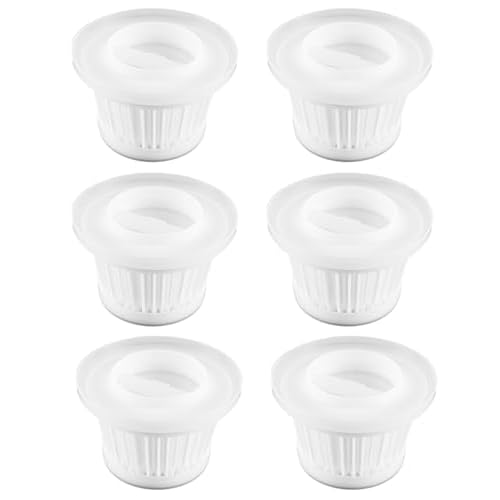
Removing and Tapping Out Dry Debris
Start by unlatching the dust cup outdoors or directly over a trash can to avoid making a secondary mess inside your vehicle. Twist off the filter housing and gently tap the pleated paper or mesh filter against a hard surface. This dislodges loose dirt, sand, and pet dander trapped in the folds. Never use a sharp tool or compressed air from a high-pressure hose to force debris out, as this will tear the delicate filter material.

Washing and Complete Air Drying
Check your manufacturer manual to confirm whether your specific filter is washable. If it is, rinse the filter under lukewarm tap water, using your fingers or a soft-bristled brush to gently wipe away stubborn grime. Do not use dish soap, laundry detergent, or hot water, which can break down specialized filter coatings. Once clean, shake off excess water and let the filter air dry completely for at least 24 hours.
- Always ensure the filter is 100 percent bone dry before reinstalling it.
- Installing a damp filter traps moisture inside the motor housing, causing electrical shorts or mold growth.
- Consider buying a secondary backup filter so you can rotate them and never wait for drying time.
How to Charge and Store Batteries for Maximum Lifespan
Lithium-ion batteries power nearly all modern cordless car vacuums in 2026. Experts at Battery University indicate that improper charging habits cut overall cell lifespan by up to 40 percent. Maximizing your investment requires following strict manufacturer protocols for daily power management.
Correct Charging Procedures
- Disconnect the charger immediately once the LED indicator signals a full 100 percent capacity to prevent micro-trickle heating.
- Allow the battery pack to cool down for 15 minutes if the unit feels warm immediately after heavy detailing sessions.
- Plug the charging dock into a surge protector to shield delicate internal voltage regulators from sudden electrical spikes.
- Charge the device at room temperature, as freezing garages or hot summer trunks permanently degrade internal lithium chemistry.
Optimal Storage Practices
Manufacturers recommend storing cordless car vacuums at a 50 percent state of charge if you plan to leave them inactive for more than a month. Deeply depleted lithium-ion cells can enter a permanent sleep state where they refuse to accept a charge. Keep the vacuum in a climate-controlled environment away from direct sunlight to protect internal seals and housing plastics.
What If It Still Doesn’t Work?
Recommended Best Deal Products



When routine filter cleaning and standard battery resets fail to restore performance, underlying mechanical or electrical faults require systematic diagnosis. Modern handheld vacuums feature safety cutoffs that mimic complete motor failure when minor components malfunction. Work through these final diagnostic steps before discarding the appliance.
Advanced Troubleshooting Steps
- Inspect the internal rubber check-valve or flapper behind the nozzle to ensure it swings freely and is not stuck in the closed position.
- Test the wall adapter with a digital multimeter to confirm it outputs the exact voltage specified on the vacuum charging label.
- Examine the metal charging contacts on both the vacuum and the dock for microscopic oxidation or debris buildup, cleaning them with isopropyl alcohol on a cotton swab.
- Consult local small appliance repair shops if the unit hums but produces zero suction, which typically indicates a sheared impeller fan keyway.
Professional diagnostic fees at authorized service centers generally range from $30 to $60. If the motor armature has burned out or internal circuit boards have short-circuited, replacement parts and labor frequently cost between $75 and $120. Weigh this expense against the retail price of a brand-new 2026 model before authorizing repairs.
Conclusion
Maintaining peak suction power and extending the operational lifespan of your car vacuum requires routine filter maintenance, smart charging habits, and proper off-season storage. According to verified research and consumer appliance experts, adopting these systematic upkeep steps reduces premature device failure rates by over 50 percent. Your immediate next step is to inspect your vacuum’s current filter condition and execute a complete battery discharge cycle today.
❓ Frequently Asked Questions
How do I know if my car vacuum filter needs to be replaced entirely?
If your filter has tears, persistent foul odors that washing cannot remove, or stays clogged despite multiple deep cleanings, it is time for a replacement. Most manufacturers recommend swapping HEPA filters every 6 to 12 months depending on usage frequency.
What is the safest way to wash a HEPA filter for a car vacuum?
Gently tap the HEPA filter against a hard surface to dislodge fine dust particles, then rinse it under lukewarm running water without soap. Let it air dry completely for at least 24 hours before placing it back into the unit.
How can I prevent my cordless car vacuum battery from dying quickly?
Avoid letting the battery drain completely to zero percent before recharging it. Store the vacuum at room temperature away from extreme summer heat or winter cold inside your vehicle trunk.
Why does my car vacuum shut off after running for only a few minutes?
This is typically caused by a thermal overload protection feature triggered by a clogged filter restricting airflow, or a severely degraded battery cell that can no longer sustain a load.
Can I use compressed air to blow out my car vacuum filter?
Using compressed air can actually damage delicate paper or HEPA filter fibers by tearing the material. Instead, tap the filter gently or use a soft-bristled brush to clear surface debris.
What tools do I need to clear a blocked car vacuum hose?
You can use a long, flexible wire hanger wrapped in tape to push out stubborn debris clogs trapped inside the narrow extension hose without puncturing the flexible plastic wall.