How to Vacuum Car Carpet Step-by-Step Guide for 2026
Last Updated on September 1, 2026 by Albert Duke
Stubborn dirt, trapped pet hair, and ground-in debris can make vehicle interiors look permanently dirty. Proper car carpet vacuuming requires removing floor mats, loosening embedded particles with a stiff brush, and using specialized crevice tools for tight spaces. Following a systematic, multi-pass technique ensures you pull out hidden grit that standard cleaning misses.

Prime for Young Adults — 6 Months Free
Students and 18–24s get six months of Prime free, then half price.
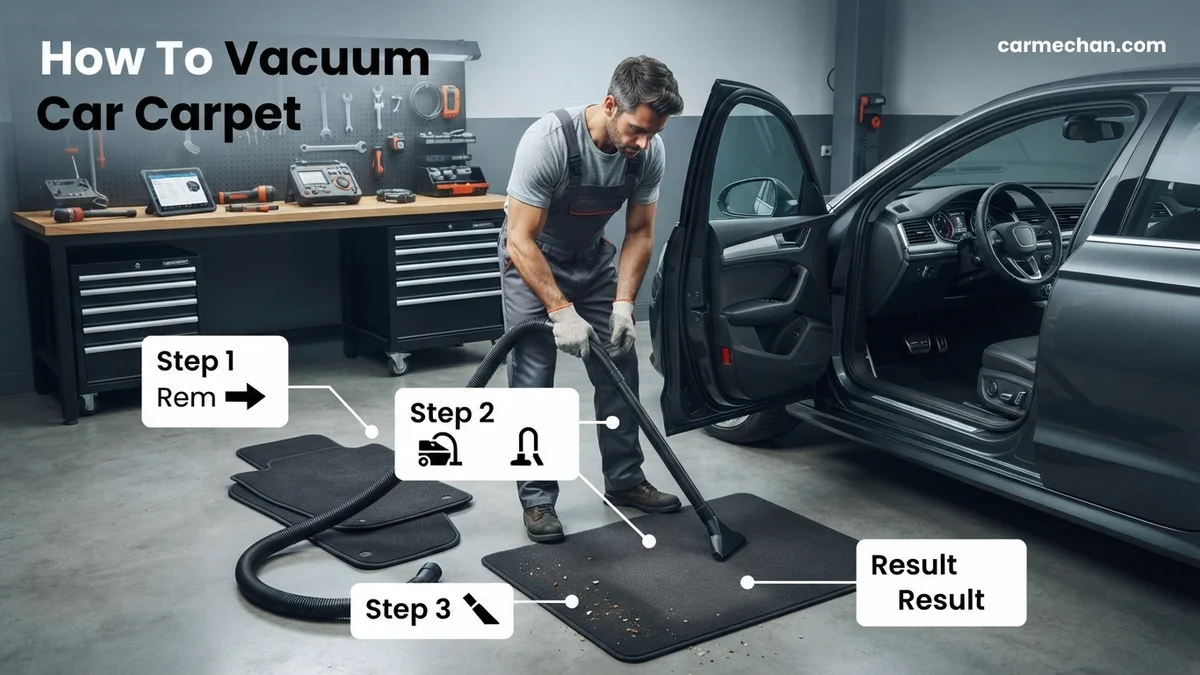
Start 6 Months FreeVacuuming a car carpet effectively requires more than just waving a household hose over the floorboards. To truly extract embedded grit, pet hair, and fine dust, you need a systematic three-step approach: thorough preparation, mechanical agitation to unseat trapped particles, and overlapping directional vacuum passes using specialized crevice tools.
Most car owners struggle with dirty carpets because surface vacuuming only catches 40 percent of the debris. By combining the right attachments with a stiff-bristle brush, you can completely transform your vehicle’s interior in under thirty minutes, keeping your cabin fresh and preventing premature fiber wear.
Key Takeaways
- Always remove all floor mats and personal items before starting.
- Use a stiff nylon brush to loosen embedded dirt and pet hair first.
- Vacuum in overlapping grid patterns for maximum debris extraction.
- Utilize a crevice tool to reach tight spaces between seats and rails.
- Tackle stubborn pet hair using a rubber squeegee or specialized pet tool.
Why Embedded Dirt and Debris Ruin Car Carpets
Recommended Best Deal Products


The Abrasion Cycle of Foot Traffic
Every time you step into your car in 2026, you track in microscopic shards of glass, silica sand, and abrasive dirt. When you press your feet against the floor mats and carpet, these hard particles act like tiny razor blades. They sever the base fibers of your automotive carpet with every movement. Once these fibers are cut, traffic lanes appear as permanent bald spots, making your interior look a decade older than it actually is.
Trapped Odors and Organic Buildup
Car carpets trap organic matter far differently than residential rugs. Food crumbs, pollen, spilled coffee, and pet dander filter deep down to the jute backing. Standard residential vacuums lack the static pressure and suction velocity to pull this material upward. Over time, humidity turns this trapped organic cocktail into a breeding ground for mold and stubborn odors that standard air fresheners simply cannot mask.
- Silica dust cuts carpet loops and destroys twist-definition.
- Organic matter decomposes in the jute backing, causing persistent musty smells.
- Packed debris prevents proper airflow, locking moisture inside the floorboards.
Master Vacuuming Car Carpets in 6 Simple Steps
Achieving a truly clean automotive interior requires more than just waving a vacuum wand across the floor mats. Over time, car carpets trap deeply embedded dirt, pet hair, salt, and stubborn debris that ordinary surface cleaning simply cannot reach. This comprehensive guide walks you through a professional-grade interior cleaning routine designed to restore your vehicle’s flooring to a showroom-fresh condition. By following these methodical steps, you will eliminate hidden allergens, remove stubborn embedded particles, and extend the lifespan of your vehicle’s interior carpeting.
Step 1: Declutter and Remove Floor Mats
What you need: Large trash bag, empty storage bin, or designated staging area outside the vehicle.
Instructions: Begin by removing all loose items, trash, water bottles, and personal belongings from the cabin and footwells. Open all four vehicle doors and the trunk to maximize natural light and cross-ventilation. Next, lift out all removable floor mats—both carpeted and all-weather rubber types—and set them completely outside the vehicle. Clearing the entire space ensures you will not accidentally vacuum over loose change, receipts, or small toys that could potentially damage your vacuum hose or clog the intake nozzle. Check underneath the seats and inside door pockets for hidden debris.
Pro Tip: Shake your floor mats vigorously against a hard outdoor surface before processing them further to dislodge the bulk of loose surface dirt and dried mud.

Audible — Listen Free for 30 Days
One free credit a month and thousands of titles included.
Listen Free for 30 DaysStep 2: Dry Vacuum Loose Debris and Surface Dirt
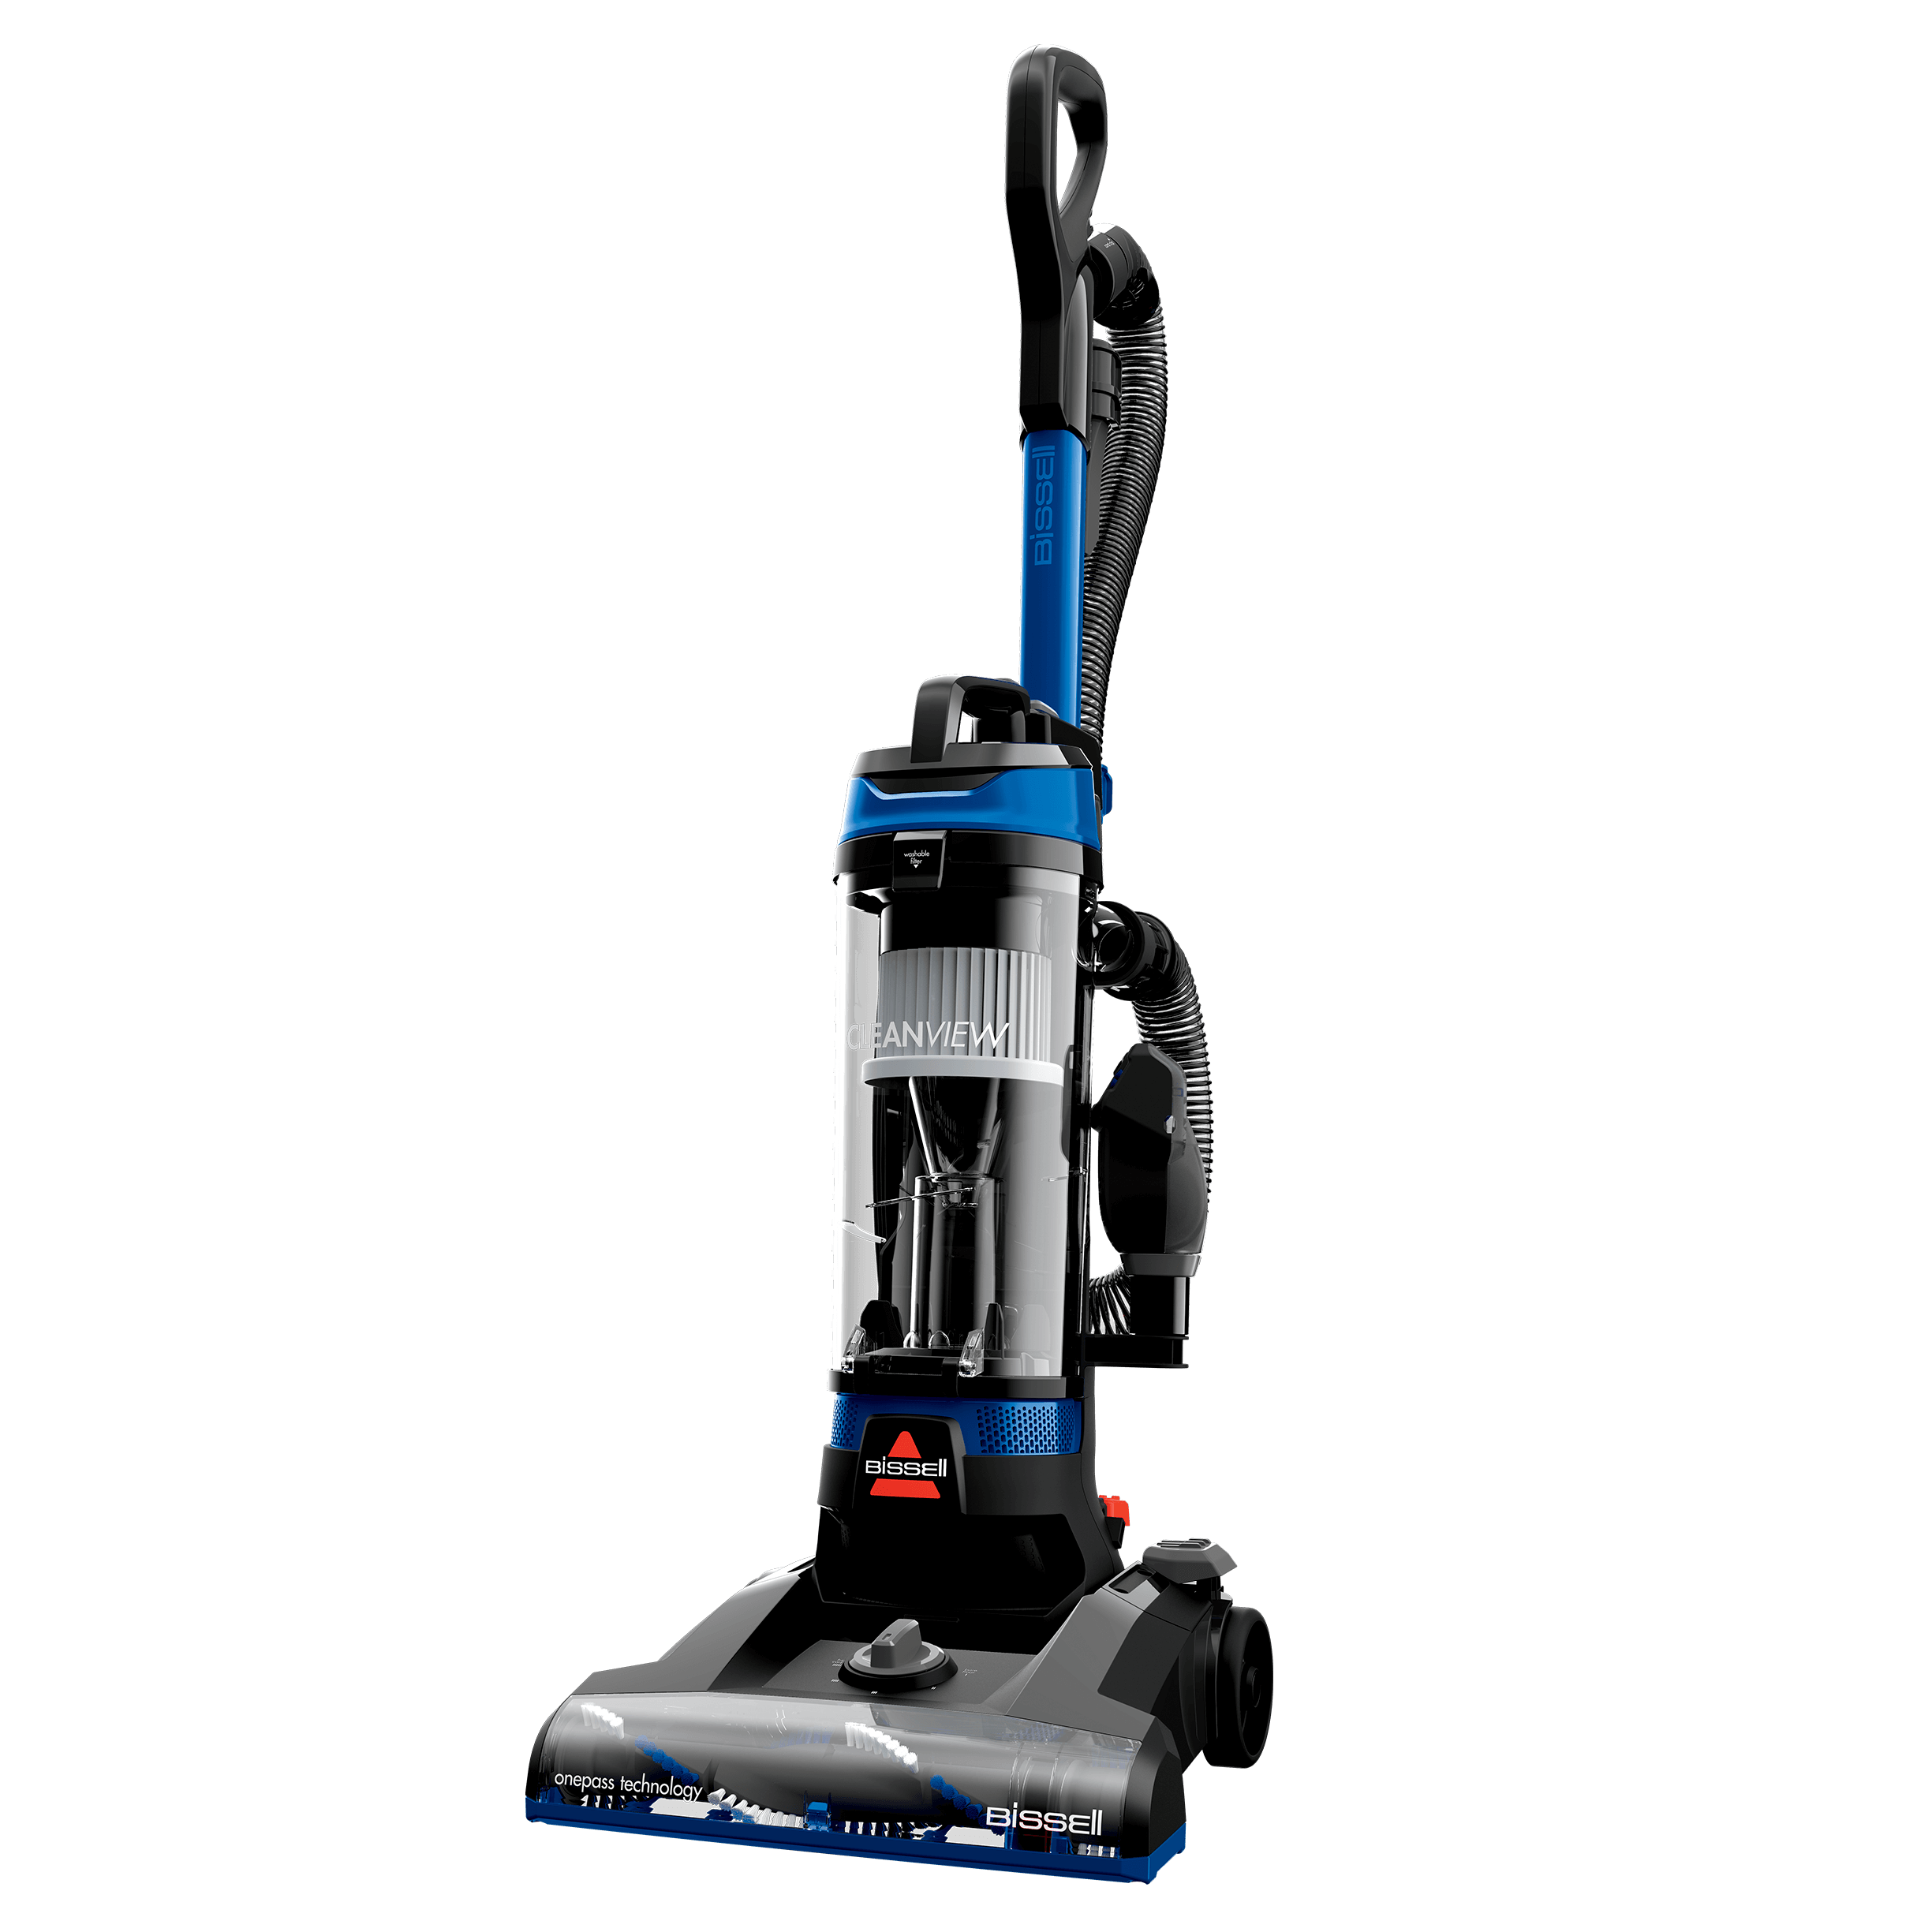
What you need: Heavy-duty wet/dry shop vacuum or high-powered household vacuum with a long hose attachment.
Instructions: Equip your vacuum with a wide floor nozzle or a crevice tool depending on the area. Start at the front passenger or driver side, working from the highest points of the footwell down toward the seat rails. Vacuum in slow, overlapping straight lines rather than erratic circular motions. This mechanical action helps lift crushed carpet fibers and captures surface-level sand, dust, and crumbs. Pay special attention to the accelerator and brake pedal zones, as these areas accumulate heavy grit that grinds deep into the weave over time.
Pro Tip: Always work from the top down and from the back of the car toward the doors so you do not accidentally track fresh dirt onto areas you have already cleaned.
Step 3: Agitate and Loosen Embedded Dirt
What you need: Stiff-bristled carpet brush, rubber pet hair removal brush, or an electric drill equipped with a soft carpet-cleaning brush attachment.
Instructions: Ground-in sand, pet hair, and dried mud wrap around carpet fibers like tiny anchors. To release them, take your stiff-bristled brush and vigorously scrub the carpet in a crisscross or circular motion. This crucial mechanical agitation breaks the static hold that hair and fine dust have on synthetic carpet fibers. If you have a cordless drill attachment, sweep it gently across the footwells and floor mats at a medium speed. You will immediately notice a cloud of hidden grey dust and trapped debris rising to the surface of the carpet fibers.
Pro Tip: Do not scrub excessively hard on delicate luxury wool or low-pile woven floor mats, as aggressive friction can fray or permanently damage the fabric texture.
Step 4: Perform a Secondary Deep-Extraction Vacuuming
What you need: Vacuum cleaner equipped with a narrow crevice tool and a rubberized pet hair attachment.
Instructions: Now that the stubborn dirt, pet hair, and grit have been mechanically loosened from the carpet weave, run your vacuum over the exact same zones a second time. Use the narrow crevice tool to get deep into the tight channels between the center console and the seat bases, along the plastic door sills, and into the seat tracks where debris loves to hide. Hold the vacuum nozzle flush against the carpet for a few extra seconds on high-traffic areas like the driver’s heel pad to ensure maximum suction extraction of the freshly loosened particles.
Pro Tip: If dealing with persistent pet fur, wear a damp rubber cleaning glove and wipe your hand across the carpet; the rubber creates static friction that rolls hair into easy-to-vacuum clumps.
Audible Premium Plus — Annual Membership
12 audiobook credits up front, plus the full Audible catalogue.
See Annual PlansStep 5: Treat Stubborn Stains and Odors
What you need: Automotive carpet cleaner spray, soft-bristled microfiber cloth, warm water, and baking soda (optional for odors).
Instructions: Inspect your freshly vacuumed carpets for visible stains, grease spots, or persistent odors. Spray a specialized automotive carpet and upholstery cleaner directly onto the stained areas—never over-saturate the carpet. Allow the solution to dwell for 30 to 60 seconds to break down organic compounds or oils. Gently blot and massage the stain with a clean microfiber cloth, working from the outside edges inward to prevent spreading. If you notice a musty odor, lightly dust baking soda over the dry carpet, let it sit for 15 minutes, and vacuum it up thoroughly.
Pro Tip: Never scrub stains with a harsh bristled brush during spot cleaning, as rubbing too hard can distort carpet fibers and create a noticeable faded or fuzzy patch.
Step 6: Reinstall and Finish the Interior Space
What you need: Clean, dry floor mats and an automotive interior air freshener.
Instructions: Ensure all treated carpet areas are completely dry to the touch before placing anything back inside the vehicle. If you washed your rubber or carpet mats outside, dry them thoroughly with a microfiber towel. Carefully slide the floor mats back into their designated footwells, making sure any factory retention hooks or securing clips lock securely into place to prevent the mats from sliding forward and interfering with the foot pedals. Finally, step back, inspect your work, and close all doors.
Pro Tip: Never drive with loose floor mats that lack proper anchor attachment, as a sliding mat can dangerously wedge underneath the brake pedal.
✅ Final Checklist
- All personal items, trash, and floor mats removed prior to vacuuming
- First pass completed to clear loose surface dust and large debris
- Carpet fibers thoroughly agitated with a brush or drill attachment to release grit
- Second deep-extraction vacuuming performed, targeting tight crevices and seat tracks
- Stains spot-treated and carpets verified dry
- Floor mats securely reinstalled and locked onto factory retention clips
Important Notes:
- Always turn off the vehicle ignition and keep electrical cords clear of moving seat adjustment tracks during cleaning.
- If dealing with severe biological contamination, mold infestations, or chemical spills, seek professional automotive detailing services.
- Estimated time: 45 to 90 minutes. Estimated cost: $0 if using household/existing tools, or $15-$25 if purchasing specialized carpet cleaner and brushes.
What Tools and Preparations You Need Before Vacuuming
Recommended Best Deal Products


Essential Attachments and Specialized Gear
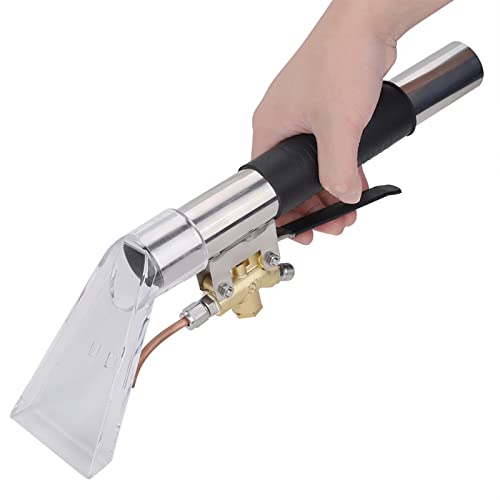
Standard wide floor nozzles fail inside modern vehicles because car interiors are packed with tight rails, seat tracks, and narrow footwells. To get professional results, you must equip your vacuum with the right attachments. A high-velocity claw nozzle concentrates suction over a smaller surface area, while a stiff nylon detailing brush works as your primary weapon against stubborn dirt.

Clearing the Cabin for Maximum Access
Do not attempt to vacuum around clutter. Remove all floor mats, personal items, and trash before touching the vacuum hose. Take your floor mats completely out of the car, shake them vigorously, and set them aside. Slide your front seats all the way forward to vacuum the rear footwells, then slide them all the way back to tackle the hidden dirt trapped directly underneath the front seat tracks.
Rubber-Bristled Pet Hair Rakes
Crucial for trapping and lifting embedded dog or cat hair that standard vacuums slide right over.
Angled Crevice Tools
Long, narrow attachments designed to reach deep between the center console and seat bolsters.
Stiff Nylon Scrub Brushes
Used dry to loosen tightly wedged sand particles from dense automotive loop carpet.
Step-by-Step Guide on How to Vacuum Car Carpet Properly
Executing a systematic cleaning process ensures maximum dirt extraction from deep within automotive fibers. Automotive detailing associations emphasize that a methodical approach prevents missing high-traffic zones where debris accumulates.
Step 1: The Crevice Extraction
- Attach a slim crevice tool to your high-powered vacuum to reach tight spaces between seat rails and center consoles.
- Work from the top of the cabin downward, pulling embedded grit out of seatbelt anchor points and side pockets.
- Vacuum along the absolute edges where the carpet meets the plastic door sills, as fine sand and salt frequently settle in these seams.
Step 2: The Cross-Hatch Vacuuming Technique
- Switch to a wide floor nozzle or specialized upholstery turbo-brush for the main footwell expanses.
- Move the vacuum nozzle slowly in a north-to-south direction across the entire driver and passenger footwells.
- Repeat the exact same path in an east-to-west cross-hatch pattern to lift crushed pile and extract particles trapped beneath the surface yarns.
What If Stubborn Pet Hair and Ground-In Grit Still Won’t Budge
Standard household or cordless vacuums occasionally fail to remove tightly locked pet hair or calcified road salt from dense automotive nylon. Professional detailers utilize mechanical agitation tools to break the electrostatic bond holding these contaminants to the fibers.
Step 1: Use a Rubber Pet Hair Detailer
Swipe a specialized rubber lint brush or squeegee blade firmly across the carpet fibers in a single direction to roll embedded pet fur into manageable clumps before vacuuming again.
Step 2: Apply Enzyme-Based Carpet Surfactants
Spray a dedicated automotive interior cleaner onto heavily soiled patches to break down organic oils that anchor stubborn grit to the carpet backing.
Step 3: Mechanical Bristle Agitation
Scrub the dampened area gently with a stiff-bristled nylon brush to loosen calcified minerals, then extract the loosened residue immediately with a wet-dry vacuum system.
If DIY extraction methods fail to remove deeply embedded contaminants or biological odors by 2026, professional interior detailing services offer hot-water extraction starting at $150 to $250.
Conclusion
Mastering how to vacuum car carpet requires more than a quick pass with a household hose; it demands targeted agitation, specialized attachments, and a strict cross-hatch cleaning pattern. According to verified research and automotive maintenance experts, routine deep-vacuuming every two to three weeks dramatically extends the lifespan of vehicle flooring while preserving cabin air quality. Take the next step today by inspecting your vehicle footwells, selecting the appropriate nozzle attachments, and executing a thorough, systematic carpet extraction.
❓ Frequently Asked Questions
How often should I vacuum my car carpet?
You should thoroughly vacuum your car carpets every two to four weeks to prevent dirt from grinding permanently into the fibers. If you transport pets or frequently drive on unpaved roads, weekly vacuuming is recommended.
Why does my car carpet still look dirty after vacuuming?
Surface vacuuming only removes loose particles while leaving behind embedded grit and tangled hair. To fix this, you must manually agitate the carpet fibers with a stiff brush to loosen trapped debris before making another vacuum pass.
Is it better to vacuum car carpets when they are wet or dry?
Always vacuum car carpets when they are completely dry. Vacuuming wet carpet fibers can damage standard vacuums, reduce suction efficiency, and push dirt deeper into the backing material.
How do I clean underneath the car seats effectively?
Slide both front seats as far forward as possible to vacuum behind them, then slide them all the way back to clean the front tracks. Use a long, flexible crevice attachment to reach deep under the seat mechanisms where debris accumulates.
What is the best way to handle stubborn salt stains on car carpets?
Before vacuuming, mix equal parts warm water and white vinegar, blot the salt stain with a microfiber towel, and let it break down the mineral crust. Once the area is completely dry, brush and vacuum the residue away.
Do I need a shop vacuum, or will a cordless car vacuum work?
Cordless handheld vacuums are convenient for quick cleanups, but they often lack the sustained suction needed for deep-pile automotive carpets. A heavy-duty shop vacuum or a powerful corded household vacuum yields much better results.