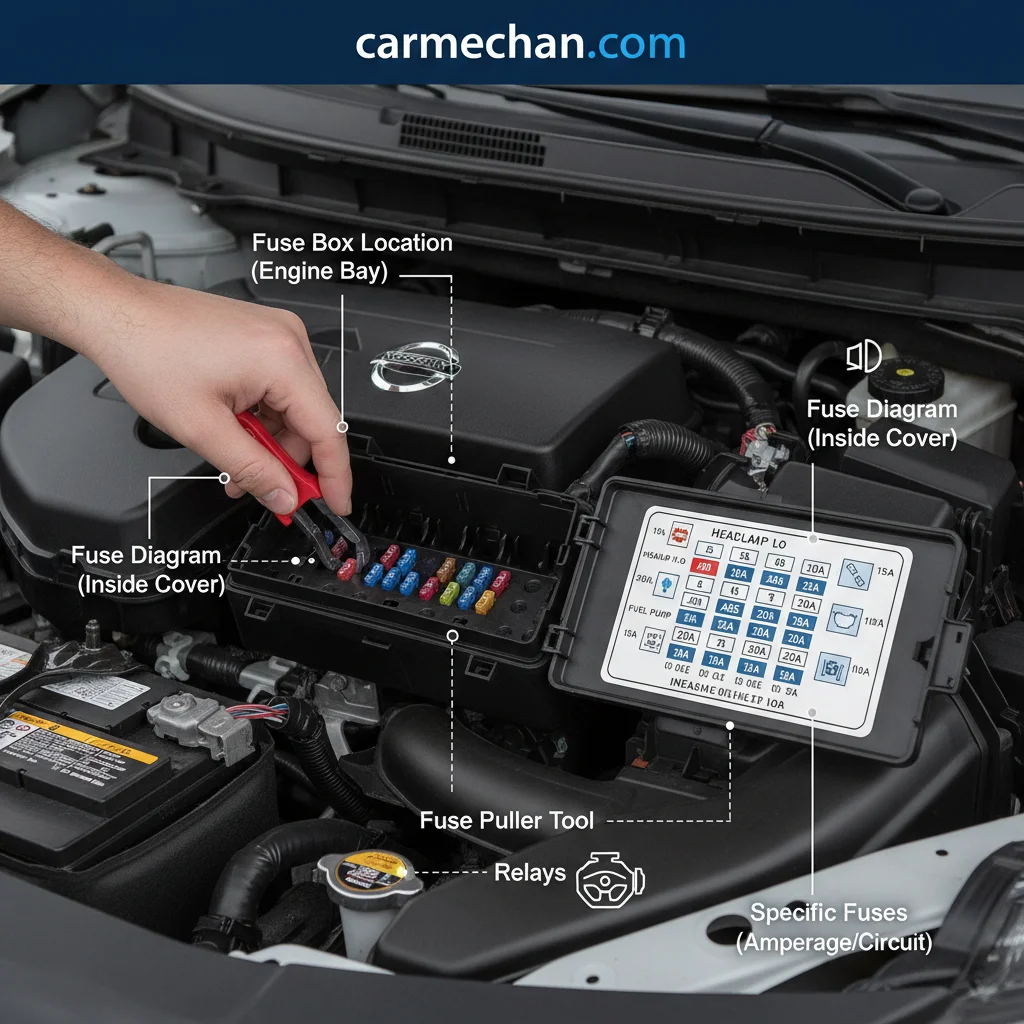
Your 2017 Nissan Rogue typically has two main fuse box locations.
To identify a blown fuse, first, locate the suspected fuse using your 2017 Nissan Rogue fuse box diagram.
Replacing a fuse in your 2017 Nissan Rogue requires minimal tools.
No, you should never use a fuse with a different amperage rating than specified in your 2017 Nissan Rogue fuse box diagram.
High-resolution, clear diagrams for all 2017 Nissan Rogue fuse box locations (e.g., underhood, passenger compartment).
Finding the 2017 Nissan Rogue fuse box diagram is crucial for diagnosing electrical issues and performing basic repairs, and this guide provides all the details you need. Electrical problems, from a non-functioning radio to dim headlights, often stem from a simple blown fuse. Knowing where your fuse boxes are located and how to interpret their diagrams empowers you to address these issues effectively.
In your 2017 Nissan Rogue, you’ll find primary fuse boxes in both the passenger compartment and the engine bay. This guide will walk you through precise locations, detailed diagrams, and step-by-step instructions for checking and replacing fuses safely. Let’s dive into what this comprehensive guide will help you achieve for your 2017 Nissan Rogue.
We’ve meticulously structured this guide to equip you with the knowledge needed for effective fuse management in your 2017 Nissan Rogue. This comprehensive resource focuses on practical, actionable information for the DIY car owner.
Detailed Fuse Box Identification: We provide specific locations for both the passenger compartment and engine bay fuse boxes.
Diagrams and Tables: We detail fuse identification, amperage ratings, and the circuits protected by each fuse, based on the official 2017 Nissan Rogue service manual Haynes Manuals, specifically the ‘Nissan Rogue (2014-2020) Repair Manual’ published by Haynes Publishing. (haynes.com).
Step-by-Step Replacement: You’ll find clear instructions for safely checking, removing, and replacing a blown fuse.
Common Electrical Issue Resolution: We address typical problems that can be solved with a simple fuse replacement.
Safety First: This guide includes crucial warnings and necessary precautions to protect both you and your vehicle.
Please note that this guide focuses solely on fuse diagnosis and replacement. It does not cover in-depth electrical system diagnostics beyond fuse-related issues, nor does it detail repairs for complex wiring harness failures or component-level electrical troubleshooting.
This detailed fuse guide is specifically designed for 2017 Nissan Rogue owners who possess a foundational understanding of automotive mechanics and are comfortable performing basic DIY tasks. If you prefer to handle minor electrical troubleshooting yourself and are committed to following safety protocols, this resource is for you.
Who Benefits From This Fuse Guide 2017 nissan rogue fuse box diagram
You will benefit most if you:
Are a DIY car owner looking to save time and money on simple electrical repairs.
Have basic mechanical aptitude and are familiar with common hand tools.
Understand the importance of vehicle safety and electrical precautions.
If you are uncomfortable working with vehicle electrical systems, lack basic tool knowledge, or prefer professional assistance, we recommend consulting a certified Nissan mechanic. Attempting repairs without the necessary comfort or skills can lead to further damage or injury.
Successfully locating and replacing a blown fuse in your 2017 Nissan Rogue requires a precise, step-by-step approach. Follow these instructions carefully to ensure safety and proper functionality.
Safe Negative Battery Terminal Disconnection
1
Gather Tools
Collect your wrench/ratchet (typically 10mm or 13mm), safety glasses, and gloves.
2
Locate Negative Terminal
Identify the negative battery terminal. It’s marked with a “–” symbol.
Rayan is the founder, author, and editor of CarMechan.com, a leading automotive resource dedicated to providing accurate, up-to-date, and comprehensive information on vehicle maintenance, repairs, and performance enhancements. As a professional automotive technician, Rayan brings a wealth of knowledge and expertise to the table.
In addition to his automotive expertise, Rayan is an adept writer and editor who has published more than 500 articles on various automotive topics. His dedication to providing useful, reliable, and trustworthy content has earned him the respect of car owners and enthusiasts worldwide.
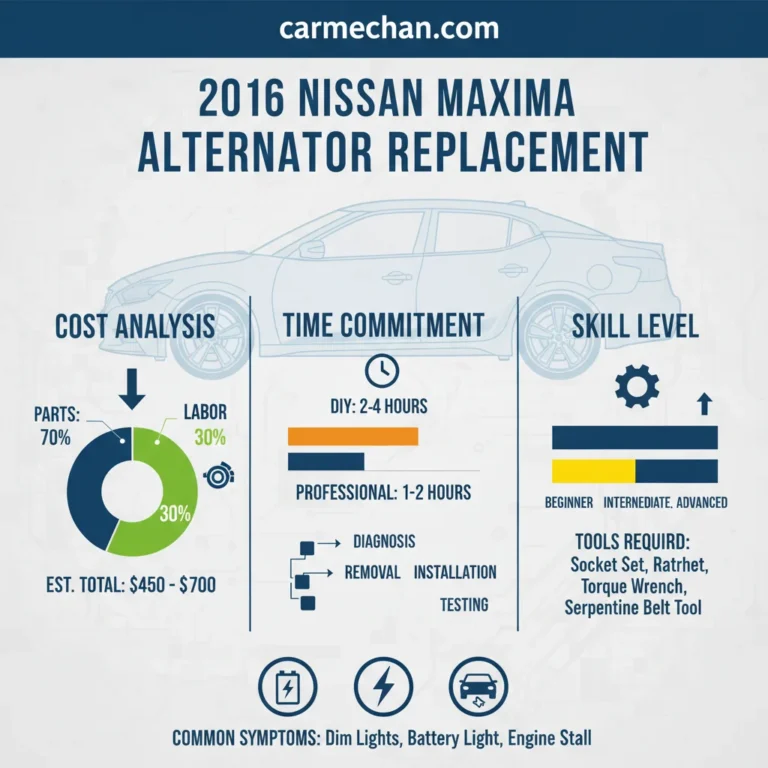
Last Updated on September 1, 2026 by Ryan 📋 In This Guide Diagnosing Our 2016 Maxima Alternator Problem Multimeter Car Battery & Charging System Test Why We Chose DIY Alternator Replacement Step by Step 2016 Nissan Maxima Alternator Removal Our Real Cost and Time for Alternator Repair What Challenges Emerged During Alternator Swap Successful Strategies…
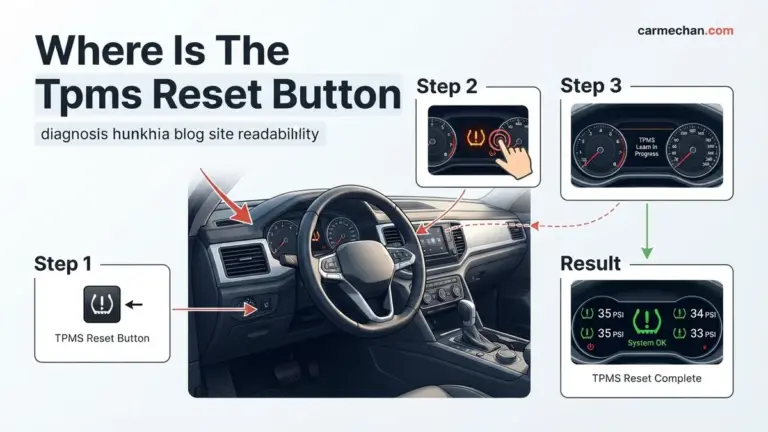
Last Updated on September 1, 2026 by Ryan 📌 Quick Summary Most modern vehicles no longer use a physical reset button; instead, you navigate through your dashboard settings or infotainment menu. If you cannot find a button under the steering wheel or in the glove box, the system often performs an automatic reset once tires…
Last Updated on September 1, 2026 by Ryan Quick Summary When your anti theft system won’t let your car start, it typically indicates an active immobilizer, often triggered by issues like a dead key fob battery, a low car battery, or a system glitch. The immediate solution often involves specific key cycling, battery checks, or…
Last Updated on September 1, 2026 by Albert Duke Quick Summary High output alternators are essential for powerful car audio systems, providing stable, increased amperage to prevent voltage drops and ensure optimal amplifier performance. Choosing the right one involves calculating power needs, understanding vehicle compatibility, and considering reputable brands to maintain electrical system integrity. High…
Last Updated on September 1, 2026 by Ryan 📌 Quick Summary When considering a used Buick Envision, the first-generation models, particularly 2016-2018, are often cited for more frequent reliability concerns. These years commonly experience significant issues with the 6-speed automatic transmission and various electrical system malfunctions, making a thorough pre-purchase inspection crucial for potential buyers….
Modern vehicles are increasingly driving themselves, but do you know where your responsibility ends and the computer’s begins? Drivers often mistake convenience features for full autonomy, leading to dangerous gaps in attention and situational awareness. This guide provides a professional, clear look at how adaptive cruise control and lane assist function, their real-world limits, and…