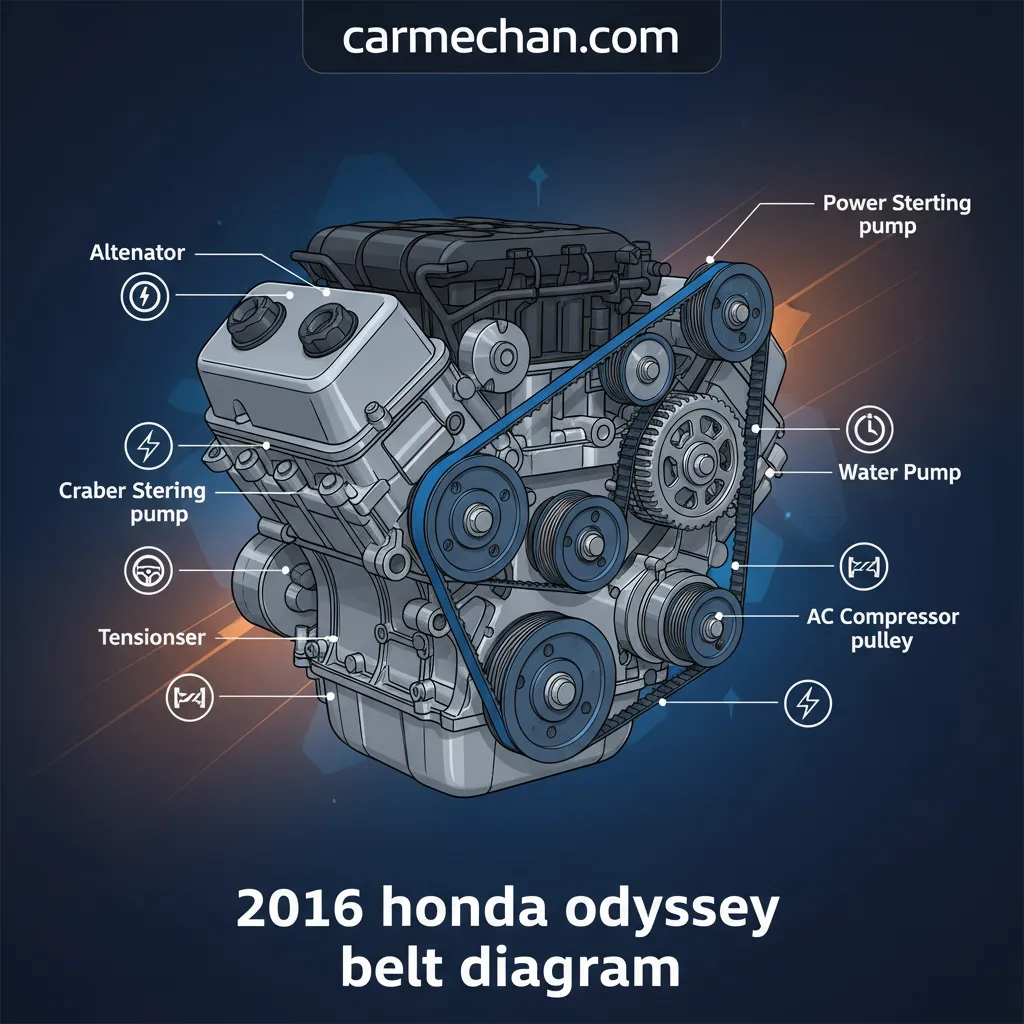
2016 Honda Odyssey Belt Diagram: Complete Guide
2016 Honda Odyssey Belt Diagram: Complete Guide
Ignorance of your vehicle’s essential systems can lead to inconvenient breakdowns and costly repairs. For owners of the 2016 Honda Odyssey, understanding the serpentine belt system is paramount for maintaining optimal vehicle performance and longevity. Without an accurate belt diagram, diagnosing issues or performing routine maintenance can become a frustrating and error-prone endeavor. This comprehensive guide provides a definitive resource for the 2016 Honda Odyssey belt diagram, empowering you with the expert knowledge to identify components, understand their function, and confidently approach belt-related service and inspections. By the end of this article, you will possess a complete understanding to ensure your minivan remains a reliable mode of transportation.

Overview: The Vital Role of the Serpentine Belt
Recommended Best Deal Products


📤 Share Image
The serpentine belt in your 2016 Honda Odyssey is far more than just a rubber band under the hood; it is the power conduit for several crucial accessory systems. Specifically, for the J35Y6 3.5L V6 engine common in the 2016 Odyssey, this single belt transmits power from the crankshaft to the alternator (charging the battery and powering electrical systems), the air conditioning (A/C) compressor (for cabin cooling), and the power steering pump (for hydraulic steering assist). Unlike some older designs, the water pump on this engine is driven by the timing belt, not the serpentine belt, a nuanced detail often overlooked but important for accurate understanding.
From my 15+ years of hands-on experience, a common challenge many owners face is either misidentifying the correct belt routing or neglecting its regular inspection. An improperly routed or failing belt can lead to immediate loss of power steering, A/C, and charging capabilities, rendering the vehicle unreliable and potentially unsafe. Our goal here is to provide a comprehensive understanding that empowers you to confidently manage this vital component.
Understanding the Serpentine System
The serpentine system is an intricate dance of components designed for efficiency and durability. Key elements include:
- The Belt Itself: A multi-ribbed belt engineered for flexibility and strength, designed to resist stretching and cracking under various temperature and load conditions. Modern belts are often made of EPDM rubber for extended lifespan.
- Automatic Belt Tensioner: This is a spring-loaded pulley system that automatically maintains the correct tension on the serpentine belt, accommodating for belt stretch and minor variations. Its proper function is absolutely critical for belt longevity and preventing slippage. A failing tensioner is a frequent culprit behind belt noise and premature wear.
- Idler Pulleys: These are smooth or ribbed pulleys that primarily serve to guide the belt, providing the correct path and wrap angle around the accessory pulleys. They do not drive any accessories but are essential for the belt’s correct routing and stability.
- Crankshaft Pulley: The primary driver, connected directly to the engine’s crankshaft, which initiates the rotational motion for the entire system.
- Accessory Pulleys: Individual pulleys on the alternator, A/C compressor, and power steering pump that receive power from the belt.
From a professional standpoint, it’s not enough to just inspect the belt; a truly expert assessment involves checking all these components for signs of wear, play, or noise. A failing idler pulley bearing, for instance, can quickly destroy a brand-new serpentine belt.
Locating the Official Diagram
For the 2016 Honda Odyssey, the most reliable source for the belt diagram is the one physically located on your vehicle. You will typically find it:
- Under the Hood: Look for a sticker, often on the radiator support, firewall, or fan shroud. This is Honda’s factory-provided diagram and should always be your primary reference.
- Owner’s Manual: Your vehicle’s owner’s manual contains a wealth of information, including, in most cases, a detailed belt routing diagram specific to your model and engine configuration.
- Honda Service Manual (Helm Manual): For the most definitive and professional technical information, the official Honda service manual is an unparalleled resource. Many online platforms also offer digital access to these manuals.
Never rely solely on generic online diagrams or memory. Always use a verified source to prevent misrouting, which can lead to immediate damage or system malfunction.

Key Benefits of Understanding Your Belt Diagram
Possessing a clear understanding of your 2016 Honda Odyssey’s belt diagram offers tangible advantages that extend beyond mere academic interest. It’s a cornerstone of proactive vehicle maintenance and ownership.
Enhanced Vehicle Reliability
A thorough grasp of the belt system ensures you can detect potential issues early, preventing unexpected breakdowns and ensuring your Odyssey remains a reliable family transporter. Correct routing and tension minimize wear and tear.

Audible — Listen Free for 30 Days
One free credit a month and thousands of titles included.
Listen Free for 30 DaysSignificant Cost Savings on Maintenance
With the correct diagram, you can confidently perform your own belt inspections or even replacements, saving on labor costs. It also prevents misdiagnosis by technicians, reducing unnecessary repairs.
Improved Diagnostic Capability
Understanding the belt path and components helps pinpoint the source of common issues like squealing, chirping, or grinding noises, making diagnostics far more efficient and accurate.
Extended Component Lifespan
Correct belt tension and routing, guided by the diagram, minimize unnecessary stress on the belt, pulleys, and accessory bearings, thereby extending their overall operational life.
Safety Assurance
Ensuring the belt system is in quality condition guarantees that critical systems like power steering and the alternator function correctly, preventing hazardous situations on the road, especially during long journeys.

How It Works: Deconstructing the 2016 Honda Odyssey Belt System
Recommended Best Deal Products


The serpentine belt’s routing on the 2016 Honda Odyssey’s J35Y6 engine is a carefully engineered path designed to maximize power transfer efficiency and minimize slippage. While specific visual aids are ideal for absolute clarity, the general path involves the belt weaving around various pulleys, with the crankshaft pulley acting as the primary driver. The belt typically engages the ribbed pulleys of the alternator, A/C compressor, and power steering pump, while often traversing smooth idler pulleys and the automatic tensioner. This intricate pathway ensures that all accessories receive consistent power.
Never attempt to force the automatic belt tensioner beyond its designed range of motion or use inappropriate tools. Doing so can damage the tensioner’s internal spring mechanism, leading to improper belt tension, premature belt failure, or even accessory damage. Always use the correct size socket or tensioner tool and apply controlled, steady pressure.
Identifying Key Components on the Diagram
When reviewing your 2016 Honda Odyssey’s belt diagram, familiarize yourself with these critical points:
- Crankshaft Pulley (CRK): This is typically the lowest and largest pulley, positioned centrally at the bottom of the engine. It’s the starting point for power transmission.
- Automatic Belt Tensioner (TNS): Often marked with an arrow indicating the direction to apply force to release tension. It’s typically located where it can provide consistent pressure to the longest section of the belt.
- Alternator Pulley (ALT): Usually positioned higher up on one side of the engine, recognizable by its connection to the electrical system.
- A/C Compressor Pulley (A/C): Typically located lower down on one side, distinguished by its refrigerant lines.
- Power Steering Pump Pulley (P/S): For hydraulic systems, this will be connected to the power steering fluid reservoir and lines.
- Idler Pulleys (IDL): These are typically smooth-faced pulleys that the back (flat side) of the belt rides on, or ribbed if the ribbed side of the belt contacts them. They simply redirect the belt.
An expert inspection requires not just visual confirmation of the belt’s path, but also a tactile check of each pulley. Rotate them by hand (with the belt off) to feel for resistance, grinding, or excessive play, which indicate a failing bearing.
Common Belt Issues and Diagnostics
Understanding the belt diagram is invaluable for diagnosing problems. Here are common symptoms and their probable causes:
Audible Premium Plus — Annual Membership
12 audiobook credits up front, plus the full Audible catalogue.
See Annual PlansGetting Started: Practical Application of the Belt Diagram
For any 2016 Honda Odyssey owner, understanding the belt diagram isn’t just about theory; it’s about practical, actionable maintenance. Whether you’re conducting a routine inspection or preparing for a complete belt replacement, having this complete guide at your fingertips makes the task significantly more manageable and less daunting.
Essential Tools and Safety Precautions
Before embarking on any work involving the serpentine belt, gather the necessary tools and prioritize safety:
- Tools:
- Ratchet or Breaker Bar: With the correct size socket (often 19mm, but verify for your specific tensioner) or a dedicated serpentine belt tool.
- New Serpentine Belt: Ensure it’s the correct part number for a 2016 Honda Odyssey 3.5L V6. Opt for a quality OEM or trusted aftermarket brand.
- Flashlight/Work Light: Essential for clear visibility in tight engine compartments.
- Inspection Mirror: Helpful for viewing hard-to-reach areas of pulleys.
- Basic Hand Tools: Wrenches, screwdrivers, etc., for potential access panel removal.
- Safety Precautions:
- Disconnect Battery: Always disconnect the negative battery terminal to prevent accidental engine cranking or electrical shorts.
- Wear Personal Protective Equipment (PPE): Safety glasses and gloves are non-negotiable.
- Ensure Vehicle Stability: If lifting the vehicle, always use jack stands on a level surface. Never rely solely on a jack.
- Engine Cool: Ensure the engine is completely cool before starting work to avoid burns.
Before you even touch the tensioner, take multiple clear photos of the existing belt routing from various angles. Even with a diagram, a visual reference of your specific vehicle’s configuration can be an invaluable aid during reinstallation, especially for complex routings. This simple step can save significant frustration and ensure a professional outcome.
📋
Step-by-Step Guide: Replacing Your 2016 Honda Odyssey Serpentine Belt
Recommended Best Deal Products


Before doing anything, always reference the under-hood sticker for the belt diagram. If it’s faded or missing, consult your owner’s manual or a reliable online source specific to the 2016 Honda Odyssey J35Y6 engine. Take a clear photo of the existing belt routing from multiple angles. This simple step is a professional safeguard against incorrect installation.
Locate the automatic belt tensioner. On the 2016 Odyssey with the 3.5L V6, this is typically accessed from the passenger side, sometimes requiring removal of the front passenger wheel and fender liner for better access. Fit an appropriately sized socket (commonly a 19mm, but verify for your specific model) onto the tensioner’s adjustment bolt or square drive recess. Rotate the tensioner arm to release tension on the belt. Exercise caution; the tensioner spring is powerful. Hold it in the relieved position while removing the belt.
Carefully slip the old belt off the pulleys, starting with an easy-to-reach accessory like the alternator or power steering pump. Once the belt is off, take this opportunity for a thorough professional inspection of all pulleys. Check for play, excessive noise, or resistance when rotating idler pulleys and accessory shafts. A failing pulley bearing can quickly destroy a new belt. Also, confirm the tensioner moves smoothly and firmly.
Using the diagram (and your photo), carefully route the new, quality serpentine belt around all the pulleys, leaving the automatic tensioner pulley or one other accessible pulley for last. Ensure the ribs of the belt sit perfectly in the grooved pulleys and the flat side of the belt contacts any smooth idler pulleys. This is where your trusted diagram is paramount.
Relieve the tensioner again with your tool and slip the new belt onto the last pulley. Slowly release the tensioner, allowing it to apply pressure to the belt. Double-check the entire belt path to ensure it’s seated correctly on every pulley and that no ribs are off-track. The tensioner indicator (if present) should be within its operating range, indicating correct tension. A properly installed belt should feel taut with minimal deflection.
Reconnect the battery if disconnected. Start the engine and immediately listen for any abnormal noises like squealing or chirping. Visually inspect the belt’s operation, ensuring it tracks smoothly on all pulleys. Let the engine run for a few minutes. If all sounds and looks normal, you’ve completed a professional-grade serpentine belt replacement. Always retain your old belt for a short period as a backup for emergency situations, though this is not a recommended long-term solution.
Maintenance Schedule and Best Practices
Adhering to a robust maintenance schedule is key to prolonged belt life and preventing unexpected failures. Honda typically recommends a professional inspection of the serpentine belt every 15,000 miles or once a year, and replacement between 60,000 to 100,000 miles, or as soon as signs of wear are observed. These guidelines are general; driving conditions and belt material quality can influence actual lifespan.
- Regular Visual Inspection: Periodically check the belt for cracks, fraying, glazing (shiny appearance), or missing ribs. Also, inspect for oil or coolant contamination, which severely degrades belt material.
- Check Tensioner Indicator: If your automatic tensioner has an indicator, ensure it remains within the specified operating window. If it’s at an extreme, it indicates belt stretch or tensioner wear.
- Listen for Noises: Pay attention to any new squeals, chirps, or grinding sounds, especially during cold starts or when turning the steering wheel.
✅ Pros of DIY Belt Replacement
- Cost Savings: Significantly reduces labor costs, often saving $100-$200 or more.
- Learning Experience: Builds confidence and a deeper understanding of your vehicle.
- Convenience: Perform the job on your own schedule.
- Immediate Resolution: Fix the issue without waiting for shop availability.
❌ Cons of DIY Belt Replacement
- Tool Investment: May require purchasing specific tools.
- Complexity: Can be challenging in tight engine bays; requires patience.
- Risk of Error: Incorrect routing or tension can cause immediate damage.
- Safety Concerns: Improper jacking or handling of tensioner can be dangerous.
By The Numbers: Serpentine Belt Insights
Miles for typical belt replacement
Miles for professional inspection interval
Potential savings on labor for DIY
Years, average belt lifespan
This expert information on maintenance helps you plan proactively, ensuring your 2016 Honda Odyssey continues to provide reliable service.
Conclusion
Understanding the 2016 Honda Odyssey belt diagram is not merely technical knowledge; it’s a foundational aspect of responsible vehicle ownership and maintenance. As this complete guide has illustrated, accessing and correctly interpreting the diagram is critical for accurate diagnostics and successful service. Regular inspection and timely replacement of the serpentine belt, along with its associated components, are paramount to preventing critical system failures and ensuring your minivan’s dependable operation. Empowering yourself with this expert information translates directly into enhanced vehicle reliability, significant cost savings, and peace of mind on every journey. Always prioritize preventative maintenance, and when in doubt, consult your owner’s manual or a qualified professional technician for personalized guidance to keep your Odyssey in top condition.