Honda Crv Emissions System Problem: Diagnosis, Common Issues & Resolution
Is your Honda CRV’s check engine light signaling an emissions system issue? Emissions system problems in a Honda CRV can lead to decreased performance, poor fuel economy, failed inspections, and potentially costly repairs if not addressed promptly and correctly. As a seasoned automotive expert, I understand the frustration and uncertainty these issues can cause. This authoritative guide will provide a comprehensive blueprint for diagnosing, troubleshooting, and resolving common Honda CRV emissions system problems, empowering you to understand the underlying causes and pursue effective solutions.


Understanding Your Honda CRV’s Emissions Control System
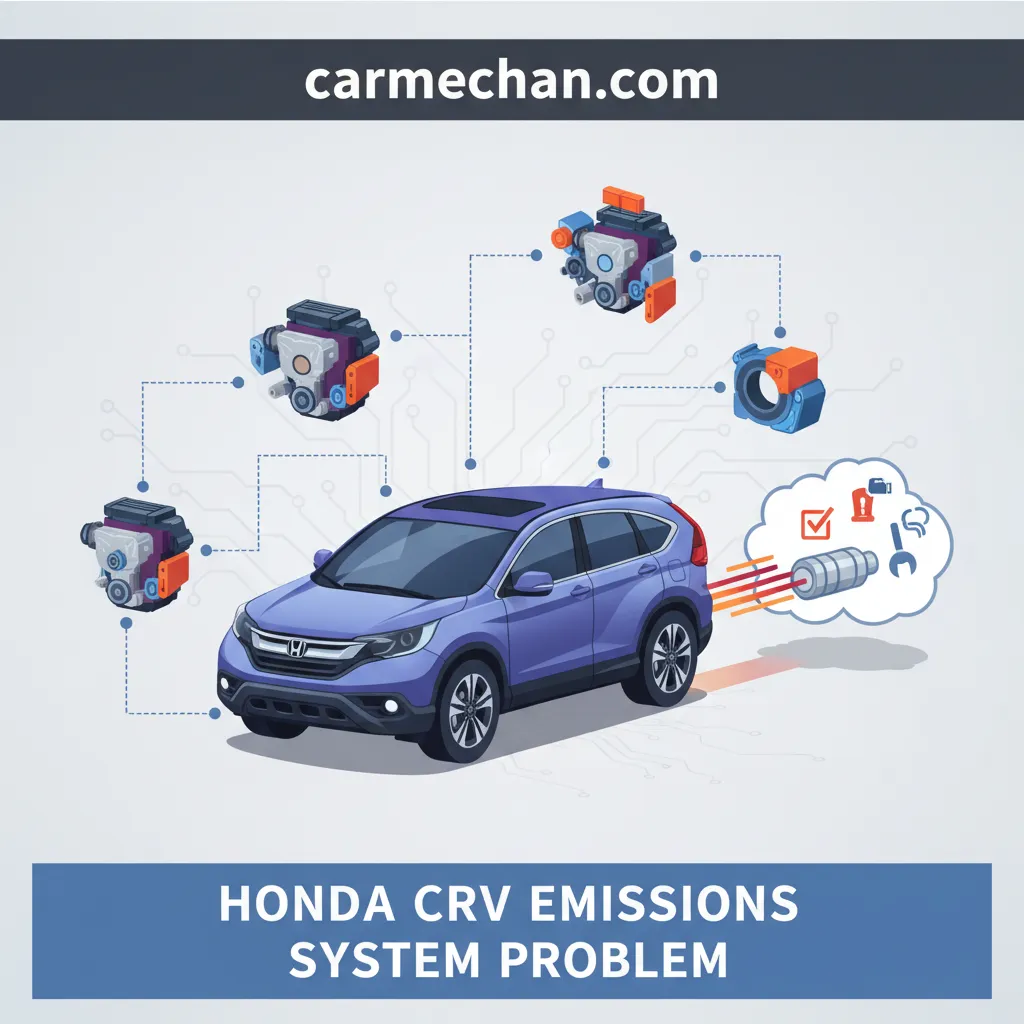
The emissions control system in your Honda CRV is a sophisticated network of components meticulously engineered to reduce harmful pollutants released into the atmosphere while simultaneously maintaining optimal engine efficiency. Modern vehicles are designed to meet stringent environmental standards set by agencies like the EPA and CARB, often achieving a 99% reduction in pollutants compared to unregulated vehicles.
📤 Share Image
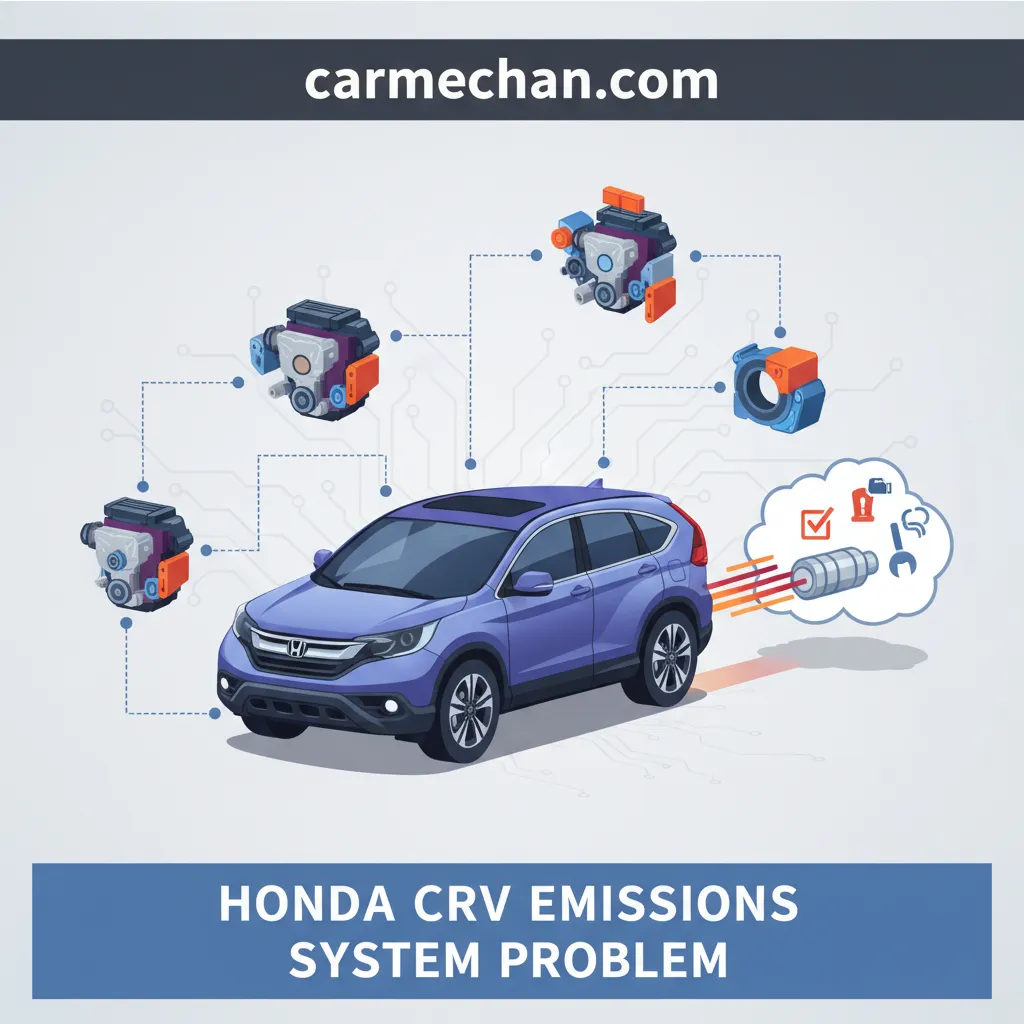
At its core, this system manages the byproducts of combustion, primarily nitrogen oxides (NOx), carbon monoxide (CO), and unburnt hydrocarbons. Key components orchestrating this complex task include:
- Catalytic Converter: This essential component, positioned within the exhaust stream, converts toxic gases into less harmful substances through catalytic chemical reactions. A healthy catalytic converter transforms CO into carbon dioxide, unburnt hydrocarbons into water and carbon dioxide, and NOx into nitrogen and oxygen.
- Oxygen (O2) Sensors: Typically, CRVs utilize multiple O2 sensors. Upstream sensors monitor the oxygen content in the exhaust gases before the catalytic converter, providing crucial data to the Powertrain Control Module (PCM) for air-fuel mixture adjustments. Downstream sensors monitor the exhaust post-catalytic converter, assessing its efficiency.
- Exhaust Gas Recirculation (EGR) System: The EGR system diverts a small portion of exhaust gases back into the engine’s combustion chambers. This process lowers combustion temperatures, effectively reducing the formation of nitrogen oxides (NOx), a significant pollutant.
- Evaporative Emission Control (EVAP) System: Designed to capture and store fuel vapors that evaporate from the fuel tank and lines, the EVAP system prevents their release into the atmosphere. These vapors are then drawn into the engine to be burned during normal operation.
- Powertrain Control Module (PCM): The “brain” of the emissions system, the PCM continuously monitors all these components via sensor data. It makes real-time adjustments to optimize engine performance and emissions output. When the PCM detects an out-of-specification reading from any emissions component, it triggers the Check Engine Light (CEL), indicating a fault and storing a corresponding diagnostic trouble code (DTC).
Understanding the interplay of these components is foundational to effectively diagnosing and resolving any emissions-related issues in your Honda CRV.
Identifying Common Symptoms of Honda CRV Emissions System Issues
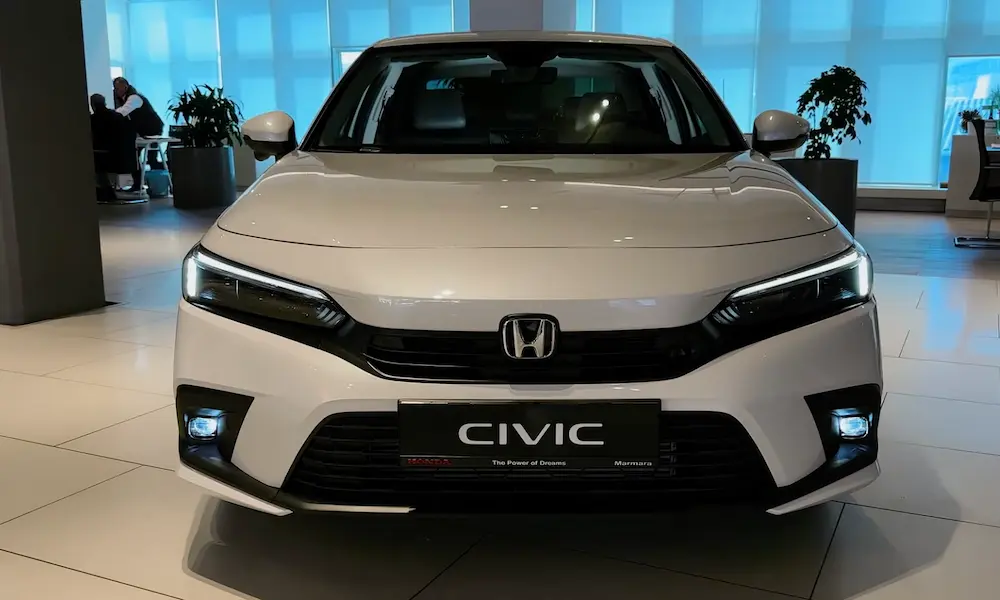
Recognizing the warning signs of an emissions system malfunction in your Honda CRV is the critical first step toward a timely repair. These symptoms often manifest subtly at first, gradually worsening if left unaddressed. While emissions-related issues frequently rank high among reasons for Check Engine Light activation in Honda models, other indicators can also provide valuable clues.
The Illumination of the Check Engine Light (CEL)
This is the most direct and common indicator. A steady Check Engine Light typically signals a non-critical but persistent issue that requires attention. However, a flashing Check Engine Light is a severe warning, indicating a misfire detected by the PCM. This flashing light means unburnt fuel is entering the catalytic converter, where it can rapidly overheat and cause catastrophic, expensive damage. Immediate action is required to prevent further harm.
Noticeable Changes in Vehicle Performance
A malfunctioning emissions system can directly impact your CRV’s driveability. Key indicators include:
- Reduced Fuel Economy: A faulty oxygen sensor or EGR valve can disrupt the air-fuel mixture, causing the engine to run rich or lean, directly impacting MPG. For instance, a 2015 CRV owner might notice a drop from 28 MPG to 22 MPG along with a rough idle, signaling a potential O2 sensor or EGR issue that needs to be diagnosed.
- Rough Idle or Stalling: Issues with the EGR valve, PCV valve, or even severe vacuum leaks within the EVAP system can lead to an unstable idle or cause the engine to stall unexpectedly.
- Sluggish Acceleration or Lack of Power: A restricted catalytic converter, for example, creates excessive backpressure, effectively choking the engine and severely limiting its ability to accelerate or produce power.
Unusual Exhaust Smells
Olfactory clues can be surprisingly insightful:
- Strong Sulfur (Rotten Eggs) Smell: This distinct odor is a classic indicator of a failing or overloaded catalytic converter. It suggests the converter is no longer efficiently processing hydrogen sulfide in the exhaust. Consider a 2012 CRV emitting a strong ‘rotten egg’ smell – this almost always points to catalytic converter distress.
- Rich Fuel Smell: An overly rich air-fuel mixture, often caused by a failing O2 sensor or fuel system issue, can result in the smell of unburnt gasoline emanating from the exhaust.
Failed Emissions Inspection
In states requiring emissions testing, your CRV might fail even without a visible CEL or noticeable performance issues. The onboard diagnostic system may have stored “pending codes” or “not ready” monitors, indicating an underlying problem that needs to be resolved before it triggers the CEL. This scenario underscores the importance of a thorough diagnostic check even when symptoms are absent.
Comprehensive Diagnosis of Honda CRV Emissions System Faults
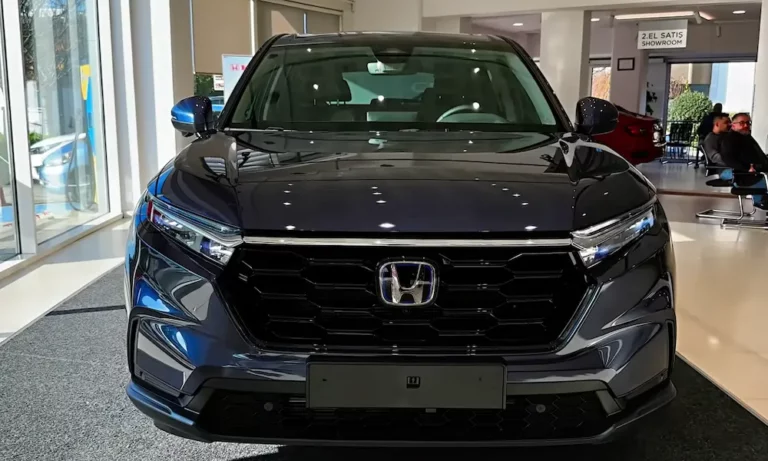
Accurately diagnosing emissions system faults in your Honda CRV requires a methodical approach, moving from the simplest checks to more advanced testing. With over 100 potential DTCs related to emissions systems in modern vehicles, a systematic diagnostic roadmap is essential to pinpoint the root cause effectively and facilitate an appropriate repair.
📋
Step-by-Step Diagnostic Guide
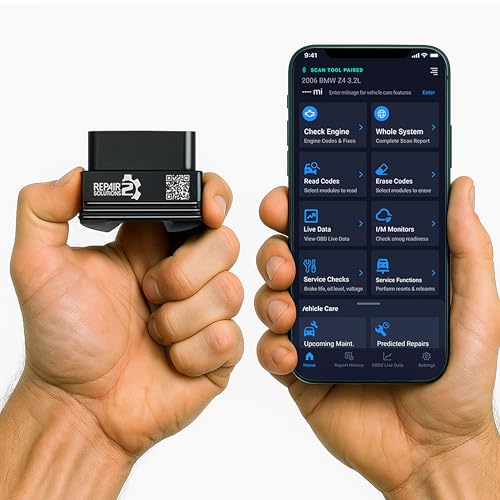
Your first action should be to connect an OBD-II scanner to your CRV’s diagnostic port. This tool will retrieve stored Diagnostic Trouble Codes (DTCs), which are numerical indicators pointing to specific system malfunctions. For example, a P0420 code indicates a catalytic converter efficiency issue, P0401 points to insufficient EGR flow, and P0133 suggests a slow response from an O2 sensor. These codes provide a crucial starting point for your investigation.
Many emissions problems stem from simple, observable issues. Systematically check:
- Gas Cap: Ensure it’s tightly sealed and free of cracks. A loose or faulty gas cap is a common cause for EVAP system codes.
- Vacuum Lines and Hoses: Inspect for cracks, disconnected hoses, or wear that could lead to vacuum leaks.
- Wiring Harnesses and Connectors: Look for damaged, corroded, or disconnected electrical connections to sensors and actuators (O2 sensors, EGR valve).
- Exhaust System: Check for visible leaks, rust, or damage, especially around the catalytic converter and exhaust manifold.
For more elusive issues, specialized tools are indispensable:
- Multi-meter for O2 Sensors: Test O2 sensor voltage output to verify their proper operation and response times.
- Smoke Machine for EVAP Leaks: A smoke machine introduces inert smoke into the EVAP system, making even tiny leaks (e.g., a cracked EVAP canister) visible. For example, a 2018 CRV displaying a P0455 (large EVAP leak) code, after a smoke test, was traced directly to a cracked EVAP canister.
- Backpressure Test for Catalytic Converter: Use a pressure gauge to measure exhaust backpressure. High backpressure confirms a clogged catalytic converter. A 2010 CRV with a P0420 code often requires this test to definitively confirm converter failure and the need for repair.
- Scan Tool Live Data: Monitor live sensor data (fuel trims, O2 sensor readings, EGR position) to observe component behavior in real-time and debug intermittent issues.
Always start with the simplest potential causes and progress to more complex electrical or mechanical tests. This methodical approach will help you efficiently troubleshoot and resolve emissions problems, preventing unnecessary component replacements.
Specific Honda CRV Emissions System Problems and Their Resolutions
Drawing from extensive hands-on experience, I can highlight the most common emissions system failures specific to Honda CRVs and outline authoritative solutions for each. Understanding these issues is key to effective repair.
Faulty Oxygen Sensors
Symptoms: A failing O2 sensor often manifests as poor fuel economy, a rough idle, or even stalling. The Check Engine Light will illuminate, typically triggering codes like P0133 (O2 sensor slow response), P0171 (lean condition), or P0172 (rich condition).
Diagnosis: Beyond retrieving the DTC, monitor live data with an OBD-II scanner to observe voltage fluctuations. A healthy O2 sensor should switch rapidly between high and low voltage. A slow or flatline reading indicates a fault. A 2016 CRV experiencing a P0171 (lean condition) due to a failing upstream O2 sensor was resolved by straightforward replacement.
Resolution: Replacement is the only viable option. Ensure you identify whether it’s an upstream (pre-cat) or downstream (post-cat) sensor. Always prioritize OEM-quality replacements to ensure compatibility and long-term reliability. After replacement, clear the codes and drive the vehicle to allow the PCM to relearn fuel trims.
When replacing O2 sensors, apply anti-seize compound to the threads to prevent future seizing, particularly in exhaust environments. This makes subsequent replacements significantly easier.
Clogged or Failing Catalytic Converter
![[2026 Upgraded] DooGooCoo Windshield Sun Shade for Honda CRV 2017-2021 2022 [Cooling…](https://m.media-amazon.com/images/I/51tfKv3G1ML._SS500_.jpg)

Causes: Catalytic converters typically have a lifespan of 100,000 to 150,000 miles. Premature failure is often due to persistent engine misfires, excessive oil consumption, or coolant leaks, which contaminate the converter’s internal matrix with unburnt fuel, oil, or antifreeze.
Symptoms: Characteristic symptoms include a strong rotten egg smell from the exhaust, noticeable reduced power and acceleration, especially uphill, and potentially excessive heat radiating from beneath the vehicle. The most common DTC is P0420 (Catalyst System Efficiency Below Threshold).
Diagnosis: Besides the P0420 code, a backpressure test is the definitive diagnostic. By measuring exhaust pressure before and after the converter, a technician can confirm internal blockage. Visually inspecting the internal matrix (if accessible) can also reveal meltdown or severe contamination.
Resolution: Replacement of the catalytic converter is almost always necessary. The typical cost for this repair ranges from $800 to $2500, depending on the CRV model and whether an OEM or aftermarket part is used. Crucially, address the underlying cause (e.g., misfire, oil leak) before replacing the converter to prevent repeat failure.
Never ignore a flashing Check Engine Light. Persistent misfires will rapidly destroy a catalytic converter, turning a potentially minor engine repair into a significantly more costly emissions system replacement.
EGR Valve Malfunctions
How it affects emissions: A stuck-open EGR valve continuously recirculates exhaust gases, leaning out the air-fuel mixture and causing a rough idle, stalling, or hesitation. A stuck-closed valve prevents exhaust recirculation, leading to higher combustion temperatures, increased NOx emissions, and potentially engine pinging or knocking.
Symptoms: Depending on the fault, symptoms include a rough idle, stalling, engine pinging/knocking, reduced power, and decreased fuel economy. Common DTCs are P0401 (EGR flow insufficient) or P0404 (EGR control circuit range/performance).
Resolution: Often, carbon buildup is the cause of an EGR valve sticking. Initial troubleshooting might involve carefully cleaning the EGR valve and its passages. However, if the valve is electrically faulty or severely clogged, replacement is necessary. A 2013 CRV with persistent P0401 was remedied by EGR valve cleaning and a comprehensive system check. Typical replacement costs for an EGR valve range from $200 to $500.
EVAP System Leaks or Component Failure
Common Issues: The EVAP system is prone to leaks. The simplest is a loose or faulty gas cap, which often triggers a CEL. Other failures include a failing purge valve, vent valve, or cracked hoses and the EVAP canister itself. Codes like P0440 (EVAP system malfunction), P0455 (EVAP large leak), or P0456 (EVAP small leak) are typical.
Diagnosis: After confirming the gas cap is tight and functional, a smoke machine is the most effective tool to locate EVAP leaks. It injects smoke into the system, revealing the exact location of the leak. Component-specific testing with a multi-meter can verify the electrical functionality of the purge and vent valves.
Resolution: The resolution depends entirely on the leak’s location. This could be as simple as replacing a gas cap, tightening a hose clamp, or replacing a faulty purge or vent valve. Diagnosing these can be intricate, but the repairs are often less costly than a catalytic converter. Always use a smoke machine to accurately debug EVAP leaks.
PCV (Positive Crankcase Ventilation) Valve Issues
Explanation: The PCV valve manages crankcase pressure by allowing blow-by gases to be re-routed into the intake manifold for combustion. A stuck-open valve can create a significant vacuum leak, leading to a lean condition (P0171 code) and rough idle. A stuck-closed valve can cause excessive crankcase pressure, leading to oil leaks, sludge buildup, and potentially impacting emissions readings by failing to vent harmful gases.
Resolution: The PCV valve is a relatively inexpensive and straightforward component to replace, often costing less than $50 for the part itself. Regular inspection and replacement as part of routine maintenance can prevent these issues. To test, remove the valve, shake it; a healthy valve should rattle. If it doesn’t, it’s likely clogged and needs to be replaced. This simple repair can avert more complex problems.
Preventative Maintenance for Honda CRV Emissions System Longevity
Proactive maintenance is the cornerstone of extending the life and optimizing the performance of your Honda CRV’s emissions control system. Data indicates that well-maintained vehicles are significantly less likely to fail emissions tests, with studies showing up to a 70% lower failure rate. Implementing a robust preventative maintenance schedule is the most effective workaround for costly emissions system repair.
Adhering to Manufacturer-Recommended Service Intervals
The single most impactful action is to follow Honda’s prescribed maintenance schedule. This includes:
- Regular Oil Changes: Use the correct specification oil as recommended by Honda. Fresh, clean oil prevents oil sludge and contamination, which can eventually foul O2 sensors and lead to catalytic converter damage. Old, burnt oil can vaporize and introduce contaminants into the exhaust stream.
- Fluid Checks: Ensure all fluid levels (coolant, power steering, brake) are correct. Leaking fluids can contaminate exhaust components.
Fuel System Maintenance
The quality of fuel and the health of your fuel system directly impact emissions:
- Use Top-Tier Gasoline: Top-Tier fuels contain detergents that help prevent carbon buildup on fuel injectors and intake valves. Clean injectors ensure proper fuel atomization and efficient combustion, reducing unburnt hydrocarbons.
- Occasional Fuel System Cleaners: Periodically adding a high-quality fuel system cleaner can further mitigate carbon deposits and ensure optimal fuel delivery, reducing strain on emissions components.
Regular Spark Plug and Air Filter Replacement
Efficient combustion is paramount for low emissions:
- Spark Plugs: Worn or fouled spark plugs cause misfires, leading to unburnt fuel entering the exhaust and potentially damaging the catalytic converter. Replace them according to the manufacturer’s schedule (typically every 60,000-100,000 miles, depending on plug type).
- Air Filter: A dirty air filter restricts airflow to the engine, leading to an overly rich air-fuel mixture. This can foul spark plugs and O2 sensors. Replacing the air filter every 15,000-30,000 miles ensures proper air intake.
Consider a 2017 CRV owner who consistently uses top-tier fuel and meticulously adheres to Honda’s oil change schedules. This diligence often results in the vehicle achieving over 150,000 miles without experiencing an emissions-related CEL, demonstrating the tangible benefits of preventative care.
Checking and Replacing the Gas Cap
This seemingly minor component plays a crucial role. A loose, cracked, or missing gas cap is a very common cause of EVAP system leaks and can trigger a Check Engine Light. Regularly check its seal and replace it if the rubber gasket shows signs of wear or cracking. This simple, inexpensive repair can often resolve a persistent CEL.
When to Seek Professional Honda CRV Emissions System Repair
While understanding your Honda CRV’s emissions system and performing basic troubleshooting can save time and money, there are clear instances when professional expertise becomes indispensable. Knowing your limits prevents further damage and ensures a lasting solution.
Complexity of Certain Diagnostics
Some emissions issues require specialized equipment that is rarely found in a home garage. This includes advanced oscilloscopes for real-time waveform analysis, dedicated factory scan tools for Honda-specific codes and bidirectional controls, or professional smoke machines for nuanced EVAP leak detection. A 2019 CRV owner facing a complex P0430 code after attempting O2 sensor replacement, for instance, often indicates a deeper issue that requires professional assessment beyond typical DIY capabilities.
Safety Considerations
Working with exhaust components involves high temperatures and often requires lifting the vehicle safely. Accessing certain sensors or valves can be challenging and may pose risks without the proper tools and safety protocols. Professional technicians are equipped with lifts, specialized tools, and safety gear to perform these tasks safely and efficiently.
Warranty and Expertise


Many emissions components are covered by federal emissions warranties, which can extend beyond the standard vehicle warranty (typically 8 years/80,000 miles for major components like catalytic converters and PCMs). A certified technician can determine if your repair falls under warranty. Furthermore, intricate component replacements, such as an entire catalytic converter or EVAP canister, demand specific technical skills and tools to ensure correct installation and long-term functionality.
Persistent Issues or Failed State Inspections
If basic troubleshooting and common DIY repairs do not resolve the Check Engine Light, or if your vehicle repeatedly fails a state emissions test despite your efforts, it’s time to consult a professional. The average cost of a professional diagnostic session ($100-$200) often saves money in the long run by preventing incorrect parts replacement and accurately identifying the root cause. Additionally, some states have specific repair waiver processes for failed emissions tests, which often require professional documentation.
By The Numbers
Average Diagnostic Fee
Miles (Federal Emissions Warranty)
Lower Failure Rate (Well-Maintained)
Addressing emissions system problems in your Honda CRV requires both diligence and informed action. Early identification of symptoms like the Check Engine Light or unusual odors is crucial for mitigating potential long-term damage and costly repairs. Accurate diagnosis using OBD-II codes, coupled with systematic visual and advanced inspections, is the key to pinpointing the precise root cause of any malfunction. Many common issues, from faulty O2 sensors to EVAP leaks, have specific resolutions that can restore your CRV’s performance, fuel economy, and environmental compliance. Critically, proactive maintenance, including regular oil changes, using quality fuel, and timely replacement of wear items like spark plugs and air filters, significantly reduces the likelihood of emissions system failures. For persistent or complex Honda CRV emissions system problems, do not hesitate to consult a certified automotive technician to ensure a precise diagnosis and professional repair. Their specialized tools and expertise provide the most reliable path to a lasting solution.
Frequently Asked Questions
Can I drive my Honda CRV if the check engine light is on for an emissions problem?
While minor emissions issues might not immediately strand your CRV, continued driving with the check engine light on is generally not recommended. A flashing light indicates a severe problem, like an engine misfire, which can cause significant and costly damage to the catalytic converter if ignored. Always diagnose and resolve emissions faults promptly.
What is the most common emissions system problem in a Honda CRV?
Among Honda CRVs, common emissions problems often involve faulty oxygen sensors or issues within the EVAP (Evaporative Emission Control) system, such as a loose gas cap or a malfunctioning purge valve. Catalytic converter inefficiency (P0420 code) also frequently occurs, especially in higher mileage vehicles, due to age or contamination.
How much does it typically cost to fix Honda CRV emissions issues?
The cost to fix Honda CRV emissions problems varies significantly depending on the component. A new gas cap might cost under $50, while an O2 sensor replacement could range from $150-$300. More complex repairs like an EGR valve replacement might be $200-$500, and a new catalytic converter can cost $800-$2500 or more, including parts and labor.
What causes a Honda CRV to fail an emissions test?
A Honda CRV typically fails an emissions test due to an active Check Engine Light (CEL), excessively high tailpipe emissions (indicating a catalytic converter or engine combustion issue), or a malfunctioning EVAP system. Even a loose or faulty gas cap can prevent the EVAP system from passing readiness monitors, leading to failure.
How often should I have my Honda CRV’s emissions system checked?
Beyond state-mandated emissions inspections, it’s advisable to have your Honda CRV’s emissions system indirectly checked during routine maintenance, such as oil changes and tune-ups. Professional diagnostics are recommended immediately if the Check Engine Light illuminates, or if you notice any unusual smells, performance issues, or decreased fuel economy.