2007 Honda Crv Starter Location: A Detailed Guide For Technicians And Owners
For owners of a 2007 Honda CRV experiencing starting troubles, pinpointing the source of the issue can be a significant challenge. A malfunctioning starter motor is a common culprit, yet its exact location and the intricacies involved in its diagnosis and potential replacement often remain elusive, leading to frustration and potential misdiagnoses. This expert guide demystifies the 2007 Honda CRV starter location, providing a professional and authoritative breakdown of its position, critical diagnostic steps, safety considerations, and an overview of the service process, ensuring you are well-informed to address your vehicle’s needs, whether undertaking the task yourself or seeking local professional assistance.

Understanding the 2007 Honda CRV Starting System Architecture
Recommended Best Deal Products
![[2026 Upgraded] DooGooCoo Windshield Sun Shade for Honda CRV 2017-2021 2022 [Cooling…](https://m.media-amazon.com/images/I/51tfKv3G1ML._SS500_.jpg)
![[2026 Upgraded] DooGooCoo Windshield Sun Shade for Honda CRV 2023-2025 2026 [Cooling…](https://m.media-amazon.com/images/I/511ucV8BmZL._SS500_.jpg)
📤 Share Image
The starting system in your 2007 Honda CRV is a meticulously engineered assembly, with the starter motor at its core. This robust electric motor is specifically designed to perform one critical function: to turn the engine over, thereby initiating the complex combustion cycle that powers your vehicle. When you turn the ignition key or press the start button, a controlled sequence of events is set in motion.
Power for the starter motor is drawn directly from the vehicle’s 12V battery, its primary electrical energy source. The ignition switch acts as the control signal, sending a low-current signal to the starter solenoid. This solenoid, often integrated into the starter motor itself, serves a dual purpose: it acts as a high-current relay, closing the circuit to allow massive current flow from the battery to the motor, and simultaneously engages a small gear (the pinion gear) with the engine’s flywheel. This engagement allows the starter motor to spin the flywheel, which in turn rotates the crankshaft, moving the pistons and beginning the engine’s operational cycle.
The synchronized operation of these components is paramount for a successful engine start. A healthy starter will produce a strong, consistent whirring sound as it rapidly turns the engine over, leading to quick ignition. Conversely, a failing starter might manifest as a sluggish turn-over, where the engine struggles to rotate, or a rapid clicking sound, often indicating an issue with the solenoid or insufficient power reaching the starter. It’s crucial to distinguish these symptoms from a weak battery, which can often be misdiagnosed as a starter issue. A common scenario involves a discharged battery mimicking a starter failure, as there isn’t enough power to properly engage the solenoid or spin the motor.
Factually, a typical starter motor on a 2007 Honda CRV draws approximately 150-250 amps during cranking, highlighting the significant electrical demand. The average lifespan of a Honda CRV starter is often cited between 100,000 to 150,000 miles, although this can vary significantly based on usage patterns, environmental conditions, and the frequency of starts.

Pinpointing the Exact 2007 Honda CRV Starter Location Within the Engine Bay
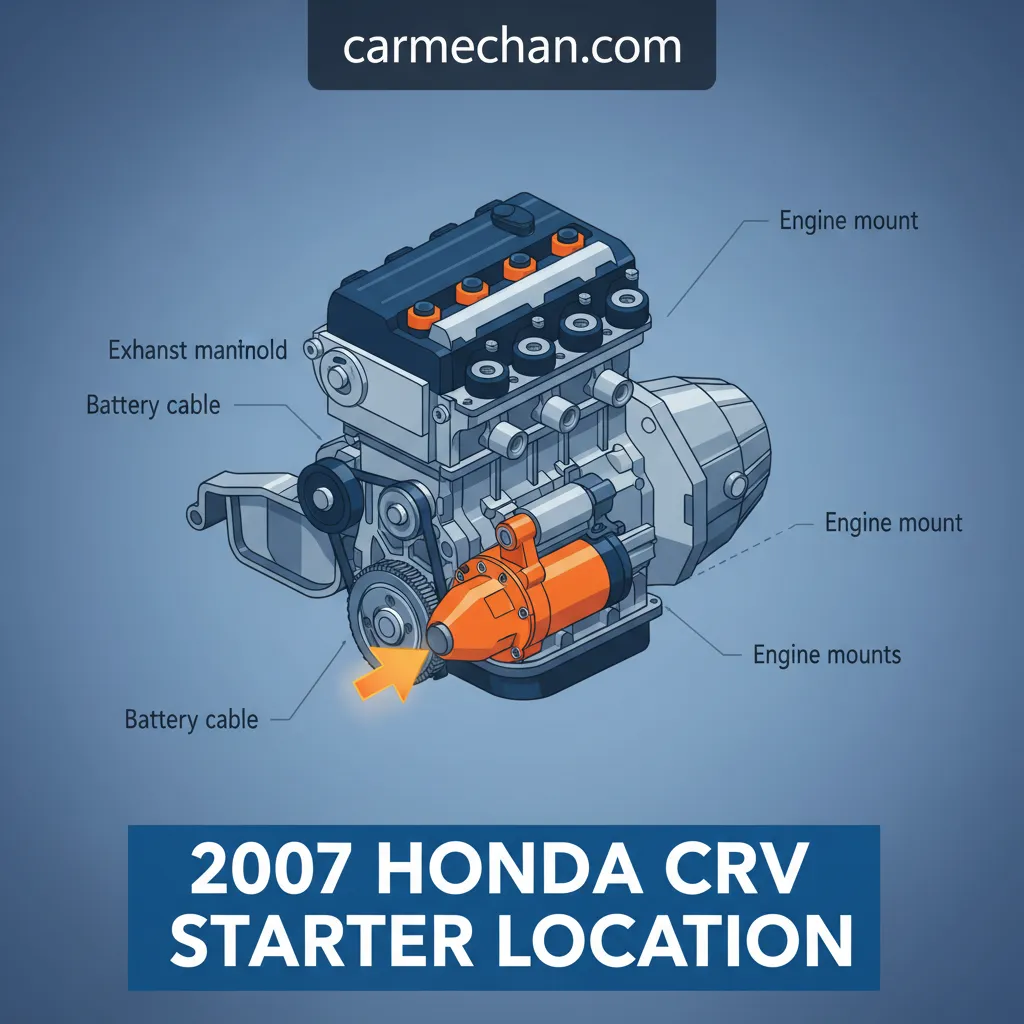
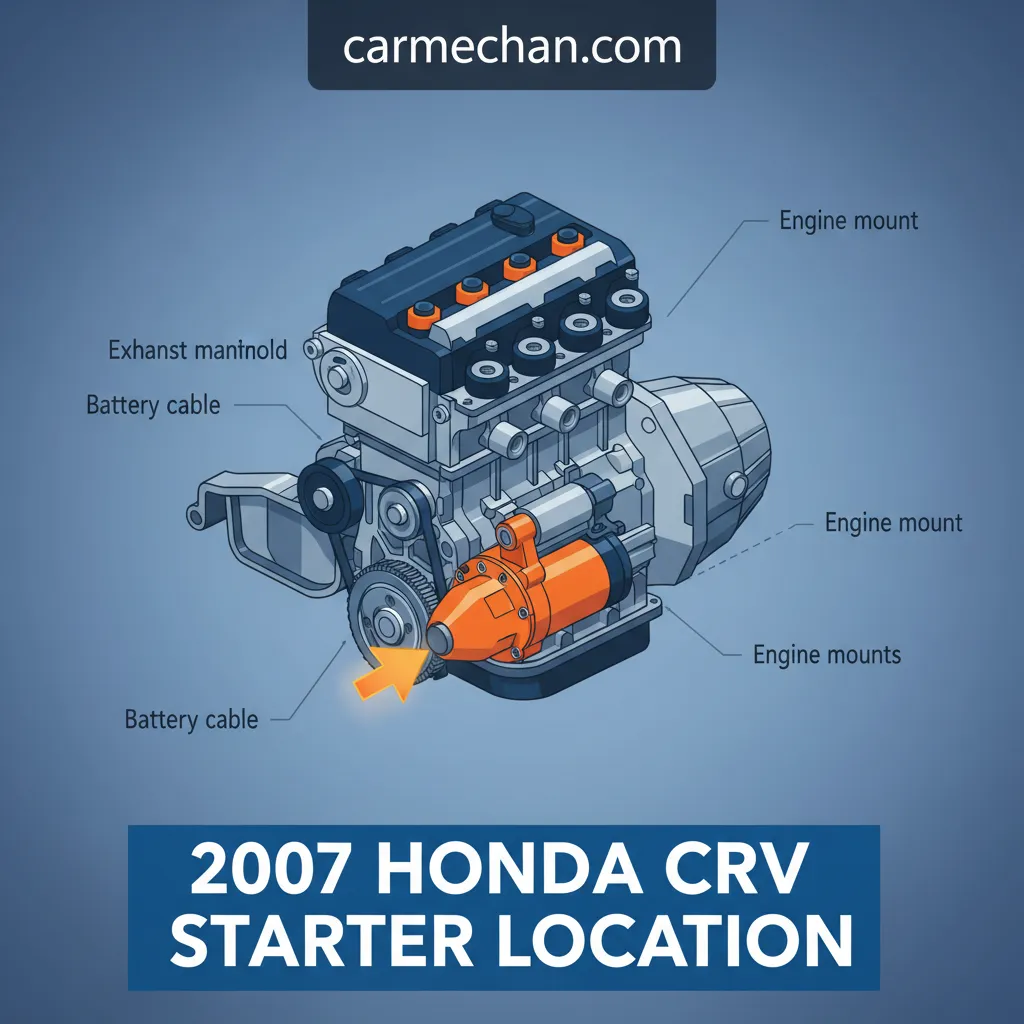
Identifying the precise 2007 Honda CRV starter location is the first critical step for any diagnostic or repair endeavor. In this particular model, the starter is generally mounted on the transmission bell housing. For practical orientation, this means you will find it on the driver’s side of the vehicle, positioned just behind the engine block where the engine connects to the transmission.
To locate it visually, a practical approach is to trace the heavy-gauge positive battery cable. This prominent cable runs directly from the battery’s positive terminal to a large, cylindrical component mounted low on the engine/transmission junction – this is your starter motor. It’s a robust component, typically about the size of a soda can, with a smaller cylindrical solenoid unit attached to its side.
Accessing the starter for inspection or service is most effectively achieved from underneath the vehicle. This almost invariably necessitates the use of automotive ramps or a professional hoist to gain optimal visibility and sufficient working space. When looking from below, you’ll find the starter nestled in a somewhat confined space. Common visual landmarks nearby include the transmission dipstick tube, the catalytic converter (which can sometimes be directly below or in close proximity, indicating higher ambient temperatures for the starter), or specific engine mounts.
It’s important to note that depending on the specific model variation or trim of your 2007 Honda CRV, certain components may temporarily obstruct clear access to the starter. This might include portions of the intake piping, the battery tray, or various wiring harnesses, which may need to be carefully removed or repositioned. Using a powerful flashlight is highly recommended to illuminate the area effectively for initial inspection, allowing you to clearly see the mounting bolts and electrical connections.

Audible — Listen Free for 30 Days
One free credit a month and thousands of titles included.
Listen Free for 30 DaysThe starter motor on a 2007 Honda CRV is typically secured by two bolts, often sized 14mm or 17mm, which thread into the transmission housing. Its proximity to the exhaust system can subject it to higher operating temperatures, which is a factor that can potentially affect its longevity over time.

Essential Preparations and Safety Protocols for 2007 CRV Starter Access
Before attempting any inspection or service on your 2007 Honda CRV’s starter, meticulous preparation and strict adherence to safety protocols are not merely recommendations; they are absolutely paramount. Neglecting these steps can lead to severe personal injury or significant damage to your vehicle’s electrical system.
Automotive battery systems, even standard 12V units, can deliver hundreds of amps of current. This poses a significant risk of severe burns, electrical shock, or fire if tools accidentally bridge electrical terminals or contact ground while the battery is connected. Always disconnect the negative battery terminal first.
📋
Preparation and Safety Checklist
Ensure the ignition is off, then always disconnect the negative terminal of the vehicle’s 12V battery first. This prevents accidental short circuits or electrical shocks when working on the starter’s high-current connections. A fully charged automotive battery typically measures around 12.6 volts at rest.
Assemble a comprehensive metric socket set (including deep sockets for easier bolt access), wrenches (ratcheting wrenches are often beneficial in tight spaces), a pry bar, and personal protective equipment such as safety glasses and gloves. Having a clean rag or shop towel nearby is also helpful.
Employ a reliable jack and jack stands or robust automotive ramps to properly elevate the front of the vehicle. Crucially, always use jack stands on secure frame points and ensure the vehicle is stable before working underneath. Engage the parking brake and place tire chocks behind the rear wheels to prevent any inadvertent movement. The hazards of working on an elevated vehicle without proper, redundant support cannot be overstated.
Audible Premium Plus — Annual Membership
12 audiobook credits up front, plus the full Audible catalogue.
See Annual PlansThese foundational steps ensure a safe and efficient working environment, preventing potential mishaps such as accidentally grounding a wrench while the battery is connected, which can result in sparks, melted metal, and potential component damage.
Diagnosing Common Starting Issues Beyond the 2007 Honda CRV Starter
Often, a no-crank or slow-crank condition leads directly to suspicion of the starter motor. However, it’s imperative to conduct a thorough diagnosis to confirm the true root cause, as other components like the battery or alternator frequently mimic starter failure symptoms. A systematic approach will save time, money, and avoid unnecessary parts replacement.
Diagnostic Flowchart for Starting Issues:
- Step 1: Battery Health Check
- Check battery voltage: It should be a minimum of 12.4V for reliable cranking. Anything lower suggests a discharged or failing battery.
- Inspect terminal cleanliness: Corroded or loose terminals can significantly impede current flow, mimicking a bad starter. Clean thoroughly if necessary.
- Perform a battery load test: A typical load test should maintain at least 9.6 volts for 15 seconds at half its cold-cranking amp rating. If it drops below this, the battery is weak.
- Try a jump start: If the vehicle starts readily with a jump, the issue is almost certainly battery-related or with the charging system.
- Step 2: Differentiating Symptoms
- Single Click, No Crank: This symptom often points to a potentially seized starter motor or a faulty starter solenoid that engages but cannot pass sufficient current to spin the motor. It could also indicate extremely low battery voltage, where only enough power exists to activate the solenoid.
- Rapid Clicking: This is a classic sign of a low battery charge. The solenoid attempts to engage but quickly disengages due to insufficient voltage.
- No Sound at All: This can be a more complex scenario, potentially indicating a completely dead battery, an open circuit in the starter’s power or control wiring, or a failed ignition switch or neutral safety switch.
- Starting Issues After Driving: If problems only arise after the engine has been running (i.e., when restarting a warm engine), it might suggest a failing alternator that isn’t recharging the battery adequately.
- Step 3: Basic Starter Testing Methods
- Voltage Drop Test: Conduct a voltage drop test across the starter solenoid’s main power terminal to the starter motor’s housing (ground) during cranking. A fully functional starter motor should exhibit less than a 0.5-volt drop across its power circuit and ground circuit. Excessive voltage drop indicates high resistance, often due to corroded cables or internal starter issues.
- Tap Test (Cautiously): In situations where a single click is heard, a gentle tap with a rubber mallet on the starter housing (used cautiously to avoid damage) can sometimes temporarily dislodge stuck brushes or internal components, allowing for one more start. This is a temporary fix, indicating imminent starter failure.
Before condemning the battery or starter, always inspect the engine and battery ground cables. A poor ground connection can cause identical symptoms to a dead battery or failing starter, as it impedes the return path for electrical current. Ensure all ground points are clean and secure.
By The Numbers: Starting System Diagnostics
Minimum Battery Voltage for Reliable Cranking
Maximum Allowed Voltage Drop Across Starter Circuit
Minimum Battery Voltage During Load Test (for 15s)
Navigating the 2007 Honda CRV Starter Removal and Replacement Process
Replacing the starter on a 2007 Honda CRV, while not excessively complicated for an experienced technician, does require methodical steps and proper tools. This overview outlines the general procedure, providing insight into the complexity involved.
📋
Starter R&R Procedure Overview
Begin by following all safety protocols, including disconnecting the negative battery terminal and properly elevating the vehicle. Gain access to the starter motor by positioning yourself underneath the vehicle, on the driver’s side. This may involve temporarily removing obstructing components such as intake manifold braces or the battery tray for clearer access to the starter’s mounting bolts and electrical connections.
Identify and disconnect the main power cable (large, heavy-gauge wire, typically with a nut securing it) and the smaller solenoid wire (often a push-on connector or a small nut). Ensure these wires are secured away from any metal to prevent accidental contact.
Locate and remove the two starter mounting bolts. These can sometimes be challenging to reach, with the upper bolt often requiring an extension and universal joint for leverage. If a bolt is seized, apply penetrating oil and allow it time to work before attempting removal again. Once bolts are out, carefully extract the old starter, ensuring it is supported to prevent damage to surrounding components as it is removed from the bell housing. The starter can be heavy and awkward.
Install the new starter in reverse order. Ensure it seats correctly into the transmission bell housing. Reinstall the mounting bolts and torque them to specification; for a 2007 Honda CRV, this typically ranges from 30-45 lb-ft. Reconnect all electrical connections, ensuring they are clean, tight, and correctly routed to avoid chafing. The main power cable connection should be torqued to specific values, often 8-10 lb-ft, to prevent resistance. Reinstall any components that were removed for access.
Double-check all connections and ensuring no tools are left in the engine bay. Lower the vehicle, then reconnect the negative battery terminal. Attempt to start the engine. Listen for a strong, clear crank. If the engine starts successfully, let it run briefly and check for any unusual noises or warning lights. Confirm proper cable routing after re-installation to avoid future issues.
Proper torquing of both mounting bolts and electrical connections is crucial to prevent loosening due to vibrations and to ensure optimal electrical conductivity, which is vital for starter operation.
Connecting with Local Expertise: 2007 Honda CRV Starter Service Near You
While a DIY approach to starter diagnosis and replacement is certainly feasible for those with the right tools and mechanical aptitude, there are definite scenarios where professional assistance is not only prudent but highly recommended. If you find yourself lacking specialized tools, experience with intricate vehicle repairs, or if you encounter unexpected complications like seized bolts or unclear diagnostic results, it’s best to seek out experienced technicians serving the community.
Identifying reputable local automotive repair shops that are available and equipped to handle Honda CRV starter issues is straightforward. Start by checking for certifications such as ASE (Automotive Service Excellence) which indicate a technician’s proven expertise. Online reviews and testimonials can offer valuable insights into a shop’s reputation for quality service and customer satisfaction. Always ask for a detailed estimate that clearly separates parts and labor costs before authorizing any work. This transparency is a hallmark of a trusted local service provider.
Specialized Tools & Expertise
Professional shops possess specialized diagnostic equipment and tools specific to Honda vehicles, ensuring accurate and efficient problem resolution, especially for complex electrical issues.
Warranty and Peace of Mind
Reputable shops typically offer warranties on parts and labor, providing peace of mind. This protects you from having to pay for repeat work if an issue recurs, a benefit not available with DIY repairs.
Convenience and Time Savings
Utilizing a conveniently accessible service saves you the time and effort of procuring parts, performing the repair, and dealing with potential complications. They often have specific knowledge about parts availability in the community.
Local Expertise and Familiarity
A trusted local mechanic often has familiarity with common regional vehicle issues and can provide personalized service that you won’t find at larger chains. Their proximity makes their service easily accessible.
For example, a DIY attempt leading to a broken bolt or stripped threads can quickly turn a manageable task into a much more costly and time-consuming professional intervention. Labor rates for starter replacement on a 2007 Honda CRV can range from $150-$400, varying by location and shop complexity, not including parts (which typically cost $100-$300 for an aftermarket unit, more for OEM). According to industry surveys, over 70% of vehicle owners prefer using a trusted local shop for major repairs, valuing the blend of expertise and convenience offered right in their community.
The 2007 Honda CRV starter is typically located on the transmission bell housing on the driver’s side, requiring careful access and often specialized tools for its removal and replacement. Thorough diagnosis, including battery and electrical checks, is crucial before condemning the starter itself, as other components can present similar symptoms. Prioritizing safety by disconnecting the battery and using proper vehicle support is paramount for any inspection or service to prevent injury or damage. Equipped with this detailed blueprint, you now possess the knowledge to confidently approach your 2007 Honda CRV’s starting issues. Whether you choose a DIY approach or consult a local automotive expert, understanding the ‘2007 Honda CRV starter location‘ empowers you to make informed decisions for your vehicle’s maintenance.
Frequently Asked Questions
What are the most common symptoms of a failing starter in a 2007 Honda CRV?
Common symptoms include a single, loud click with no engine crank, a grinding noise during start-up, a slow or sluggish engine crank, or no sound at all when turning the key. Sometimes, the vehicle might start intermittently before failing completely. These issues often worsen with time or temperature fluctuations.
Can a bad battery mimic a failing starter in a 2007 Honda CRV?
Absolutely. A weak or dead battery is often misdiagnosed as a starter problem. If the battery lacks sufficient charge, the starter may click but not crank the engine, or crank very slowly. Always test the battery’s voltage and health as the first diagnostic step before suspecting the starter motor.
What specialized tools are needed to access the 2007 Honda CRV starter?
While standard metric wrenches and sockets suffice for most bolts, deep sockets (14mm or 17mm) for mounting bolts, a sturdy pry bar for potential leverage, and a multimeter for electrical diagnostics are highly recommended. Proper jack stands and a hydraulic jack are essential for safe vehicle elevation.
Is it possible to replace the 2007 Honda CRV starter from the top of the engine bay?
While theoretically possible for some, accessing the starter on a 2007 Honda CRV is significantly challenging and often impractical from the top. Its mounting location low on the transmission bell housing typically necessitates working from underneath the vehicle for proper leverage, visibility, and removal of mounting bolts.
How long does a typical starter replacement take for a 2007 Honda CRV at a professional shop?
A professional technician with proper tools and a lift can typically complete a 2007 Honda CRV starter replacement in 1.5 to 3 hours. This timeframe can vary based on factors like bolt corrosion, shop workload, and whether any adjacent components need temporary removal for access.