How To Wax A Car By Hand Step-by-Step Guide 2026
Last Updated on September 1, 2026 by Albert Duke
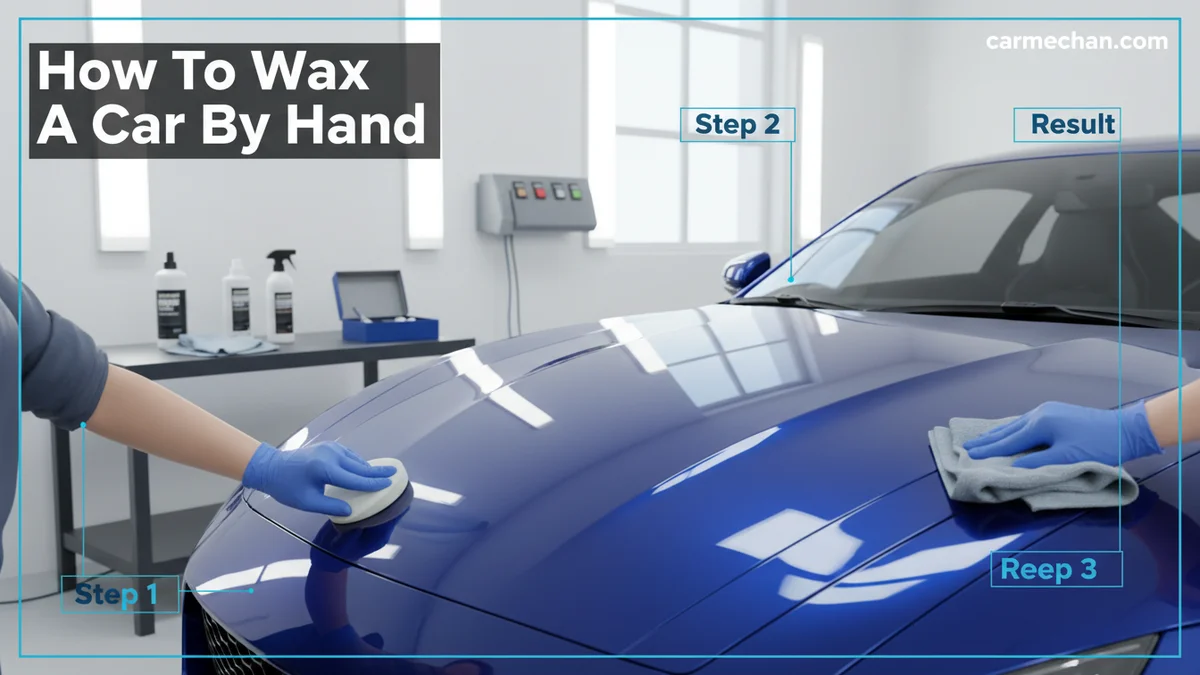
To wax a car by hand effectively, begin by thoroughly washing and drying the vehicle, ensuring all contaminants are removed from the paint surface. Then, apply a thin, even layer of quality car wax in small sections using an applicator, allowing it to haze before buffing off with a clean microfiber towel for a brilliant, protective finish.
To wax a car by hand effectively, begin by thoroughly washing and drying the vehicle, ensuring all contaminants are removed from the paint surface. Then, apply a thin, even layer of quality car wax in small sections using an applicator, allowing it to haze before buffing off with a clean microfiber towel for a brilliant, protective finish.
Learning how to wax a car by hand is an essential skill for any car owner looking to protect their vehicle’s finish and maintain its showroom shine. This manual car waxing guide empowers you to achieve professional-level results right in your driveway, saving both time and money.
Our practical, research-informed approach covers everything from meticulous preparation to precise application and flawless buffing. We will also help you avoid common pitfalls. By following these steps, you will enhance your car’s appearance and protect its paintwork from environmental damage for years to come, especially as we head into 2026.
Key Takeaways


- Thorough car preparation is crucial.
- Choose wax suitable for your car’s paint.
- Apply wax in thin, even layers.
- Work in small sections for best results.
- Buff off haze with clean microfiber.
How to Prepare Your Car in 5 Essential Steps


Before you even think about applying wax, proper preparation is the foundation for a flawless and long-lasting finish. Skipping these crucial steps will compromise the wax’s effectiveness and your overall results. A well-prepared surface ensures maximum adhesion and protection.

Thoroughly Wash Vehicle
Start with a comprehensive wash using a pH-neutral car shampoo. Remove all dirt, grime, and loose contaminants from every surface. Use a two-bucket method to prevent reintroducing dirt onto the paint, ensuring a pristine canvas for waxing. This step is non-negotiable for superior results.
Decontaminate Paint Surface
After washing, the paint surface may still harbor embedded contaminants like industrial fallout, tree sap, or brake dust. Use a clay bar treatment to gently lift these particles, leaving a perfectly smooth, silky finish. This allows the wax to bond directly to the paint for optimal protection.
Completely Dry Exterior
Ensure the entire vehicle is completely dry before proceeding. Water spots can form if left to air dry, and moisture beneath the wax layer can hinder its bonding and cause streaking. Use clean, soft microfiber towels or a dedicated car blower to remove all standing water efficiently.
Inspect Finish Carefully
Take time to inspect your car’s paintwork under good lighting. Look for any swirl marks, light scratches, or oxidation that might require paint correction before waxing. While waxing adds shine, it won’t remove imperfections. Addressing these issues beforehand ensures a truly exceptional outcome.
Mask Trim Areas
Use painter’s tape to mask off any unpainted plastic trim, rubber seals, or sensitive emblems. This prevents wax residue from staining these surfaces, which can be difficult to remove once dried. A small amount of prevention here saves significant effort later in the car detailing process.
Once your car is impeccably clean and prepped, the next decision is selecting the right wax for optimal protection and shine.
Which Car Wax Is Best for Your Vehicle Type
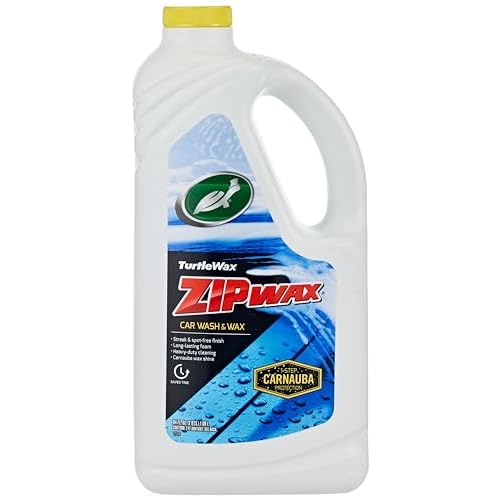


Selecting the best car wax depends largely on your specific vehicle, desired finish, and how long you want the protection to last. Understanding the differences between wax types helps you make an informed choice for your car’s needs.
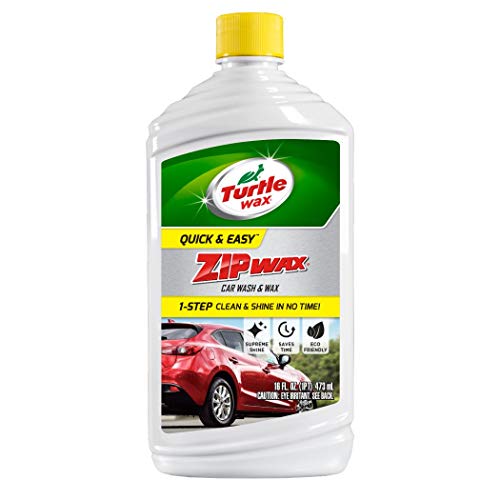
Carnauba Waxes for Warmth
Carnauba waxes are natural products derived from palm trees, known for providing a deep, rich, warm glow, especially on darker colored vehicles. They offer good protection and are easy to apply, though their durability typically lasts only 2-4 months. Many car enthusiasts appreciate the classic shine.
Synthetic Sealants for Durability
Synthetic polymer sealants are man-made formulations designed for maximum longevity and protection. They form a , resilient barrier against environmental elements, often lasting 6 months or longer. Sealants offer excellent UV protection and a crisp, reflective shine.
Hybrid Wax Blends for Versatility
Hybrid waxes combine natural carnauba with synthetic polymers to offer the best of both worlds. They provide the warm depth of carnauba alongside the extended durability of a sealant. These versatile products are a popular choice for those seeking a balanced approach to protection and aesthetics.
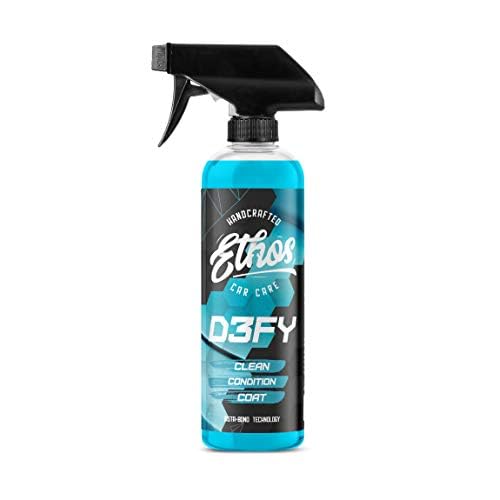
Spray Waxes for Speed
Spray waxes offer quick, easy application and are ideal for maintaining a waxed finish between full treatments. While they provide less durability and protection than paste or liquid waxes, they are excellent for adding a rapid boost of gloss and slickness in minutes. They are perfect for a quick refresh.
With your ideal wax in hand, the next crucial step is understanding the correct application technique to achieve that perfect, even coat.
How to Apply Car Wax in 4 Simple Stages
Applying car wax by hand is a methodical process that, when done correctly, yields exceptional results. Patience and precision are key to achieving a professional-quality finish.

Choose Ideal Conditions
Always wax your car in a shaded area, preferably a garage, and when the paint surface is cool to the touch. Direct sunlight or a hot surface can cause the wax to dry too quickly, making it difficult to spread evenly and buff off, often leading to streaking or hazing.
Work Small Sections
Divide your car into manageable sections, such as a fender, a door, or a quarter of the hood. Work on one section at a time. This prevents the wax from drying completely before you can buff it, ensuring a smoother application and easier removal. A 2×2 foot area is a good starting point.
Use Thin Even Coats
Apply a very thin, even layer of wax using a foam or microfiber applicator pad. Less is often more with car wax; a thick coat wastes product and makes buffing significantly harder. Use light, overlapping circular or straight-line motions to ensure full coverage across the section.
Avoid Overlap or Excess
Be mindful of overlapping areas to prevent excess wax buildup, particularly along panel lines or edges. A little wax goes a long way. Excessive application does not increase protection and will only create more work during the buffing stage. Even coverage is paramount for best results.
After the wax has properly cured on your vehicle’s surface, the final, satisfying stage is buffing it to a brilliant, streak-free shine.
When to Remove Dried Car Wax From Paint
Knowing precisely when and how to remove dried car wax is as important as its application for achieving a flawless finish. Improper removal can leave streaks, hazing, or an uneven appearance.
Observe Wax Hazing
Allow the applied wax to haze according to the product manufacturer’s instructions. This usually takes 5-10 minutes, forming a dull, cloudy film over the paint. This hazing indicates the solvents have evaporated and the wax has bonded, ready for removal.
Use Clean Microfiber
Always use clean, high-quality microfiber towels for buffing. Have several on hand, as towels can quickly become saturated with wax residue. Fresh towels ensure efficient, streak-free removal and prevent scratching the paint surface.
Buff Gently Sections
With a clean microfiber towel, gently buff off the hazed wax from one section at a time. Use light pressure and turn the towel frequently to expose a clean side. Buff until the paint reveals a deep shine and is free of any residue.
Perform Final Inspection
After buffing each section, conduct a final inspection under varying light angles to ensure all wax residue has been removed. Pay close attention to crevices and panel gaps where wax might accumulate. A final wipe with a fresh, plush microfiber towel can eliminate any lingering micro-streaks.
Even with the best techniques, common missteps can hinder your waxing efforts, so let’s explore how to avoid these pitfalls for a truly perfect finish.
7 Common Car Waxing Mistakes to Avoid
Even seasoned detailers can make simple mistakes when waxing, but being aware of common pitfalls helps ensure a perfect, streak-free finish. Avoiding these errors guarantees a superior result for your vehicle.
Applying too much wax is a frequent error. This does not offer more protection; instead, it makes buffing difficult and can lead to excessive residue and streaks on your paintwork.
Waxing in direct sunlight or on a hot surface causes the product to dry too quickly. This results in premature curing, making the wax hard to spread evenly and almost impossible to buff off without marring the finish.
Not adequately preparing the car before waxing is a critical mistake. If the paint is not thoroughly cleaned and decontaminated, the wax will not bond properly, reducing its effectiveness and durability.
Using poor quality or dirty towels for application and buffing can introduce scratches and swirls. Always invest in soft, clean microfiber towels dedicated solely to waxing tasks.
Rushing the process leads to subpar results. Each step, from washing to buffing, requires attention to detail. Patience ensures every layer is applied and removed correctly, enhancing the overall finish.
Improper wax removal, such as not allowing sufficient haze time or buffing with too much pressure, leaves behind streaky or hazy patches. Gentle, methodical buffing is essential for a clear, brilliant shine.
Skipping body sections means leaving parts of your car unprotected and dull. Always work systematically, ensuring every painted surface receives an even layer of wax for comprehensive paint protection.
By sidestepping these common errors, you’re well on your way to a professionally waxed car, leaving only the final thoughts on maintaining its pristine appearance.
Frequently Asked Questions About Hand Waxing Cars
How Often Should You Wax a Car by Hand?
The frequency depends on wax type and environmental factors. Typically, carnauba waxes last 2-4 months, while synthetic sealants endure 4-6 months. Regular waxing maintains protection against UV rays and contaminants, extending paint longevity and keeping your vehicle looking its best in 2026.
Can You Wax a Car in Direct Sunlight?
No, waxing in direct sunlight is generally not recommended. Heat causes wax to dry too quickly, making it difficult to apply evenly and buff off. This often leads to streaks and an uneven finish. Always work in shade or a cool garage for optimal results.
What Is the Difference Between Polishing and Waxing a Car?
Polishing involves abrasive compounds that remove microscopic imperfections and oxidation from the paint surface, restoring its smoothness and shine. Waxing, conversely, applies a protective layer over the paint, sealing it from elements and enhancing gloss without removing material.
How Much Wax Should I Apply to My Car?
You should apply a very thin, even layer of wax – less is often more. Over-application wastes product and makes buffing significantly harder, potentially leaving streaks or residue. A dime-sized amount for a 2×2 foot section is a good starting point for effective application.
What Are the Best Tools for Hand Waxing a Car?
Essential tools for hand waxing include soft foam or microfiber applicator pads for even wax application, and several clean, high-quality microfiber towels (ideally 300-400 GSM) for buffing. A detailing spray can also help with final wipe-downs and achieving a pristine finish.
Achieve a Showroom Shine With Hand Waxing
Mastering how to wax a car by hand is a rewarding endeavor that significantly enhances your vehicle’s appearance and protection. We have covered the critical steps, from meticulous preparation to choosing the right wax and executing flawless application and removal techniques.
Remember that proper preparation ensures lasting results, choosing the right wax optimizes protection and shine, and diligent application and buffing lead to a truly flawless finish. Avoiding common mistakes will save you time and ensure a professional outcome every time.
With these expert insights, you are now equipped to give your car the attention it deserves. Take pride in your vehicle’s appearance and commit to a regular hand waxing routine, maintaining its stunning look well into 2026 and beyond.