How To Fix Large Paint Chips On Car Fix Large Car 2026
Last Updated on September 1, 2026 by Albert Duke


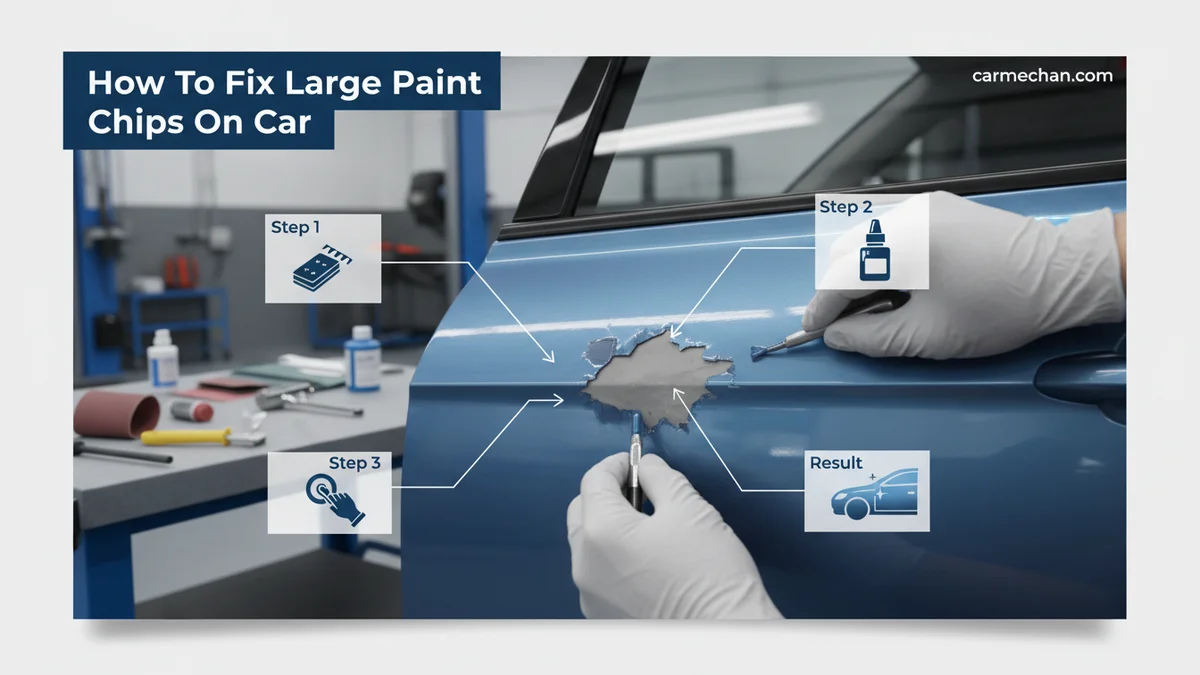
Effectively repairing large paint chips on your car yourself involves careful preparation, applying appropriate body filler, precision painting, and blending, but professional repair is often better for deeper damage or specific areas. We provide a comprehensive, step-by-step approach to DIY fixes, alongside clear criteria for when professional intervention is the more beneficial and durable solution.
The ability to fix large paint chips on your car effectively yourself depends on the chip’s severity and your commitment to detailed steps, though professional help remains crucial for extensive damage. Understanding when to tackle a repair yourself versus seeking expert help can save both time and money.
This guide aims to empower you with the knowledge needed to make an informed decision regarding your vehicle’s paint integrity in 2026.
You can often restore your car’s appearance by learning specific DIY techniques for significant paint damage. We’ll outline detailed steps and essential materials. First, we must understand what truly constitutes a ‘large’ chip and when it crosses into professional territory.
Key Takeaways
- Define ‘large’ paint chips for DIY feasibility.
- Gather specific tools for successful repair.
- Follow multi-step application for best results.
- Understand cost differences between DIY and pros.
- Set realistic expectations for DIY outcome.
How Large Is Too Large for DIY Paint Chip Repair?
Determining how large is too large for DIY paint chip repair hinges on several critical factors, primarily the chip’s depth and location. Not all chips are created equal, and assessing the damage accurately is your first step toward a successful outcome.

Defining Large Chips
A “large” paint chip generally refers to damage exceeding the size of a pencil eraser. These chips often penetrate multiple layers of paint, primer, and sometimes even reach the bare metal of your vehicle. Smaller chips, often caused by pebbles, are usually confined to the clear coat or color layer and are simpler to address.
Chips requiring body filler or extensive sanding typically fall into the ‘large’ category, making DIY a more involved process. Our guide focuses on these substantial chips that expose underlying materials.
Assessing Chip Depth
The depth of the paint chip is perhaps the most critical indicator of repair feasibility. If the damage only affects the clear coat or the color layer, standard touch-up paint might suffice. However, if you can see the primer (gray or white) or the bare metal, you are dealing with a deeper, larger chip.
Deeper chips leave a visible indentation, making it impossible to achieve a smooth finish with just liquid touch-up paint. These require filling to level the surface. .
Location Matters Most
The chip’s location on your car significantly influences the difficulty and visibility of a DIY repair. Chips on flat, less conspicuous panels like the hood or roof might be more forgiving for a DIY attempt. Curved or highly visible areas, such as fenders, bumpers, or door edges, present a greater challenge for seamless blending.
Repairs on plastic components, like bumpers, also require specific flexible fillers and primers. Complex contours demand a higher level of skill for proper shaping and blending.
Underlying Damage Checks
Before any repair, inspect the chip area for signs of rust or deformation. If bare metal has been exposed for an extended period, rust can begin to form, necessitating rust treatment before filling or painting. Any dents or structural damage accompanying the chip generally push the repair into professional territory.
For chips near sensors, cameras, or intricate body lines, professional intervention is often the safer choice to prevent compromising vehicle functionality or aesthetics. When in doubt, a professional assessment is always recommended. Once you have determined your chip is suitable for a DIY approach, the next step involves meticulous preparation.
How to Prepare Your Car for Large Chip Repair in 5 Steps
Proper preparation is the foundation of any successful repair, and you can prepare your car for large chip repair in 5 critical steps. Skipping any of these steps can compromise the durability and appearance of your finished work, especially when dealing with large paint chips.
Gather Essential Tools
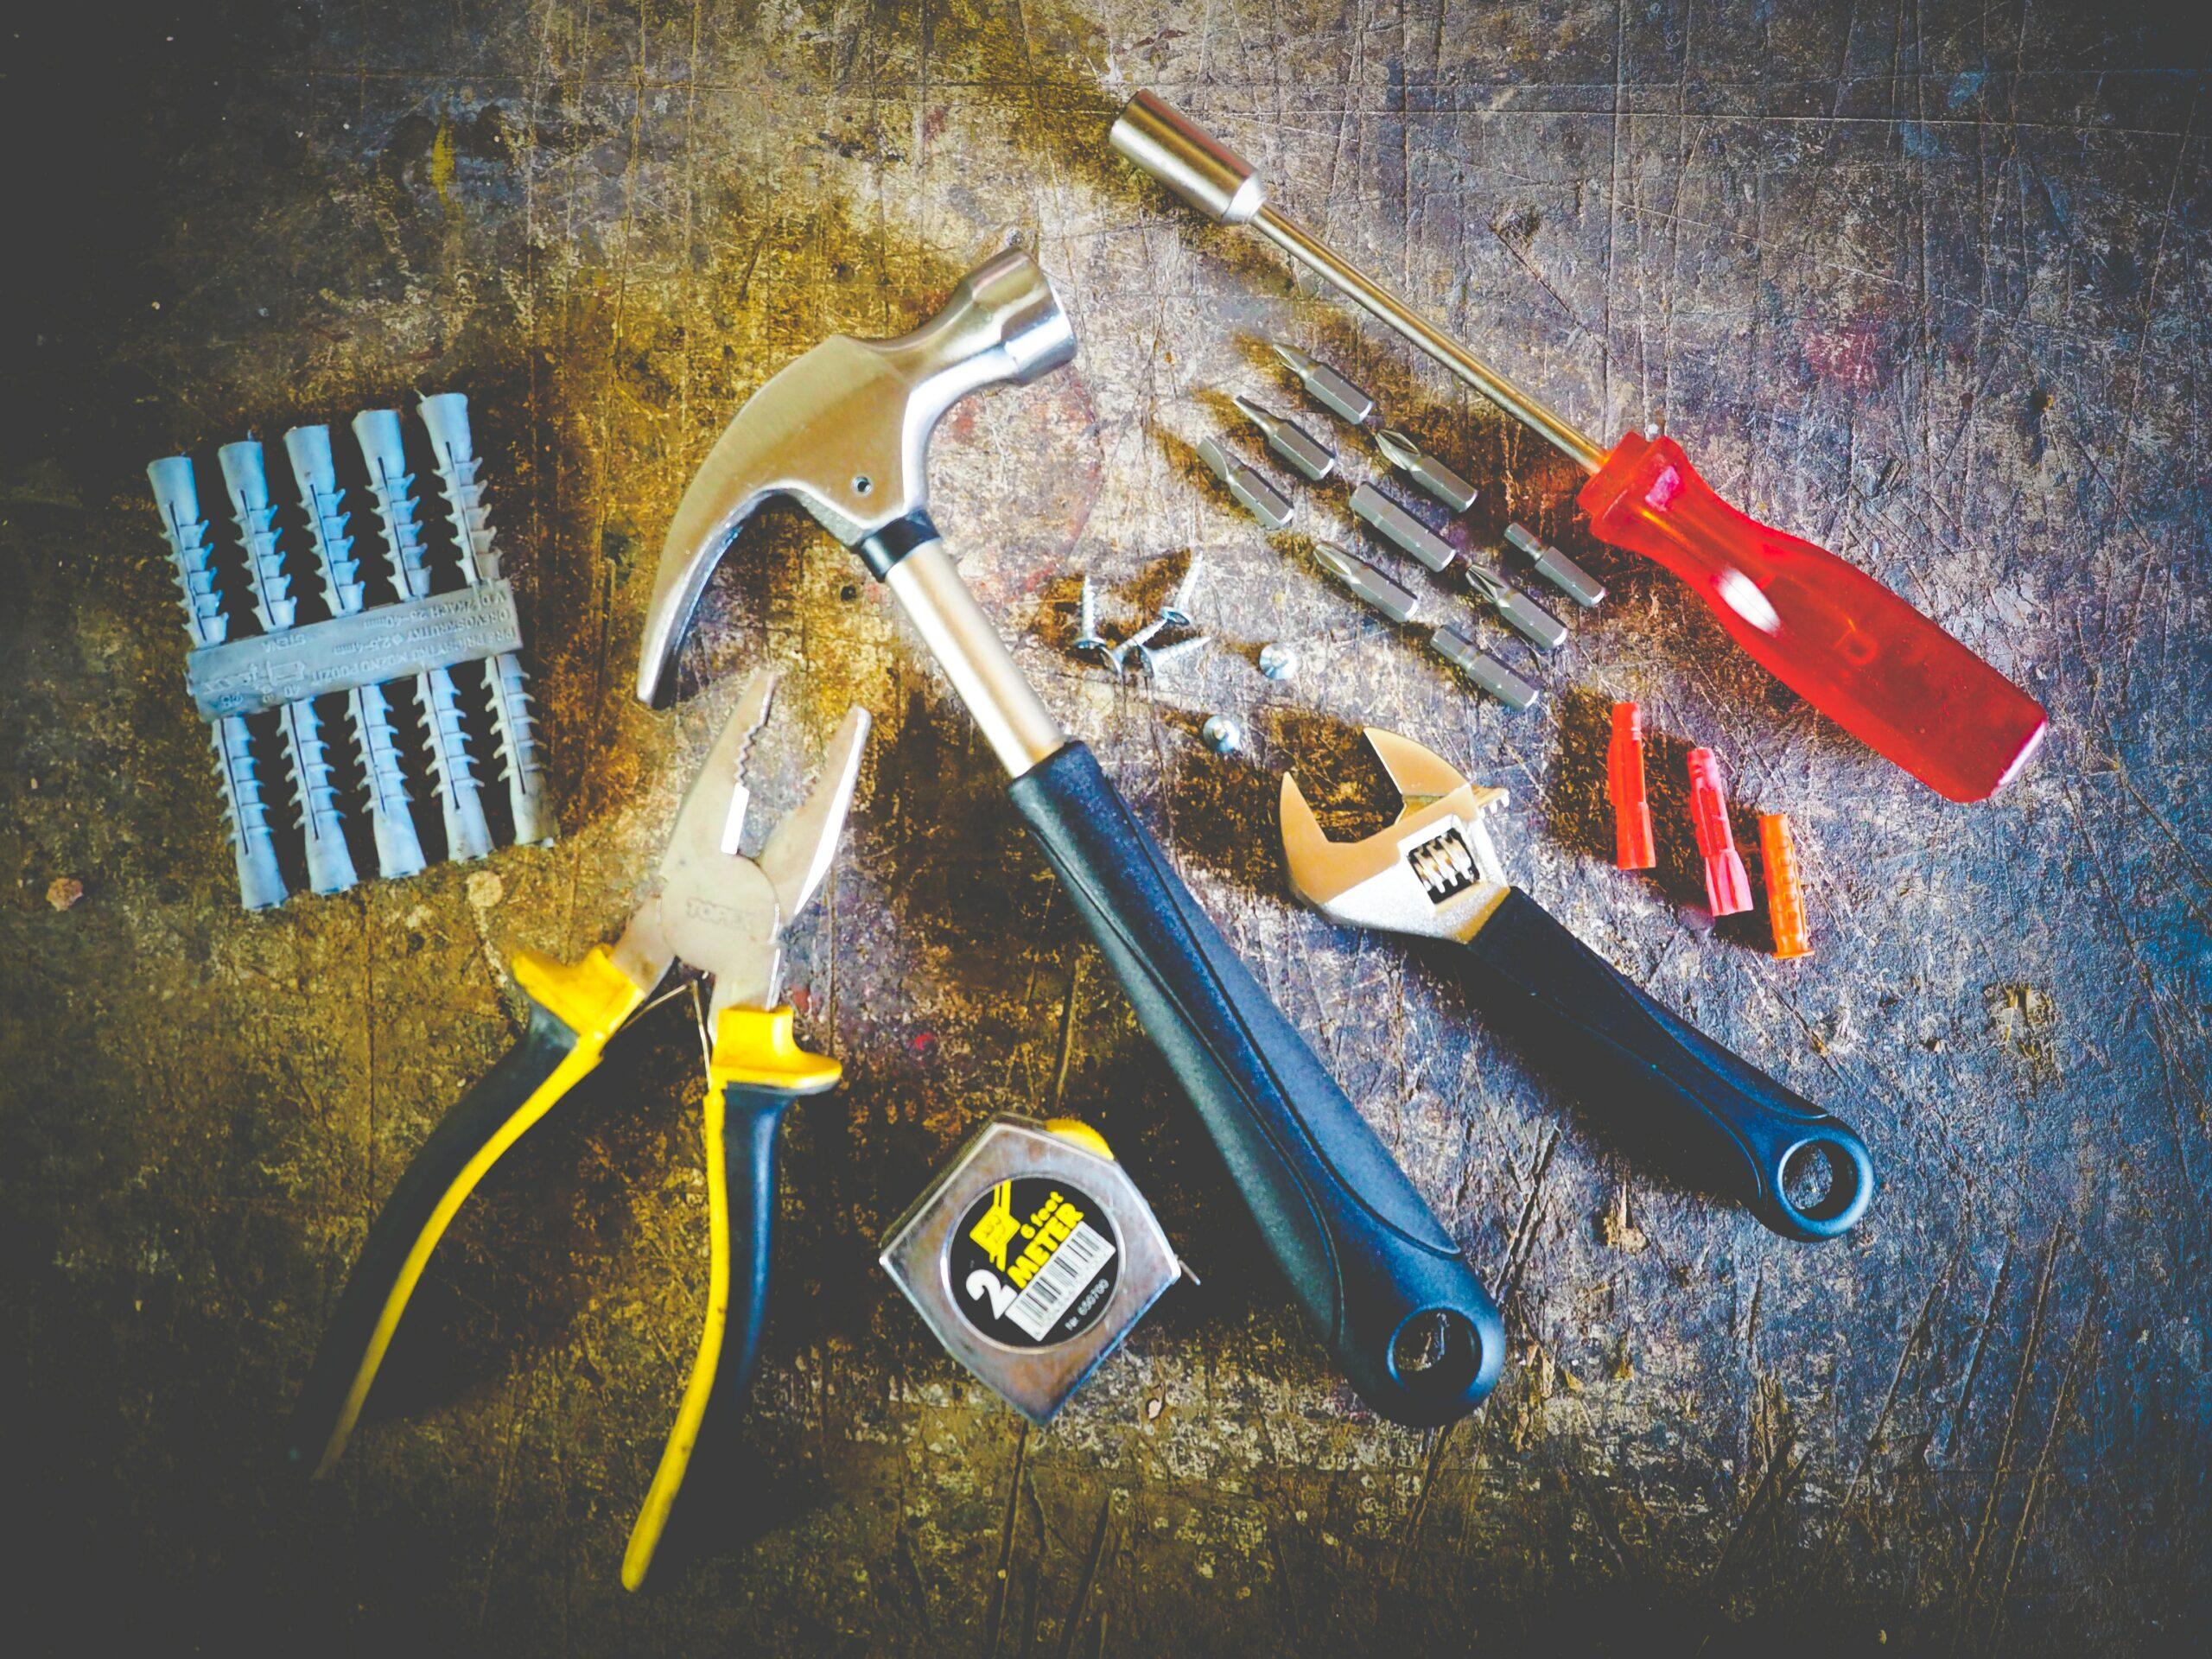
Before you begin, assemble all necessary materials. You will need automotive body filler (e.g., Bondo Glazing Putty or a comparable brand), a plastic spreader, sandpaper (various grits from 180 to 2000), rubbing alcohol or wax and grease remover, painter’s tape, a primer specifically for automotive use, your car’s exact color-matched paint, clear coat, and polishing compound.
Quality materials ensure better results for your automotive body filler for chips.
Clean Damaged Area
Start by thoroughly cleaning the chipped area and the surrounding panel. Use car soap and water to remove dirt and grime, then rinse completely. After drying, apply a wax and grease remover or rubbing alcohol to eliminate any lingering contaminants, oils, or waxes that could prevent proper adhesion. Ensure the area is completely dry before proceeding.
Sand Chip Edges
Carefully sand the edges of the paint chip using fine-grit sandpaper, such as 320-grit. The goal is to feather the edges, making them smooth and creating a gentle transition between the intact paint and the chipped area. This step ensures the new layers of paint and filler adhere properly and blend seamlessly.
. Avoid over-sanding the good paint.
Degrease Area Thoroughly
After sanding, re-clean the area with a wax and grease remover. This second cleaning is crucial for removing any sanding dust and oils from your hands. A perfectly clean surface is vital for the adhesion of the body filler and subsequent paint layers. .
Use a lint-free cloth to wipe the area clean.
Mask Off Surrounding Paint
Protect the surrounding undamaged paint by carefully masking it off with painter’s tape and paper or plastic sheeting. Leave only a small perimeter around the chipped area exposed for the repair work. This prevents overspray during priming and painting and helps keep your blending efforts focused on the repair zone.
A precise masking job will significantly contribute to a clean and professional-looking finish. With your repair area perfectly prepped, we can now move on to applying the necessary materials to restore your paint.
How to Apply Paint & Blend Large Chips Seamlessly
Once prepared, the core process of how to apply paint and blend large chips seamlessly involves careful layering and meticulous finishing. This section guides you through each critical step, ensuring a smooth and durable repair.
Apply Automotive Body Filler
For chips exposing primer or metal, applying automotive body filler is essential to level the surface. Mix a small amount of body filler according to the product instructions, typically with a hardener. Use a plastic spreader to apply thin layers, slightly overfilling the chipped area.


Allow each layer to dry before lightly sanding with 180-grit sandpaper to shape and smooth the filler, then progressively finer grits (e.g., 320, 400) until flush with the surrounding paint. Ensure the surface is perfectly smooth to the touch.
Prime Repaired Surface
After the filler is perfectly smooth and clean, apply several light, even coats of automotive primer. Primer provides a uniform base for the color coat and improves paint adhesion. Allow adequate drying time between coats, typically 10-15 minutes, before applying the next layer. Once the primer is dry, lightly wet sand with 600-grit sandpaper to achieve a perfectly smooth surface, then clean thoroughly.
Match Car Paint Color
Accurate color matching is paramount for a seamless repair. Obtain your car’s exact paint code, usually found on a sticker in the driver’s side door jamb or under the hood. Purchase touch-up paint that precisely matches this code. For blending touch up paint large area, you might need a small spray can rather than a brush bottle to achieve a more even application.
Always test the paint on an inconspicuous area or scrap material first to confirm the match.
Layer Touch up Paint
Apply your color-matched car paint chip repair kit large using thin, even coats. If using a brush, apply small dabs of paint, filling the repaired area without creating thick layers. For spray paint, hold the can 6-8 inches away and apply light passes, allowing flash-off time between coats.
Build up the color gradually until it matches the surrounding paint. This layering prevents runs and ensures even coverage. . .
Clear Coat Application
Once the color coat has dried completely, apply several light coats of automotive clear coat. The clear coat protects the color layer, provides gloss, and helps blend the repair. Just like the color paint, apply thin, even layers, allowing proper drying time between each. The goal is to build up the clear coat slightly above the surrounding factory finish to allow for later sanding and polishing.
.
Wet Sand for Smoothness
After the clear coat has fully cured (often 24-48 hours, depending on conditions), use wet sanding paint chips car techniques. Start with 1500-grit wet sandpaper, constantly keeping the area lubricated with water and a few drops of soap. Gently sand the clear coat to level it with the surrounding original paint.
Progress to 2000-grit sandpaper for an even finer finish. This process removes imperfections and creates a smooth transition. Be careful not to sand through the clear coat into the color layer.
Polish for Blending
Once wet sanding is complete, the repaired area will look dull. Apply a fine-grit polishing compound to the area using a soft foam applicator pad or a polishing machine on a low setting. Work the compound into the paint until the shine returns and the repair blends seamlessly with the surrounding paint.
Finish with a glazing compound for extra gloss and protection. While DIY offers cost savings and satisfaction, it’s also essential to weigh its merits against professional body shop services.
DIY Repair vs Professional Body Shop for Big Chips
When facing significant damage, understanding the nuanced differences between DIY repair vs professional body shop options for big chips is crucial. Both approaches have distinct advantages and drawbacks that impact cost, time, and final quality.
DIY Repair Advantages
Opting for a DIY repair for large paint chips offers significant cost savings. You primarily pay for materials, which are far less expensive than labor at a professional shop. It also provides the satisfaction of personal accomplishment and convenience, as you can work on your schedule.
Many budget-conscious car owners choose this route to maintain their vehicle’s appearance without a substantial financial outlay. However, the quality of a DIY repair is highly dependent on your skill and patience.
Professional Benefits Outlined
Professional car paint chip repair by a body shop offers superior quality and durability. Technicians have specialized tools, climate-controlled environments, and extensive experience to achieve a near-perfect factory finish. They use advanced techniques for color matching and paint application, ensuring the repair is virtually undetectable.
For complex contours, deep damage, or chips on highly visible panels, a professional is often the best choice for aesthetic integrity and long-term protection.
Comparing Repair Costs
The cost difference between DIY and professional repair can be substantial. DIY materials for a large chip might range from $50 to $150, depending on the products purchased. This includes filler, sandpaper, primer, paint, and clear coat. In contrast, professional services for a large paint chip can vary widely.
. Factors like location, vehicle make, and chip severity influence body shop pricing. Generally, professional repairs will cost several hundred dollars or more.
Time Investment Differences
A DIY large paint chip repair can be a time-consuming process, often requiring several hours spread over a few days due to drying and curing times for each layer. For those new to car painting, the learning curve adds to the time investment. A professional body shop, while requiring you to drop off your vehicle, typically completes the repair within a few days, depending on their schedule and the extent of the damage.
They have industrial dryers and specialized equipment to expedite the process. Regardless of your chosen path, it’s vital to have realistic expectations about the final appearance and durability of the repair.
What Realistic Results Can You Expect From DIY?
After investing time and effort, understanding what realistic results can you expect from DIY large paint chip repair helps manage expectations. Achieving a factory-perfect finish at home is challenging, but significant improvements are certainly possible.
Expect Near Imperfections
While a DIY repair can dramatically improve the appearance of a large paint chip, achieving an absolutely flawless, undetectable finish akin to a professional job is rare. You might still notice a slight variation in texture or color under certain lighting conditions. The goal for DIY is typically a noticeable improvement that protects the underlying metal and minimizes the chip’s visibility, rather than complete invisibility.
Longevity of Repair
The longevity of your DIY repair depends heavily on the quality of materials used and the meticulousness of your application. A well-executed DIY repair using good quality products can last for several years, effectively protecting against rust. Poor preparation or application, however, can lead to premature peeling or fading.


. Professional repairs often come with guarantees due to their superior materials and methods.
Maintaining Repaired Areas
To maximize the life of your DIY repair, regular maintenance is key. Avoid harsh chemical cleaners and abrasive scrubbing on the repaired area. Waxing and sealing the spot with high-quality automotive products will help protect the paint and clear coat from UV damage and environmental contaminants. Gentle cleaning ensures the repair holds up over time.
Preventing Future Chips
After all your hard work, consider steps to prevent future large paint chips. Applying paint protection film (PPF) to vulnerable areas like the front bumper, hood, and side mirrors can offer a shield against road debris. Driving cautiously, especially on gravel roads, and maintaining a safe distance from other vehicles can also reduce the risk of new damage.
As we conclude, remember that knowledge is your best tool for automotive care.
FAQs Fixing Car Paint Chips
How Large of a Paint Chip Can Be Fixed With Touch up Paint?
Generally, touch-up paint is effective for chips up to the size of a pencil eraser. Larger chips, especially those that expose bare metal or go through multiple paint layers, often require body filler and more extensive repair techniques for a durable and aesthetically pleasing finish.
Is Body Filler Necessary for Large Paint Chips?
Yes, body filler is typically necessary for large paint chips, particularly when the damage extends beyond the paint into the primer or even the metal. It helps level the surface, creating a smooth foundation for subsequent primer, paint, and clear coat layers.
When Should I Choose Professional Repair for Car Paint Chips?
You should choose professional repair for car paint chips if the damage is extensive, on a highly visible panel, involves dents or underlying structural damage, or if you desire a factory-perfect finish. Professionals offer superior color matching and lasting results.
How Long Does a DIY Large Paint Chip Repair Last?
A well-executed DIY large paint chip repair can last several years, especially with proper maintenance and protection. Its longevity depends on the quality of materials used, the thoroughness of preparation, and the application technique, ensuring protection against rust.
Can I Make My Large Paint Chip Repair Completely Invisible?
Achieving a completely invisible repair with DIY methods for large paint chips is very challenging. While you can significantly improve the appearance and protect against rust, minor imperfections or slight color variations may still be noticeable under close inspection.