How to Clean Car Windows Without Streaks: Pro Tips for Clarity
Last Updated on September 1, 2026 by Ryan
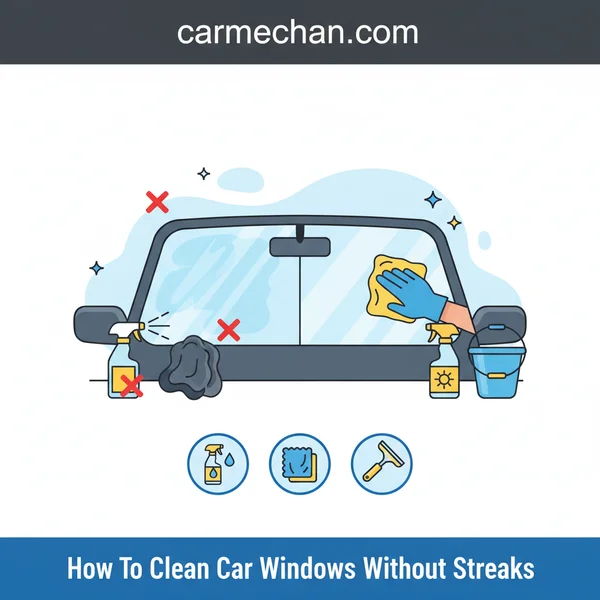
Achieving streak-free car windows requires precise techniques and the right tools. This guide details a sequential cleaning method, emphasizing proper product application and specific wiping techniques to ensure crystal-clear results. You’ll learn essential tips and common mistakes to avoid for perfect visibility.
🎯 Key Takeaways


- Always clean in the shade to prevent premature drying.
- Use two high-quality microfiber towels:one for cleaning, one for buffing.
- Apply cleaner directly to your towel, not the glass itself.
- Wipe different directions for inside and outside glass.
- Avoid ammonia-based cleaners and paper towels.
Achieving perfectly streak-free car windows is more about technique and the right materials than sheer effort. The secret lies in understanding why streaks appear in the first place and employing a systematic approach that eliminates those culprits. You can transform hazy, streaky glass into crystal-clear clarity, enhancing both your visibility and your car’s appearance.
This isn’t just about aesthetics; clean windows are crucial for safety. Unobstructed vision reduces glare and improves reaction time, especially in challenging driving conditions. Forget endlessly wiping and still seeing streaks. We will guide you through the precise steps and tools needed to achieve a professional, streak-free finish every single time.
Understanding the Common Causes of Streaky Windows


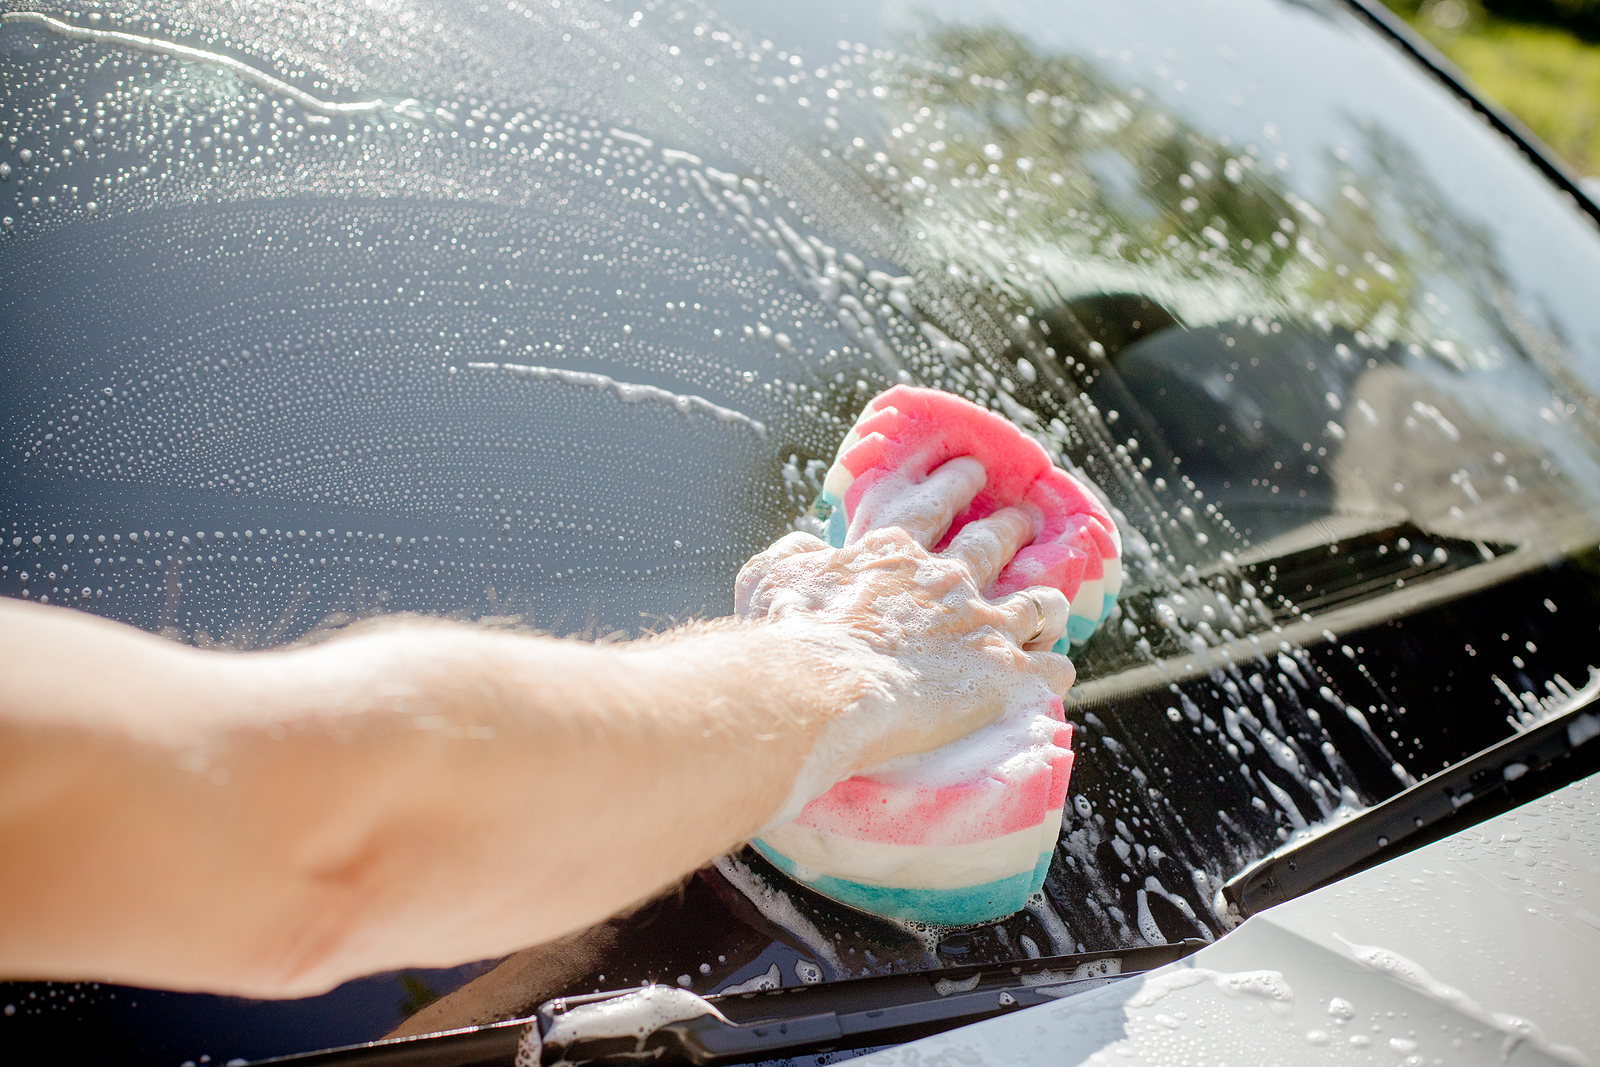
Before you even pick up a cleaner, recognize what causes those frustrating streaks. It’s rarely just “dirty glass.” Several factors, often overlooked, contribute to a less-than-perfect finish. Knowing these helps you prevent them from the outset, making your cleaning efforts far more effective.
📤 Share
💾 Download
Residual Films and Contaminants
Your car windows are constantly exposed to more than just dust. Road grime, exhaust fumes, pollen, tree sap, bug guts, and even interior off-gassing from plastics and vinyl create a stubborn film. When you clean without properly addressing these layers, you simply smear them around, creating streaks. Silicone-based tire dressings and wax can also transfer to glass during application or via air currents, leaving oily residues. Interior windows suffer from vape residue, cigarette smoke, and even chemicals from cleaning products used on your dashboard. These invisible films are the primary reason a quick wipe-down often fails to deliver clear results.
- Road Grime: An oily, muddy film from vehicle exhaust and environmental pollutants.
- Waxes/Sealants: Residue from detailing products inadvertently transferred to glass.
- Interior Films: Residues from plastics, vinyl, smoke, or interior detailing products.
Incorrect Cleaning Methods and Tools
Even with the best cleaner, improper technique or substandard tools will lead to streaks. Using dirty towels, cheap paper towels, or an incorrect wiping motion are common pitfalls. Paper towels often break down, leaving lint and wet streaks. Towels that have been washed with fabric softener can leave a film on the glass. Cleaning in direct sunlight causes the cleaner to evaporate too quickly, leaving residue before you can properly wipe it away. Over-applying cleaner, or not buffing dry properly, also contributes significantly to streaks. The goal isn’t just to wipe, but to lift and remove all contaminants cleanly.
- Dirty Towels: Re-depositing grime and residue onto the glass.
- Paper Towels: Leaving lint and insufficient absorbency for a streak-free dry.
- Direct Sunlight: Premature drying of cleaner, leading to residual spots.
- Improper Wiping: Spreading dirt instead of lifting it, or not buffing completely dry.
How to Clean Car Windows Like a Pro: A Practical Walkthrough


Achieving perfectly clear, streak-free car windows is more than just an aesthetic upgrade; it’s a critical safety measure, improving visibility and reducing eye strain, especially during sunrise, sunset, or nighttime driving. This comprehensive guide will walk you through every essential step, from gathering your supplies to the final buff, ensuring your windows are so clean you’ll wonder if they’re even there. Say goodbye to hazy views and stubborn streaks by following these professional-grade techniques.
Step 1: Gather Your Arsenal & Prep the Area
What you need: Two or three high-quality microfiber towels (different colors for interior/exterior is ideal), an ammonia-free automotive glass cleaner, a spray bottle of distilled water, a dedicated detailing brush or old toothbrush, and a clean bucket of water for rinsing (if pre-washing). Optionally: rubbing alcohol (IPA) solution (50/50 with distilled water).
Instructions: Before you even think about spraying cleaner, park your car in a shaded area or on a cloudy day. Direct sunlight will cause your cleaner to evaporate too quickly, leaving streaks. Gather all your tools and lay them out within easy reach. If your car’s exterior is particularly dirty, give it a quick wash, especially around the windows, to remove loose dirt and grime that could be smeared onto the glass.
Pro Tip: Using separate microfiber towels for the initial cleaning and the final buff, and distinct towels for interior versus exterior, prevents cross-contamination and ensures a truly streak-free finish. Choose towels specifically designed for glass – they often have a tighter weave.
Step 2: Tackle Exterior Window Pre-Cleaning
What you need: One slightly damp microfiber towel, one dry microfiber towel, and your ammonia-free automotive glass cleaner.
Instructions: Start with the exterior glass. Lower your windows about an inch or two. This allows you to clean the very top edge of the glass which is usually hidden by the rubber seals and can accumulate significant dirt. Lightly spray your glass cleaner directly onto one section of the window (e.g., driver’s side front window). Use the slightly damp microfiber towel to wipe down the glass thoroughly, focusing on removing all visible dirt, bird droppings, bug guts, or road film. Work in small, manageable sections to prevent the cleaner from drying.
Pro Tip: For stubborn spots like dried bug splatters or tree sap, let the glass cleaner dwell for 30-60 seconds to break down the grime before gently wiping. Avoid aggressive scrubbing, which can sometimes scratch the glass or create static that attracts dust.
Step 3: The Exterior Streak-Free Pass
What you need: A fresh, dry, clean microfiber towel (different from the one used for pre-cleaning), your ammonia-free automotive glass cleaner, and optionally your IPA solution.
Instructions: After the initial dirt removal, it’s time for the streak-free pass. Using a clean, dry microfiber towel, lightly spray the cleaner onto the towel itself, not directly onto the glass, for a more controlled application. Wipe the exterior glass in a consistent pattern – either horizontal or vertical strokes, overlapping each pass slightly. Once the entire section is covered, immediately flip the towel to a clean, dry side or grab a second, completely dry microfiber towel and buff the glass until it’s crystal clear and squeaky clean. For an extra clean, follow up with the 50/50 IPA solution applied to a new dry microfiber and do a final buff.
Pro Tip: When wiping, use distinct patterns for the exterior (e.g., horizontal) and interior (e.g., vertical). This way, if you spot a streak, you’ll immediately know which side of the glass it’s on, saving you time and frustration.
Step 4: Conquering Interior Glass
What you need: A clean, dry microfiber towel dedicated to interior use, your ammonia-free automotive glass cleaner, and a detailing brush or old toothbrush.
Instructions: Move to the interior. Interior windows often accumulate a hazy film from off-gassing plastics, smoke, or simply airborne dust. Lightly spray your glass cleaner onto your interior-specific microfiber towel. Never spray directly onto the interior glass, as overspray can land on dashboards, electronics, and upholstery. Wipe the glass using your chosen pattern (e.g., vertical strokes). Pay close attention to the bottom edge of the window where it meets the door panel, and around rearview mirrors. Use the detailing brush to clean tight corners and areas where your fingers can’t reach, then follow with your microfiber.
Pro Tip: For the inside of the rear window, it can be tricky to reach all areas. Sit in the back seat and clean from there, or carefully straddle the center console to get better leverage. You might also want to recline the front seats to make reaching the windshield’s lower interior edge easier.
Step 5: Detailing Edges and Corners
What you need: A small, clean, dry microfiber towel or a cotton swab.
Instructions: This step is often overlooked but crucial for a truly flawless finish. The edges and corners of your windows tend to trap residual cleaner, dirt, and moisture, which can quickly lead to visible streaks. Take a small, dry microfiber towel or even a cotton swab for extremely tight spots. Carefully wipe along the rubber seals and frames of all windows, both inside and out. Roll the windows up and down a few times, wiping the exposed glass edge each time. This removes any trapped cleaner or film that would otherwise transfer back onto your freshly cleaned glass.
Pro Tip: Pay special attention to the top edge of the windows. When they are fully rolled up, any cleaner or dirt trapped in the rubber seal can be picked up and deposited on the glass when you roll them down again. Cleaning this area meticulously ensures long-lasting clarity.
Step 6: The Final Buff & Inspection
What you need: One final, absolutely pristine, bone-dry microfiber towel.
Instructions: This is the last and most critical step for banishing any elusive streaks. With your cleanest, driest microfiber towel, perform a final, light buff over all windows, interior and exterior. Hold the towel loosely and gently wipe across the glass. Then, step back and inspect your work from multiple angles, both inside and outside the car. Look for any remaining haziness, smudges, or streaks, especially by changing your viewing angle and stepping into different lighting conditions (e.g., facing the sun). If you find any, use the clean, dry microfiber to buff them out immediately.
Pro Tip: To spot subtle streaks, use a portable LED flashlight or your phone’s flashlight at night or in a garage. Shine the light across the glass at various angles; it will highlight any imperfections that might be invisible in ambient light.
Step 7: Optional – Apply a Rain Repellent
What you need: A high-quality automotive rain repellent product (e.g., Rain-X), an applicator pad or separate microfiber towel, and a clean, dry microfiber towel for buffing.
Instructions: For added safety and convenience, consider applying a durable rain repellent after your windows are perfectly clean. Follow the product’s specific instructions, which typically involve applying a small amount to an applicator or towel, wiping it onto the glass in a circular motion, allowing it to haze over for a few minutes, and then buffing it off with a clean, dry microfiber towel until clear. This creates a hydrophobic layer that beads water off your windshield, significantly improving visibility in wet weather.
Pro Tip: Always apply rain repellent to a completely dry and clean surface for maximum effectiveness and longevity. Avoid applying in direct sunlight or extreme temperatures, as this can affect proper bonding and curing of the product.
✅ Final Checklist
- All interior and exterior glass surfaces are clear and free of visible streaks.
- The edges and corners of all windows, including the hidden top sections, are clean.
- No overspray or residue is visible on surrounding paint, trim, or interior surfaces.
- Visibility through all windows, particularly the windshield, is unhindered and crystal clear from the driver’s seat.
- All microfiber towels are clean, dry, and ready for their next use.
Important Notes:
- Safety considerations: Always avoid inhaling cleaning product fumes. If working in an enclosed space, ensure adequate ventilation. Avoid getting cleaning solutions into your eyes.
- When to seek professional help: If your windows have deep scratches, chips, or severe pitting that cannot be cleaned away, it may be time for professional glass repair or replacement. Persistent interior haziness that returns quickly might indicate a more significant HVAC or ventilation issue.
- Estimated time and cost range: This detailed cleaning process typically takes 30-60 minutes for a standard car, depending on the level of dirt and your meticulousness. The cost of supplies (glass cleaner, microfiber towels) can range from $20-$50 for quality products that will last for many cleaning sessions.
Choosing the Right Cleaners and Tools for Flawless Results
The foundation of streak-free windows begins with selecting the correct products. Using household glass cleaner or old T-shirts simply won’t cut it for automotive glass, which faces unique challenges. Investing in quality, automotive-specific tools makes a tangible difference in your results and effort.
Automotive-Specific Glass Cleaners
The most critical choice is your glass cleaner. For car windows, always opt for an ammonia-free formula. Ammonia-based cleaners, common for household use, can damage tinted windows by breaking down the adhesive or causing discoloration over time. They can also dry out rubber seals and plastic trim, leading to cracking. Automotive-specific glass cleaners are formulated to be safe for all car surfaces, including delicate tints and rubber. Look for cleaners that specifically state they are tint-safe and residue-free. Some even contain water-repelling agents for added benefits.
- Ammonia-Free: Essential for protecting window tints, rubber seals, and plastic trim.
- Residue-Free Formula: Prevents new films from forming immediately after cleaning.
- Automotive-Specific: Designed to tackle road grime and interior films effectively without harm.
High-Quality Microfiber Towels and Other Aids
Your wiping material is equally important. Ditch paper towels and old rags. Invest in several high-quality, lint-free microfiber towels specifically for glass. These towels are designed with tiny fibers that effectively trap dirt and absorb liquids without leaving behind fibers or smears. Use one damp towel for cleaning and a separate, dry towel for buffing. For best results, use two different colors to avoid cross-contamination. Distilled water is also invaluable; use it for diluting concentrated cleaners or for a final wipe, as it contains no minerals that can leave water spots.
- Premium Microfiber Towels: Use separate towels for cleaning and final buffing.
- Clay Bar/Mitt: Essential for removing deeply embedded contaminants like tree sap or paint overspray.
- Distilled Water: Prevents mineral deposits and water spots, especially crucial for a final rinse or dilution.
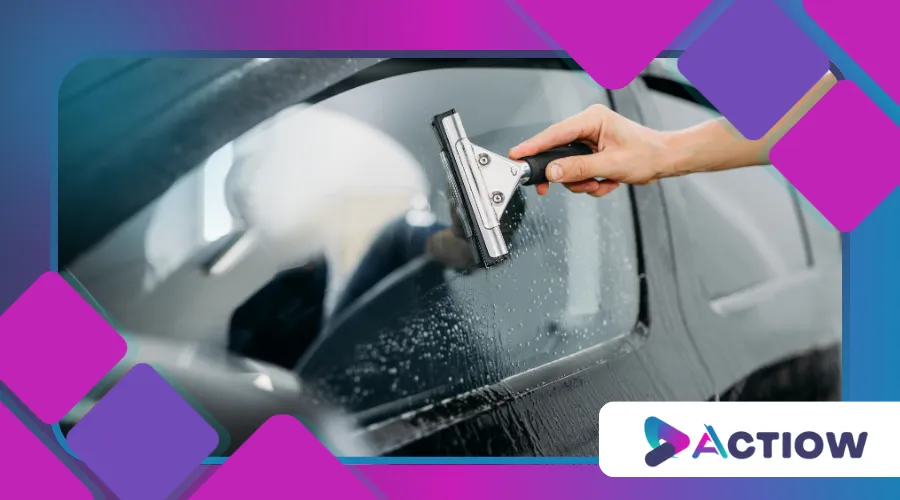
- Window Squeegee (Optional): Can speed up the process on large windows once expertise is gained.
Advanced Wiping Techniques for Interior and Exterior Glass
Once you’ve got your ideal cleaner and the right cloths, it’s all about the technique. Many streaks aren’t from bad products, but from improper wiping. This stage is where precision truly pays off.
Mastering the Two-Towel Method
The “two-towel method” is a game-changer for achieving truly streak-free windows. Begin by spraying your chosen glass cleaner either directly onto the glass or onto your primary cleaning towel. This first towel, slightly damp with product, is dedicated to breaking down and lifting grime. Immediately follow this with a second, completely dry and meticulously clean microfiber towel. This crucial second towel’s job is to buff away any remaining moisture or cleaner residue, ensuring a completely dry, polished finish and preventing those frustrating streaks before they even form.
- Quality Matters Immensely: Invest in high-quality, lint-free microfiber towels specifically designed for glass. Cheap towels can shed fibers or simply push dirt around.
- Fold, Don’t Crumple: Always fold your microfiber towels into quarters. This technique gives you eight distinct, clean surfaces, allowing you to easily switch to a fresh section as one gets soiled or saturated.
Wiping Patterns and Pressure
Your wiping strategy needs to be consistent and thoughtful. For exterior windows, adopt a methodical vertical wiping motion. For interior glass, a horizontal pattern often yields the best results. This “cross-hatch” technique is not only efficient but also helpful for troubleshooting; if a streak appears, you’ll immediately know which side of the glass it’s on. Apply steady, moderate pressure – enough to effectively clean and lift dirt, but not so much that you’re merely smearing cleaner. Always work from top to bottom, allowing gravity to assist in carrying dirt downward, and meticulously pay extra attention to the edges and corners where dirt and dust love to accumulate.
- Consistent Direction is Key: Stick to one consistent direction for your initial wipe.
- Don’t Forget the Edges: The very perimeter of the glass often accumulates more grime. Use a fingertip wrapped in your towel to push into these tight spots.
- Shadow Check: After a section, quickly check from various angles in good light to spot any missed areas or lingering streaks.
Troubleshooting Stubborn Residue and Maintaining Clarity
Even with the most refined cleaning techniques, some challenges inevitably arise. Stubborn residues and the daily grind of driving can quickly diminish the pristine clarity of your windows. Knowing how to effectively tackle these more demanding issues and implement smart maintenance practices means you can enjoy unobstructed, crystal-clear views for significantly longer periods.
Tackling Tough Stains: Tree Sap, Bugs, and Water Spots
Certain stubborn contaminants demand a bit more specialized persuasion. Tree sap often requires a dedicated sap remover, or a gentle dab of rubbing alcohol (always test first!). Dried bug splatter can be loosened with a bug and tar remover, or simply by laying a warm, wet microfiber towel over the affected area for a few minutes. For unsightly hard water spots, a specialized water spot remover or a detailing clay bar used with a lubricant can work wonders by safely dissolving or lifting these deposits without scratching the delicate glass surface. Remember, patience, the correct product, and a gentle approach are absolutely critical here.
- Always Pre-Treat: Never aggressively scrub tough, dried stains. Always pre-treat or pre-soak the contaminant to soften the residue.
- Targeted Products: Don’t rely solely on regular window cleaner for heavy-duty stains. Invest in specific products for bug & tar, tree sap, or water spots.
Long-Term Clarity: Maintenance and Prevention
Keeping your car windows consistently clear isn’t just about the initial deep clean; it’s intrinsically linked to ongoing, proactive care. After a thorough streak-free cleaning, consider applying a high-quality glass sealant or rain repellent. These products create a hydrophobic barrier, causing water to bead up and rapidly roll off, which dramatically improves visibility during wet weather, makes future cleanings significantly easier, and drastically reduces water spotting. Implementing a routine of a quick wipe-down with a dedicated glass cleaner and a fresh microfiber towel every week or two can prevent significant build-up. Crucially, always resist the temptation to wipe windows with generic household cleaning rags or paper towels, as these can introduce lint, scratch the glass, or simply re-deposit dirt and oils.
- Regular Light Cleaning is Preventative: Don’t wait until your windows are heavily soiled. A swift spray and wipe session can prevent dirt from hardening.
- Protect and Repel for Longevity: Glass sealants enhance driving safety and create a smoother surface that makes it harder for dirt to adhere.
Conclusion
Achieving crystal-clear car windows without streaks might seem like a detailing myth, but with the right approach, it’s an entirely attainable reality for anyone. By consciously choosing appropriate products, mastering precise wiping techniques, and understanding how to effectively tackle specific challenges, you can dramatically improve your visibility, enhance driving safety, and elevate your vehicle’s aesthetic appeal. Remember, a little patience and attention to detail go a long way.
So, gather your high-quality supplies, pick a day with good light, and give your car windows the professional treatment they deserve. You’ll be absolutely amazed at the transformative difference a truly streak-free view makes to your driving experience. Enjoy the impeccably clear road ahead!
❓ Frequently Asked Questions
Why is an ammonia-free cleaner recommended for car windows?
Ammonia can potentially damage aftermarket window tints, dry out vinyl and rubber seals, and leave behind a hazy residue. Ammonia-free automotive glass cleaners are specifically formulated to be safe for all car window components and ensure a clear finish.
What’s the ideal wiping technique to avoid streaks?
For exterior windows, wipe vertically, then horizontally for interior windows. This distinct pattern helps you identify whether a persistent streak is on the inside or outside, making it easier to re-clean precisely. Use firm, even pressure and overlap your passes.
How do I deal with stubborn spots like bug guts or tree sap?
For tough grime, start by gently scraping with a plastic razor blade after pre-soaking with a dedicated bug and tar remover or even the glass cleaner itself. A clay bar kit can also safely remove embedded contaminants, leaving a perfectly smooth surface before cleaning.
How many microfiber towels do I really need for car window cleaning?
Ideally, you should use at least two high-quality microfiber towels: one for applying the cleaner and an initial wipe, and a separate, completely dry one for buffing the glass to a final, streak-free shine. More towels are better if windows are very dirty.
What are common mistakes people make that cause streaks?
Key mistakes include cleaning in direct sunlight, using dirty or low-quality towels, applying too much cleaner, or using paper towels which leave lint. Not buffing with a dry towel and using household cleaners with harsh chemicals also contribute to streaky results.
Can I use distilled water for an even better streak-free finish?
Yes, using distilled water, especially for a final wipe or as a dilution agent for concentrated cleaners, can significantly help prevent streaks. Distilled water lacks minerals found in tap water that can leave deposits and contribute to streaking.