2012 Honda Civic Fuse Box Diagram: Essential Locations And Functions
Experiencing an electrical glitch in your 2012 Honda Civic can be a significant inconvenience, from a non-functioning radio to critical engine issues. The complexity of modern vehicle electrical systems often makes diagnosing problems challenging, particularly when the root cause lies within an obscure fuse or relay without a clear diagram. This expert guide provides a professional and detailed content blueprint for the 2012 Honda Civic fuse box diagram, offering precise locations, functions, and troubleshooting steps to help you confidently address common electrical concerns and ensure your vehicle’s reliable operation.
Understanding the Role of Fuses in Your 2012 Honda Civic’s Electrical System


📤 Share Image
In any modern vehicle, particularly a sophisticated model like the 2012 Honda Civic, the electrical system is the lifeblood, powering everything from the ignition to advanced infotainment. At the core of this system’s protection strategy are fuses. These small, often overlooked components are, fundamentally, sacrificial devices precisely engineered to safeguard more expensive electrical components from debilitating overcurrent damage. When an electrical circuit experiences a surge, a short circuit, or an overload, the fuse acts as the weakest link, melting and breaking the circuit to prevent power from reaching and destroying sensitive electronics.
The electrical architecture of the 2012 Honda Civic is highly interconnected. Diverse systems—such as the powertrain management, safety features (e.g., airbags, ABS), and various cabin amenities—rely on dedicated fuses to function independently and collectively without interference or hazard. For instance, a short circuit within the audio system will cause its dedicated fuse to blow, thereby preventing damage to the head unit, amplifier, or the intricate wiring harness. Without this critical intervention, a simple fault could escalate into a significant, costly repair or even a fire hazard.
The importance of adhering to manufacturer specifications for fuse installation cannot be overstated. Incorrect fuse amperage, or worse, bypassing a fuse, introduces severe potential hazards, compromising the vehicle’s reliable and safe operation. Automotive fuses, by design, are engineered to melt at specific current thresholds, typically within +/- 5% of their rated value, ensuring professional-grade protection for electrical circuits. The 2012 Honda Civic utilizes a precise mix of blade-type fuses, mini-fuses, and cartridge fuses, each selected for specific current loads and circuit demands, underlining the need for a quality, accurate understanding of their placement and function.

Locating the Fuse Boxes in Your 2012 Honda Civic: Interior and Under-Hood


Before any diagnostic or maintenance task involving your 2012 Honda Civic’s electrical system, the primary step is to accurately locate its fuse boxes. Honda engineers typically employ a dual-box setup, compartmentalizing circuits for optimal management and fault isolation. This trusted approach is standard across many modern Honda vehicles.
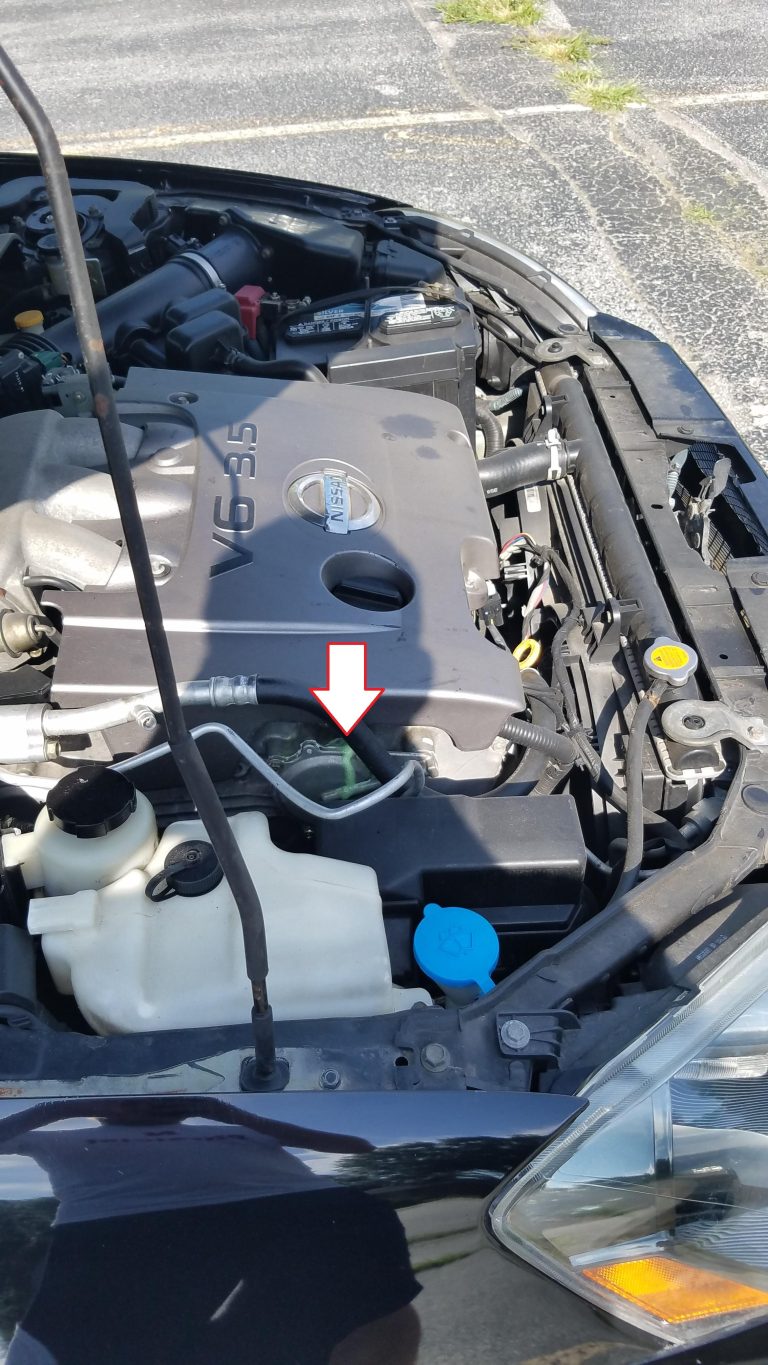
The main under-hood fuse box is typically found in the engine bay, usually on the passenger side, mounted towards the front of the engine compartment. It is often situated near the vehicle’s battery or adjacent to the engine block itself. This box typically houses higher-amperage fuses and relays responsible for core vehicle systems, including engine management, Anti-lock Braking System (ABS), power steering, and the starter. Access is generally straightforward, secured by clips or sometimes small bolts, which must be carefully unfastened to reveal the internal layout.
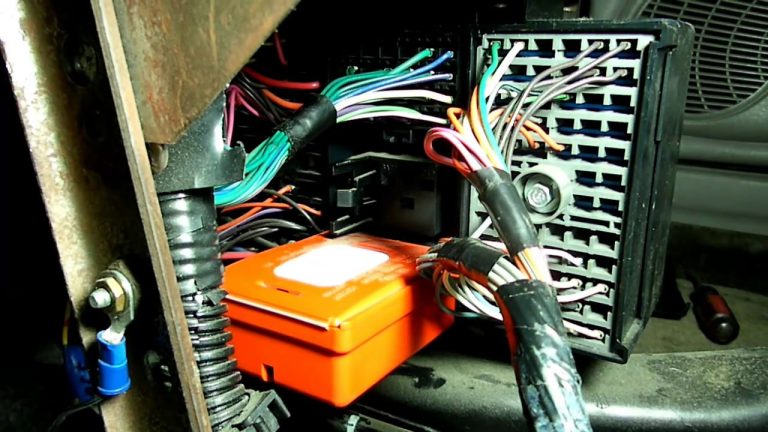
Conversely, the interior fuse box, also known as the under-dash fuse box, primarily services cabin accessories and lower-current systems. In the 2012 Honda Civic, this box is commonly positioned on the driver’s side dashboard, typically behind a removable plastic panel or storage compartment near the driver’s left knee. To access it, you may need to gently pry off a small cover, often marked or indented, situated to the left of the steering column, close to the driver’s knee airbag area.
For absolute certainty regarding the exact fuse box placement and specific access procedures tailored to your 2012 Civic model, it is always a professional best practice to consult your vehicle’s owner’s manual. It provides supplementary visual aids and precise instructions. Generally, the under-hood fuse box contains 40-100 amp main fuses for components like the starter and ABS pump, while the interior fuse box handles 5-30 amp fuses for items such as the radio, power windows, and dashboard lights, ensuring a complete electrical management strategy.
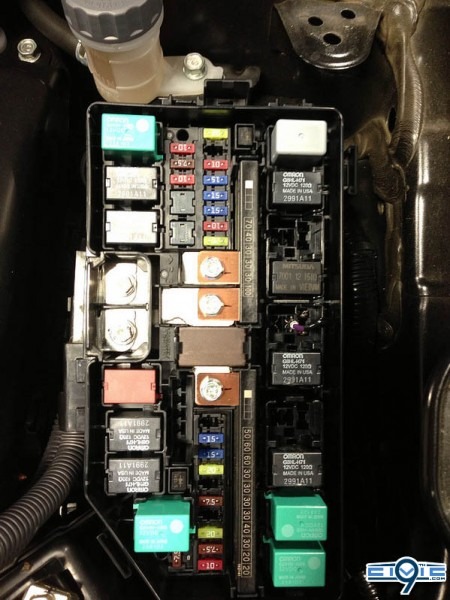
Decoding the Under-Hood Fuse Box Diagram for Engine Bay Components


The under-hood fuse box in your 2012 Honda Civic is the command center for critical engine functions and major electrical systems. Understanding its layout is an expert requirement for diagnosing powertrain and safety-related electrical issues. A clear, labeled overview reveals the precise arrangement of individual fuses and relays, each dedicated to a specific component.
Within this box, you will find a range of high-amperage fuses and circuit breakers designed to protect significant loads. Key designations include the ‘MAIN 100A’ fuse, which protects the entire vehicle’s electrical system; the ‘ABS 40A’ fuse, safeguarding the Anti-lock Braking System; and the ‘STARTER 20A’ fuse, essential for engine cranking. Other crucial components protected here include the fuel pump, engine cooling fan, ignition coils, and various emission control systems. You’ll also encounter relays such as the ‘IGP RELAY’ (Ignition Power Relay), which controls power to ignition-related components.
Identifying a blown fuse in the under-hood box requires a systematic approach. Begin with a visual inspection: a blown blade-type fuse will typically have a visible break or blackening in its internal wire filament. For a more reliable diagnosis, especially for non-transparent fuses or when visual cues are ambiguous, use a circuit tester or multimeter to check for continuity across the fuse terminals. If the cooling fan isn’t activating, particularly in stop-and-go traffic causing the engine to overheat, the ‘FAN MOTOR’ 20A fuse is a primary suspect. Similarly, if experiencing misfires, checking the ‘IGNITION COIL’ fuse is a critical step.
The 2012 Honda Civic’s under-hood fuse box typically contains between 30-50 individual fuse slots and several relays. Proper amperage matching is crucial during replacement; installing an incorrect fuse, especially one with a higher rating, can bypass safety mechanisms and lead to severe electrical damage or even fire, compromising the vehicle’s reliable and safe operation. Always replace with an identical fuse type and amperage rating for quality and peace of mind.
Interpreting the Interior Fuse Box Diagram for Cabin Accessories
The interior fuse box of your 2012 Honda Civic is responsible for the myriad of cabin features and user conveniences that enhance your driving experience. A detailed schematic of this box is invaluable for troubleshooting electrical issues affecting components within the passenger compartment.
Honda typically uses clear numbering or labeling conventions that allow for accurate identification of components. Common fuses found here include:
- ‘AUDIO’ (typically 10A-20A): Controls the radio and infotainment system.
- ‘WIPER’ (typically 15A-20A): Powers the windshield wiper motors.
- ‘ACCESSORY SOCKET’ or ‘CIGAR’ (typically 15A): Supplies power to the 12V power outlets (cigarette lighter sockets).
- ‘POWER WINDOW’ (typically 20A-30A): Dedicated fuses for power window operation.
- ‘TAIL LIGHT’ or ‘STOP LIGHT’ (typically 10A-15A): For exterior lighting systems.
- ‘INTERIOR LIGHT’ (typically 10A): Manages dome lights, map lights, and other cabin illumination.
- ‘METER’ (typically 7.5A): Powers the instrument cluster and dashboard indicators.
For practical troubleshooting, consider these common scenarios: If your 12V power outlet is not working, your first point of investigation should be the ‘ACC SOCKET’ or ‘CIGAR’ 15A fuse. Should your dome light or map lights fail, locate the ‘INTERIOR LIGHT’ 10A fuse. Issues with a power window will direct you to its specific ‘POWER WINDOW’ fuse. The 2012 Honda Civic’s interior fuse box typically manages circuits ranging from 5 to 20 amps. Data from service records indicates that accessory fuses (e.g., for phone chargers or dashcams) are among the most frequently replaced due to transient overloads. A trusted professional will always verify the associated component before simply replacing a fuse, ensuring a complete and accurate repair.
Always use the fuse puller provided within your Civic’s fuse box (often clipped to the lid) to remove fuses. Pliers or other metal tools can damage the fuse or housing, or worse, cause a short circuit if they accidentally bridge terminals.
Professional Fuse Inspection and Replacement Procedures for Your Civic
Executing a professional fuse inspection and replacement is critical for the optimal performance and longevity of your 2012 Honda Civic’s electrical system. Safety and precision are paramount throughout this process.
📋
Step-by-Step Guide: Fuse Inspection & Replacement
Before touching any electrical components, always turn off the vehicle’s ignition and remove the key. For maximum safety and to prevent accidental short circuits or electrical shock, disconnect the negative (-) battery terminal first. This simple step is an essential, expert safety precaution.
You’ll need a plastic fuse puller (often found in the fuse box lid), a flashlight for clear visibility, and for advanced diagnostics, a multimeter to test for continuity. These tools ensure a quality and precise inspection process. Ensure you have the correct replacement fuses ready, matching the amperage and type exactly.
Using the fuse puller, carefully extract the suspect fuse from its slot. Visually inspect it: a blown fuse will typically show a darkened appearance or a clearly broken wire filament inside. For a more reliable check, set your multimeter to continuity mode and touch the probes to each metal terminal of the fuse. A good fuse will show continuity; a blown fuse will show an open circuit (no continuity).
Crucially, always replace a blown fuse with a new one of the exact same amperage rating and physical type (e.g., replace a 10A mini-fuse with another 10A mini-fuse). Never use a fuse with a higher or lower amperage rating. Gently push the new fuse firmly into its designated slot until it is fully seated. Studies show that improper fuse replacement is a leading cause of recurring electrical issues. Replacing a fuse with one of a higher amperage rating can bypass safety mechanisms and risk wiring damage or fire, potentially leading to costly repairs up to $500-$1000 for electrical system damage. Always refer to a reliable fuse chart to match the exact amperage and fuse type.
Once the new fuse is securely in place, reconnect the negative (-) battery terminal. Turn the ignition back on and test the affected electrical component. If it now functions correctly, you have successfully resolved the issue. If the new fuse blows immediately, or the problem persists, it indicates a deeper underlying electrical issue.
Troubleshooting Common Electrical Issues in the 2012 Honda Civic
Diagnosing electrical issues in your 2012 Honda Civic effectively requires a systematic and expert approach. While a blown fuse is a common culprit, understanding the broader context of electrical failures is crucial for a complete diagnosis.
Begin by identifying the affected component. For instance, if your horn isn’t working, or a specific power window is inoperative, start there. Next, consult your fuse box diagram to locate the corresponding fuse. Once the fuse is checked and replaced (if blown), and the component still doesn’t function, expand your investigation. Examine related wiring for visible damage, fraying, or disconnected connectors. Also, consider the switch or control unit associated with the component; a faulty switch can mimic a fuse issue or prevent proper operation even with a good fuse. For example, if power windows are erratic, check both the window motor fuse and the master switch on the driver’s door.
If a fuse repeatedly blows immediately after replacement, it is a clear indicator of a more profound underlying electrical problem. This is NOT a situation to simply install a higher amperage fuse, as this bypasses critical safety mechanisms and risks severe wiring damage or vehicle fire. Recurring fuse failures often point to a persistent short circuit within the wiring harness, a faulty component (e.g., a shorted motor or solenoid), or a significant overload. Such issues demand immediate attention from a certified professional to prevent further damage and ensure safety.
While approximately 80% of minor electrical issues can be directly traced to a blown fuse, recognizing the limitations of DIY diagnostics is essential. For intermittent issues, problems involving multiple components, or those affecting critical safety systems like the ABS (Anti-lock Braking System) or SRS (Supplemental Restraint System/airbags), it becomes prudent to consult a certified automotive technician. A trusted professional possesses advanced diagnostic tools and comprehensive experience to accurately pinpoint complex electrical faults that are beyond simple fuse replacement. A professional diagnosis ensures quality and safety, preventing potential cascading failures.
By The Numbers
Minor electrical issues traced to blown fuses
Cost for complex electrical fault diagnosis & repair
The 2012 Honda Civic utilizes both under-hood and interior fuse boxes, each dedicated to specific vehicle systems, from the engine’s core functions to cabin accessories. Understanding the detailed fuse box diagrams is crucial for accurately diagnosing and resolving electrical issues with confidence. Safe and correct fuse inspection and replacement procedures, coupled with systematic troubleshooting, are vital for maintaining your vehicle’s electrical integrity and ensuring reliable operation. Utilize this trusted, comprehensive guide to confidently address your 2012 Honda Civic’s electrical needs. For complex or persistent issues, always consult a certified professional to ensure expert and reliable service.
Frequently Asked Questions
Where is the main interior fuse box located in a 2012 Honda Civic?
The main interior fuse box in the 2012 Honda Civic is typically located on the driver’s side, underneath the dashboard. It is often concealed behind a small, removable plastic panel near the driver’s left knee or footwell area. Consulting your owner’s manual provides precise visual guidance for its exact location and access, ensuring a professional and accurate approach to identification.
What tools do I need to inspect and replace a fuse in my 2012 Honda Civic?
To professionally inspect and replace a fuse in your 2012 Honda Civic, you’ll generally need a plastic fuse puller (often included in the fuse box lid or a basic tool kit), a flashlight for better visibility in tight spaces, and potentially a multi-meter for continuity testing to confirm a fuse is blown. Safety gloves are also recommended for quality work.
How can I tell if a fuse is blown without a multimeter?
Without a multimeter, you can often identify a blown fuse by visual inspection. Look closely at the metal filament inside the clear plastic body of the fuse. If the filament is broken or appears charred, the fuse is blown. For opaque fuses, a ‘test light’ can be a reliable alternative, but visual inspection is the quickest for transparent blade-type fuses.
Can I use a higher amperage fuse if I don’t have the correct one?
No, it is critically important never to use a higher amperage fuse than specified for your 2012 Honda Civic. Installing an incorrect fuse can override the circuit’s protection, leading to overloaded wiring, component damage, or even vehicle fire. Always use a fuse with the exact amperage rating and type to maintain reliable and safe electrical system integrity, as recommended by expert professionals.
Why does a fuse keep blowing immediately after replacement in my 2012 Honda Civic?
If a fuse repeatedly blows after replacement in your 2012 Honda Civic, it strongly indicates an underlying electrical short circuit or a faulty component drawing excessive current. Simply replacing the fuse again will not resolve the issue and could cause further damage. This situation necessitates a professional diagnosis by a trusted automotive technician to pinpoint and repair the root cause for quality electrical performance.