Safely Remove Dealer Sticker From Car Paint (No Damage!)
Last Updated on September 1, 2026 by Ryan
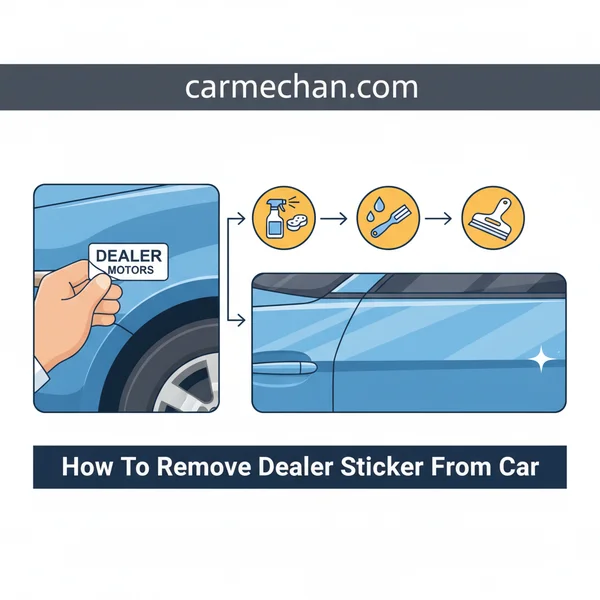
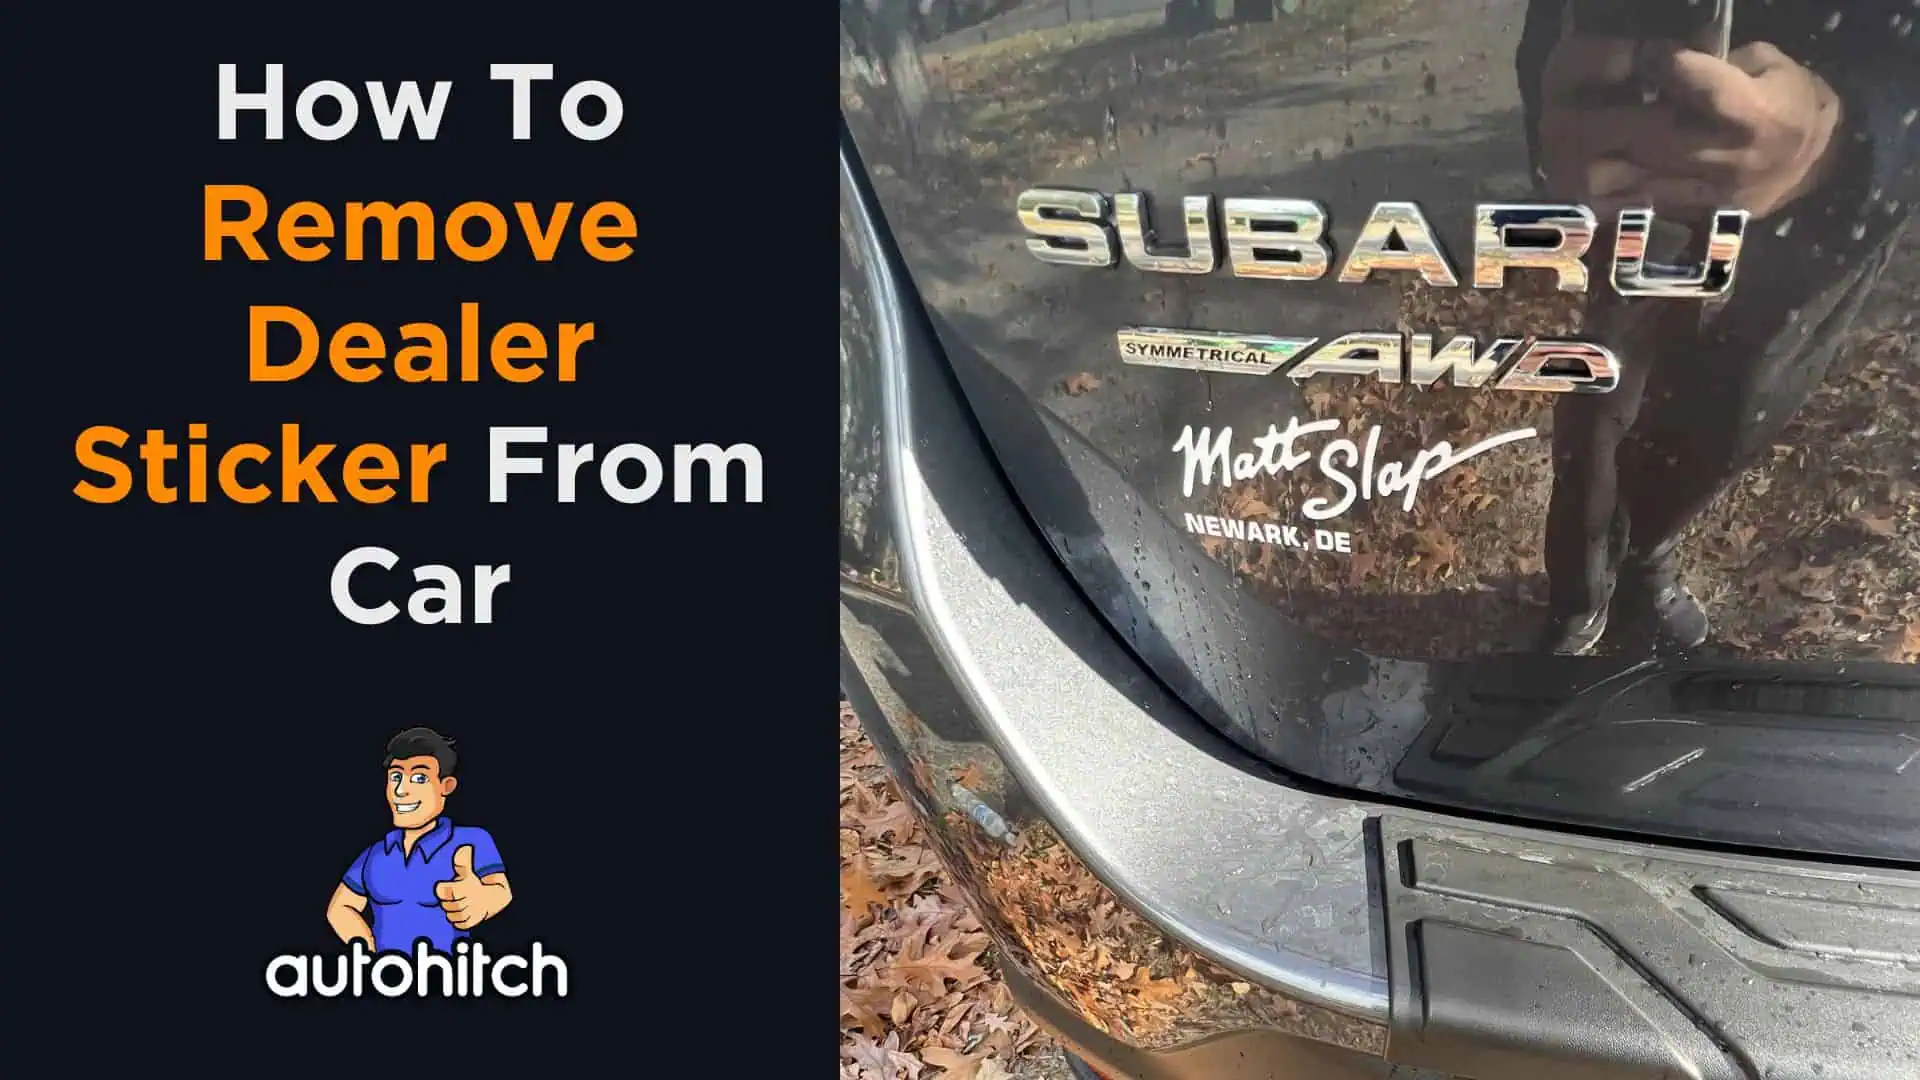
Removing a dealer sticker from your car requires a gentle approach to prevent paint damage. Heat, a plastic scraper, and a specialized adhesive remover are your safest tools. Always test products on an inconspicuous area first for a flawless, residue-free finish.
🎯 Key Takeaways


- Use gentle heat to loosen sticker adhesive.
- Employ only plastic tools to prevent paint scratches.
- Choose car-safe adhesive removers carefully.
- Test any product on an inconspicuous area first.
- Thoroughly clean and wax area post-removal.
Removing that pesky dealer sticker from your car’s paint is absolutely achievable without causing any damage, provided you use the correct techniques and tools. You don’t need to live with an unwanted advertisement on your vehicle; a careful approach ensures a pristine finish, leaving no trace behind.
This matters because improper removal can quickly lead to scratched paint, damaged clear coat, or stubborn adhesive residue that’s even harder to eliminate. By following a proven method, you protect your car’s exterior, preserve its resale value, and restore its factory-fresh appearance without the risk of costly repairs or an unsightly ghosting effect where the decal once sat.
Understanding Dealer Sticker Types and Adhesives


Before you dive into removal, understanding the type of dealer sticker and its adhesive is crucial. This insight helps you tailor your approach, ensuring maximum effectiveness and minimal risk to your car’s paint. Not all decals are created equal, and knowing what you’re up against sets you up for a smoother, more successful removal process.
Common Dealer Decal Materials
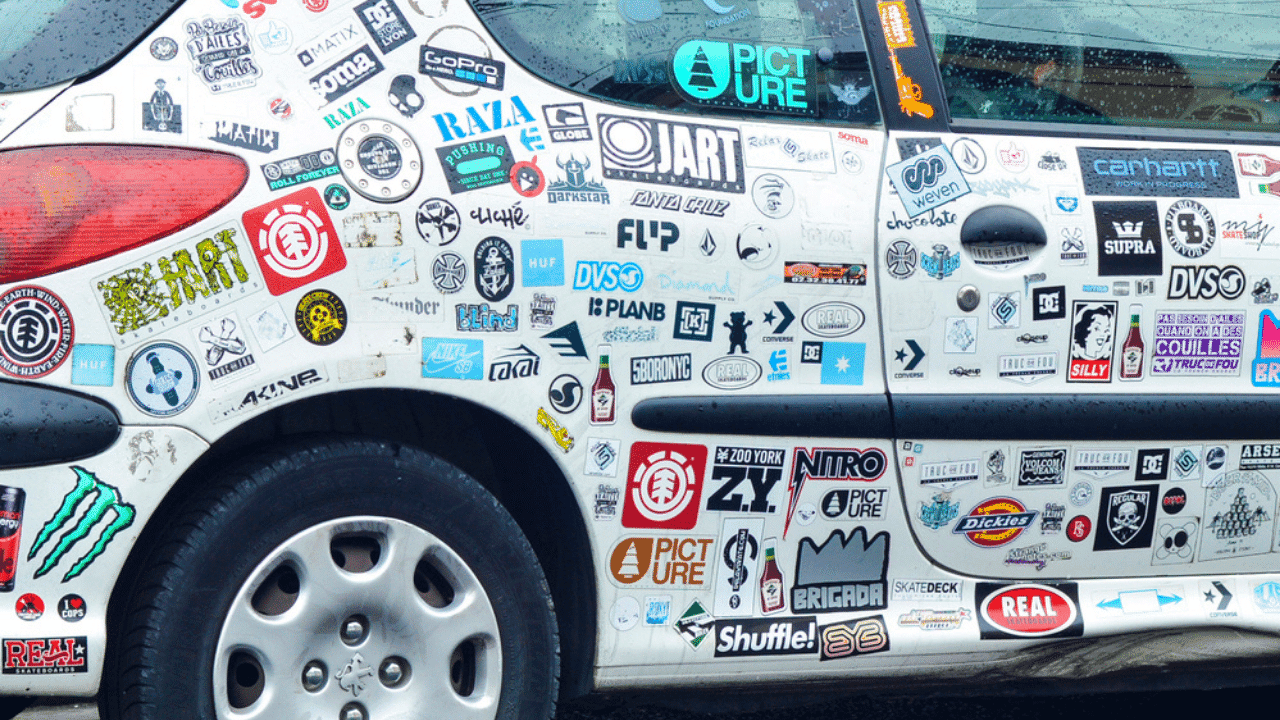
Most dealer stickers you encounter are made from one of two primary materials. The most common is a vinyl decal. These are flexible, thin, and often have a glossy or matte finish. Vinyl is specifically designed for outdoor use and can withstand varying weather conditions, including UV exposure and temperature fluctuations. When properly applied and removed, vinyl stickers generally peel off relatively cleanly, especially when aided by controlled heat.
Less common, but still encountered, are paper-based or thin plastic film stickers. These materials tend to be more brittle and might tear easily during removal, potentially leaving behind more fragments. This characteristic means you’ll need extra patience and a more methodical approach to prevent excessive tearing. Regardless of the material, the true challenge often lies with the adhesive underneath, which varies greatly in strength and composition.
Adhesive Varieties and Their Challenges
The adhesive is the real linchpin in the removal process. Modern automotive decals frequently utilize pressure-sensitive acrylic adhesives. These are strong, durable, and engineered to bond securely to painted surfaces for many years. Over time, consistent exposure to sunlight and heat can cause these acrylic adhesives to harden and become more brittle, making them more stubborn to release.
Older or cheaper stickers, conversely, might use rubber-based adhesives. These often become gummy and leave a stringy, gooey residue that can be particularly difficult to remove without the right solvents. Your removal strategy will primarily focus on safely softening this adhesive, whether it’s a hardened acrylic or a tenacious rubber variant. This softening allows for a clean separation from your car’s delicate clear coat. Recognizing these adhesive differences helps you prepare for the specific challenges your particular sticker presents, allowing you to choose the most effective and safest softening agent.
From Start to Finish: Erasing That Pesky Dealer Sticker


Those ubiquitous dealer stickers, often proudly proclaiming the dealership’s name and slogan, can be an eyesore for many car owners. While they might seem permanently affixed, removing them safely and effectively is a straightforward DIY task that can restore your car’s clean aesthetic. This comprehensive guide will walk you through each step, ensuring you achieve a flawless finish without damaging your vehicle’s paintwork. Following these instructions meticulously will save you time, money, and potential frustration, leaving your car looking exactly as you want it.
Step 1: Gather Your Arsenal
What you need: A heat gun or hair dryer (preferably with adjustable heat), a plastic razor blade or dedicated plastic scraper (never metal!), an automotive-grade adhesive remover (e.g., Goo Gone Automotive, 3M General Purpose Adhesive Cleaner), several clean, soft microfiber cloths, a bucket with car wash soap, a second bucket with clean water, and a wash mitt.
Instructions: Before you begin, collect all necessary tools and materials and lay them out within easy reach. This preparation ensures a smooth, uninterrupted process. Confirm your heat source is functional and your plastic scraper is free of burrs. Ensure your adhesive remover is specifically designed for automotive use to prevent damage to your car’s clear coat. Having everything at hand prevents last-minute scrambling and potential mistakes.
Pro Tip: Always test your chosen automotive adhesive remover on an inconspicuous area of your car’s paint (e.g., inside the fuel door or a lower panel) first. This verifies compatibility and ensures it won’t cause discoloration or damage before applying it to a more visible area.
Step 2: Prep the Battlefield (Clean the Area)
What you need: Car wash soap, water, two buckets, and a microfiber wash mitt or sponge.
Instructions: Begin by thoroughly washing the dealer sticker and the surrounding paintwork. Use the two-bucket wash method: one bucket with soapy water, and one with clean rinse water. Dip your wash mitt in soapy water, clean the area, then rinse the mitt in the clean water bucket before returning it to the soapy water. This removes surface dirt, dust, and grime, preventing any abrasive particles from scratching your paint during the removal process. Ensure the area is completely dry before proceeding.
Pro Tip: Washing the area not only cleans the surface but also removes any existing wax or sealant that might interfere with the adhesive remover’s effectiveness later. A clean, bare surface will allow the adhesive remover to work optimally.
Step 3: Gentle Persuasion (Applying Heat)
What you need: Heat gun or hair dryer.
Instructions: Position your heat gun or hair dryer approximately 6-8 inches away from the dealer sticker. Turn it on a medium heat setting and move it constantly in a circular motion over the entire sticker for 30-60 seconds. The goal is to warm the sticker and its adhesive, making it pliable, not to cook or burn it. The sticker should feel warm to the touch, not scalding hot. The heat softens the adhesive, significantly easing the peeling process and minimizing residue.
Pro Tip: Be cautious not to overheat any single spot, as excessive heat can potentially damage your car’s clear coat, cause paint discoloration, or even bake the adhesive harder, making it more difficult to remove. Keep the heat source moving and monitor the sticker’s temperature with your hand frequently.
Step 4: The Slow Peel (Sticker Removal)
What you need: Plastic razor blade or scraper, and your heat gun/hair dryer (if needed).
Instructions: Once the sticker is warm, gently use your plastic razor blade to lift a corner or edge of the sticker. Once an edge is free, grasp it firmly with your fingers. Slowly and steadily pull the sticker back on itself at a low, acute angle (typically between 15-30 degrees) against the paint. If the sticker resists or starts to tear, reapply heat to that specific area for another 15-20 seconds before continuing. Patience is paramount during this stage to prevent tearing the sticker into many small pieces.
Pro Tip: Pulling the sticker back on itself at a low angle is crucial for effective removal, as it creates a shearing action that helps release the adhesive without leaving large amounts of residue. Avoid pulling straight up, as this is more likely to tear the sticker and leave stubborn adhesive behind.
Step 5: Erasing the Evidence (Adhesive Residue Removal)
What you need: Automotive adhesive remover, multiple clean microfiber cloths.
Instructions: After the main sticker is removed, you will likely have some sticky adhesive residue remaining on the paint. Dampen a clean microfiber cloth with your automotive adhesive remover. Gently lay the damp cloth over the residue and allow it to dwell for 30-60 seconds to break down the adhesive. Then, with light to moderate pressure, wipe the residue away using a clean section of the cloth. Repeat this process as necessary, folding the cloth to expose a fresh, clean surface each time, until all stickiness is gone. Avoid aggressive scrubbing.
Pro Tip: Never spray adhesive remover directly onto your car’s paint, especially near plastic trim or rubber seals, as some removers can damage these materials. Always apply the remover to a microfiber cloth first, then dab or wipe the affected area. This provides more control and minimizes overspray.
Step 6: The Finishing Touch (Clean and Polish)
What you need: Car wash soap, water, clean microfiber cloths, car polish (optional).
Instructions: Once all sticker material and adhesive residue have been completely removed, re-wash the entire area where the sticker was. This step is critical to remove any lingering traces of the adhesive remover, which can sometimes leave a slight film or attract dust. Dry the area thoroughly with a clean, soft microfiber cloth. Inspect the paint under good lighting for any ghosting (a faint outline of the sticker) or minor scratches. If present, a gentle application of a fine car polish can often resolve these issues, restoring a uniform shine.
Pro Tip: If you used a polish, ensure it’s removed completely according to its instructions. For best results, follow up with a final wipe down using a separate, clean, dry microfiber cloth to buff the area to a brilliant, streak-free shine.
Step 7: Protect and Shine (Optional Wax/Sealant)
What you need: Quality car wax or paint sealant, applicator pad, clean buffing microfiber cloth.
Instructions: To provide an extra layer of protection and to ensure the newly cleaned area matches the rest of your car’s finish, apply a high-quality car wax or paint sealant. Using an applicator pad, spread a thin, even layer of product over the area where the sticker once was, extending slightly beyond it. Allow the wax or sealant to cure or haze according to the product’s instructions (usually 5-15 minutes). Then, using a fresh, clean microfiber cloth, gently buff off the product until the surface is smooth and shiny. This step helps protect the paint and blends the repaired area seamlessly.
Pro Tip: Regularly waxing or sealing your car’s paint provides a sacrificial layer that protects against UV rays, environmental contaminants, and minor abrasions. Applying it after sticker removal ensures consistent protection across the entire panel.
✅ Final Checklist
- Is all sticker material completely removed from the paint surface?
- Is there any adhesive residue remaining? (Run a finger over the area – it should feel perfectly smooth, not sticky.)
- Is the paint surface clean, dry, and free of streaks, haze, or chemical film?
- Does the treated area blend seamlessly with the surrounding paint, with no visible ghosting or discoloration?
- Have all cleaning agents, adhesive removers, and polishing compounds been thoroughly washed and wiped off the car?
Important Notes:
- Safety Considerations: Always work in a well-ventilated area to avoid inhaling chemical fumes. Wear appropriate protective gloves when handling adhesive removers and other chemicals to protect your skin. Avoid getting any chemicals on porous plastic trim or rubber seals, as they may cause staining or damage.
- When to Seek Professional Help: If the dealer sticker is extremely old, severely baked onto the paint by years of sun exposure, or if you encounter significant ghosting or paint damage during removal, it might be best to consult a professional detailer. They have specialized tools, industrial-strength products, and expertise to handle stubborn cases without causing further damage.
- Estimated Time and Cost Range: This DIY project typically takes between 30-60 minutes, depending on the size and stubbornness of the sticker. The cost range is minimal, usually $10-$30, if you need to purchase specific materials like automotive adhesive remover, a plastic scraper, or new microfiber cloths. Many of the other items (heat gun/hair dryer, car wash soap) you likely already own.
Essential Tools and Materials for Safe Removal
Having the right arsenal of tools and materials before you start is non-negotiable for a safe and successful removal. Gathering everything beforehand prevents frustrating mid-task interruptions and ensures you have exactly what’s needed to protect your car’s finish throughout the process. Don’t skip any of these items; each plays a vital role in preventing damage and achieving a pristine result.
Tools for Initial Sticker Separation
- Heat Gun or Hair Dryer: This is your primary tool for softening the adhesive. A household hair dryer (set to high heat) is usually sufficient and is generally safer for novice users due to its lower, more diffused heat output compared to a dedicated heat gun. A heat gun offers more targeted and intense heat, which can speed up the process, but it requires extreme caution to avoid overheating and potentially damaging the paint or clear coat.
- Plastic Razor Blades or Old Credit Card: These are crucial for gently prying and lifting the sticker edges without scratching the underlying paint. Never use metal blades, as they will undoubtedly cut into and damage your clear coat. Plastic alternatives are specifically designed to be softer than your car’s finish, making them ideal for delicate prying.
- Clean Microfiber Towels: You’ll need several clean, soft microfiber towels for cleaning, applying various solutions, and buffing the treated area. Avoid using rough or abrasive cloths, which can easily mar the paint surface.
- Spray Bottle with Water: A simple spray bottle filled with clean water can be handy for pre-wetting the area or for rinsing off residue during or after the process.
Products for Adhesive Residue Elimination
Even after the main body of the sticker is gone, adhesive residue almost always remains. These specialized products are formulated to safely tackle that sticky aftermath without harming your car’s paint:
- Automotive-Specific Adhesive Remover (e.g., Goo Gone Automotive, 3M General Purpose Adhesive Cleaner): These specialized products are engineered to break down tough automotive-grade adhesives safely on car paint. Always double-check labels to confirm automotive compatibility, as some household removers can damage clear coats.
- WD-40: This versatile household lubricant can surprisingly soften many types of sticky adhesives. It’s often very effective and readily available, making it a great first-line option for residue.
- Rubbing Alcohol (Isopropyl Alcohol 70%): Good for lighter residue or as a final cleaner to remove any oily film. Use sparingly, however, as prolonged contact can potentially dry out or dull paint if overused. Always test in an inconspicuous area first.
- Car Wash Soap & Water: Essential for a thorough final wash of the entire area once all sticker and adhesive residue is completely gone, ensuring a perfectly clean surface.
- Wax or Paint Sealant: To re-protect the treated area once it’s entirely clean and dry. This step restores the paint’s protective barrier, which might have been slightly compromised during the removal process.
Addressing Common Challenges and Residue Troubleshooting
Even with the most careful approach, sometimes a stubborn patch of adhesive or a faint outline remains after the main sticker is gone. Don’t fret! These are common hurdles, and a little extra effort with the right products will get your paint spotless.
Dealing with Stubborn Residue
Persistent sticky residue is often the last vestige of a long-gone sticker. The key is to dissolve or gently lift it without harming your paint. Always test any new product on a small, inconspicuous area first, like inside a door jamb, to ensure it doesn’t react negatively with your car’s finish.
- Dedicated Adhesive Removers: Products like Goo Gone Automotive or 3M General Purpose Adhesive Cleaner are formulated to break down sticker glues safely. Apply a small amount to a clean microfiber cloth, dab it onto the residue, let it sit for a minute or two (as per product instructions), then gently wipe away.
- Rubbing Alcohol (IPA): Isopropyl alcohol (IPA), particularly 70% or 90%, can be effective. It acts as a solvent for many adhesives. Dampen a clean microfiber cloth and gently rub the residue. Be cautious not to oversaturate the area or let it sit for too long, as it can potentially dry out wax or sealants.
- WD-40: Surprisingly versatile, WD-40 can also help. Spray a small amount onto a cloth, apply it to the residue, and let it work for a few minutes before wiping. Always follow up with a thorough wash to remove any oily film.
- Clay Bar: For a very thin, hazy film of residue that won’t budge with solvents, an automotive clay bar can work wonders. After washing the area, lubricate it with a detail spray and gently glide the clay bar over the surface. The clay will lift microscopic particles, leaving the surface smooth.
Preventing Paint Damage During Cleanup
The cardinal rule throughout this process is to be gentle. Aggressive scrubbing or using abrasive materials can inflict more damage than the sticker ever did. Think of it as coaxing the residue off, not forcing it.
- Microfiber is Your Friend: Always use clean, soft microfiber towels. They are designed to be non-abrasive and highly absorbent, picking up residue without scratching.
- Avoid Harsh Tools: Never use razor blades, steel wool, or scouring pads on your car’s paint. These will undoubtedly leave scratches that are far more noticeable and difficult to repair than a sticker.
- Work in Sections: If you have a larger area of residue, work on small sections at a time. This allows the product to work effectively without drying out and gives you better control.
- When to Seek Help: If, despite your best efforts, you’re left with deep scratches, persistent hazing, or you feel unsure about continuing, it’s always wise to consult a professional detailer or body shop. They have specialized tools and expertise to correct paint imperfections safely.
Post-Removal Car Care: Protecting Your Paint Finish
Once the dealer sticker and all its sticky traces are gone, your job isn’t quite finished. The area where the sticker sat has been exposed differently to the elements than the surrounding paint, and it needs a little TLC to ensure a uniform, protected finish.
Cleaning and Polishing the Area
After the residue is gone, a thorough cleaning is essential. This removes any lingering adhesive remover, oils, or loosened dirt, preparing the paint for the next steps.
- Wash Thoroughly: Use a high-quality car wash soap and clean water to wash the entire panel where the sticker was located. This ensures all chemical residues are rinsed away, preventing potential long-term issues or dulling.
- Inspect the Paint: Once dry, carefully inspect the area. You might notice a slight difference in paint clarity or minor swirl marks from the removal process, especially if the sticker was on for a long time.
- Apply a Paint Cleaner or Polish: For a perfect finish, consider using a non-abrasive paint cleaner or a light polish. These products are designed to gently remove embedded contaminants, light oxidation, and minor surface imperfections. Apply with a foam applicator pad or microfiber, working in small circular motions, then buff off with a clean microfiber towel. This step helps restore the uniform shine and depth of your car’s paint.
Waxing for Long-Term Protection
Waxing or applying a sealant is the final and crucial step to protect your newly exposed paint and ensure it blends seamlessly with the rest of your vehicle’s finish.
- Restore Protection: The sticker itself acted as a barrier, and any solvents used might have stripped away existing wax or sealant. Applying a fresh layer restores this vital protection against UV rays, environmental contaminants, and future adhesive challenges.
- Even Out the Finish: Over time, the paint under the sticker might have faded less than the surrounding paint, creating a subtle “ghost” outline. A good quality wax or sealant can help mask these minor differences and create a uniform sheen across the entire panel.
- Long-Lasting Shine: Choose a carnauba wax for a warm, deep glow, or a synthetic paint sealant for extended durability and protection. Apply a thin, even coat over the entire panel (or even the whole car for best results), let it haze according to product instructions, then buff to a brilliant shine. This layer provides a sacrificial barrier, making future cleaning easier and preserving your paint’s integrity.
Conclusion
Removing a dealer sticker might seem like a small task, but approaching it with patience, the right tools, and a focus on paint preservation makes all the difference. Remember, the goal isn’t just to get the sticker off, but to leave your car’s paint looking untouched and pristine. By taking the time to gently remove the sticker, tackle any stubborn residue, and then properly care for the paint afterwards, you’re investing in your car’s appearance and long-term finish. So, gather your supplies, take your time, and enjoy the satisfaction of a clean, unblemished ride!
❓ Frequently Asked Questions
How do different types of dealer stickers affect removal?
Most modern dealer stickers are vinyl, which are easier to remove cleanly. Older, paper-based, or heavily sun-baked stickers may fragment more and require extra patience and repeated adhesive removal steps to avoid leaving residue.
What are the absolute must-have tools for damage-free removal?
You’ll need a hair dryer or heat gun (on low), a plastic razor blade or old credit card, an automotive-safe adhesive remover (like Goo Gone Automotive), and several clean microfiber cloths. These tools ensure gentle, effective removal without scratching paint.
How can I tell if I’m using too much heat?
Too much heat can damage paint or clear coat, causing bubbling or discoloration. Always use a low setting on a heat gun, keep it moving, and apply heat just enough to make the sticker pliable and soft, not hot to the touch.
What are the safest and most effective adhesive removers for car paint?
Products like Goo Gone Automotive, 3M General Purpose Adhesive Remover, or even isopropyl alcohol are effective and safe for most clear coats when used correctly. Always apply to a microfiber cloth first, not directly to the paint, and wipe gently.
What critical mistakes should I absolutely avoid during sticker removal?
Never use metal scrapers, abrasive cloths, or harsh solvents like acetone or paint thinner, as these will severely scratch or strip your car’s clear coat. Avoid excessive force when scraping; gentleness and patience are key for paint preservation.
What if the dealer sticker has left a “ghost” or faded area on the paint?
A faded area usually indicates sun exposure has lightened the surrounding paint. While removal won’t fix this, a thorough polish and wax of the entire panel can sometimes help blend the discoloration over time, improving the overall appearance.