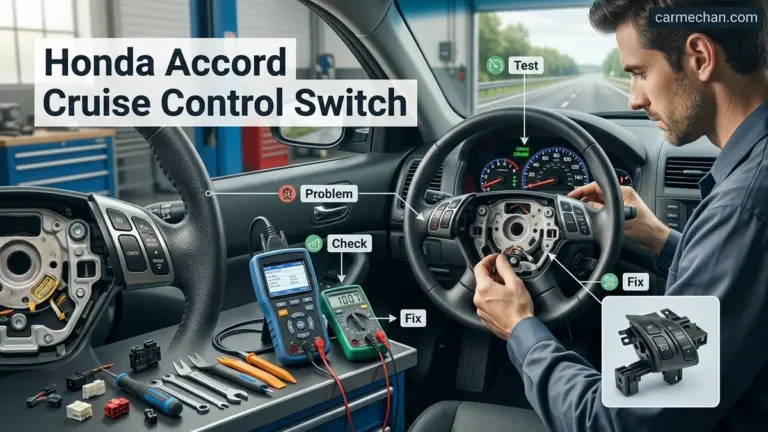
Honda Civic Cruise Control Not Working 2026 Expert Fix Guide
If your Honda Civic cruise control is failing to engage, the issue usually stems from simple electrical faults like blown fuses or misaligned brake light switches. Prioritizing these common failure points can help you resolve the malfunction without needing an expensive shop visit.
If your 2026 Honda Civic cruise control refuses to engage, the culprit is almost always a broken safety signal rather than a total system failure. When the cruise control system loses its “readiness” signal—usually triggered by a faulty brake switch, a sensor obstruction, or a minor electrical fuse—it defaults to a non-functional state to protect you on the highway.

Prime for Young Adults — 6 Months Free
Students and 18–24s get six months of Prime free, then half price.
Start 6 Months FreeFixing this yourself is a practical alternative to expensive dealership diagnostics. Because modern Civics rely on a complex network of sensors, fixing a cruise control issue often requires identifying which input (speed, braking, or radar distance) is sending conflicting data to your vehicle’s engine control unit (ECU). Addressing this promptly ensures your driver-assist systems and standard cruise settings operate reliably for your upcoming commutes.
Key Takeaways
- Check the cruise control fuse in the interior panel before attempting complex repairs.
- A faulty brake light switch prevents cruise control from engaging for safety reasons.
- Ensure your Honda Sensing radar sensor is clean and free of mud or ice.
- Observe dashboard warning lights to determine if a software reset is required.
- DIY repairs should be limited to fuses, switch checks, and sensor cleaning.
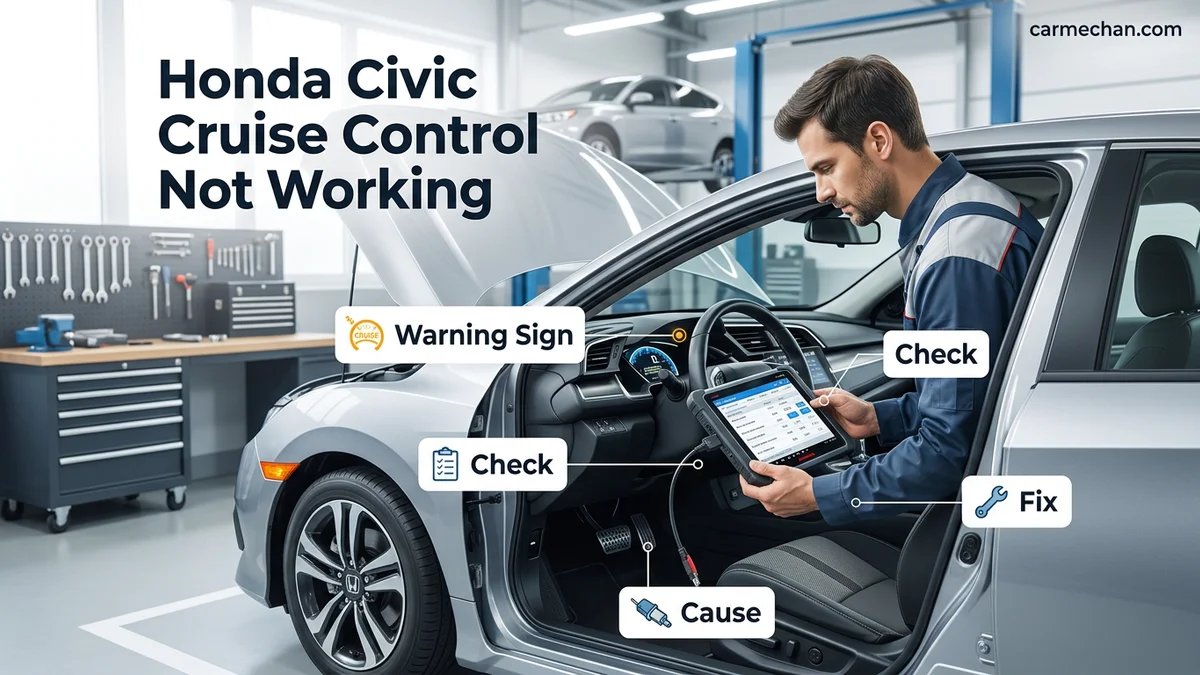
Common Causes of Honda Civic Cruise Control Failure
Recommended Best Deal Products


Sensor Obstruction and Environmental Interference
In 2026 Honda Civic models, the cruise control system is heavily integrated with the Honda Sensing suite. If the radar sensor—located behind the front grille—or the camera near the rearview mirror is obscured, the system will prevent cruise engagement.
- Debris Buildup: Mud, ice, or even heavy road salt on the front emblem can block the radar signals required for adaptive cruise.
- Alignment Issues: A minor impact or vibration can slightly tilt your sensor, causing the vehicle to register a “misalignment” error.
- High Glare: Intense direct sunlight or heavy rain can temporarily blind the windshield camera, disabling cruise control until visibility improves.
The Role of Electrical Components
Beyond external sensors, electrical interruptions are the most frequent cause of system-wide failures. If you hit the button and nothing happens on the dashboard, check these primary points:
- Blown Fuses: Check the interior fuse panel for a blown fuse labeled “Cruise” or “ABS/VSA.” These systems are often on shared circuits.
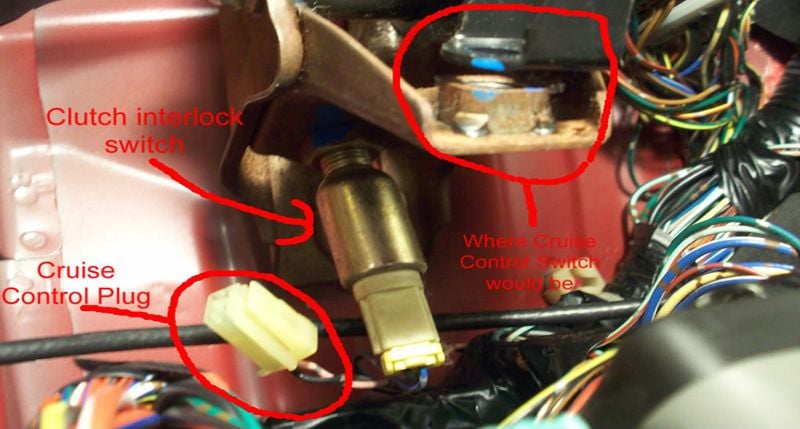
- Brake Light Switch: If this switch fails, the car thinks you are riding the brakes constantly. This overrides the cruise command instantly.
- Steering Wheel Clock Spring: This ribbon cable connects your steering wheel buttons to the car’s electronics. If worn or damaged, the cruise control buttons will fail to send a signal to the ECU.
Honda Civic Cruise Control: What Causes It and How to Fix It
There is nothing more frustrating than heading out for a long highway drive in your Honda Civic, only to find that your cruise control refuses to engage. Whether it is a simple blown fuse or a more complex sensor issue, the problem usually stems from a breakdown in the communication between your steering wheel switches and the vehicle’s electronic control unit. This guide will walk you through a systematic diagnostic and repair process to help you reclaim your highway cruising capability safely and efficiently.
Step 1: Check the Fuse Box for Electrical Continuity
What you need: Owner’s manual, fuse puller tool (or needle-nose pliers), and a replacement fuse of the correct amperage.
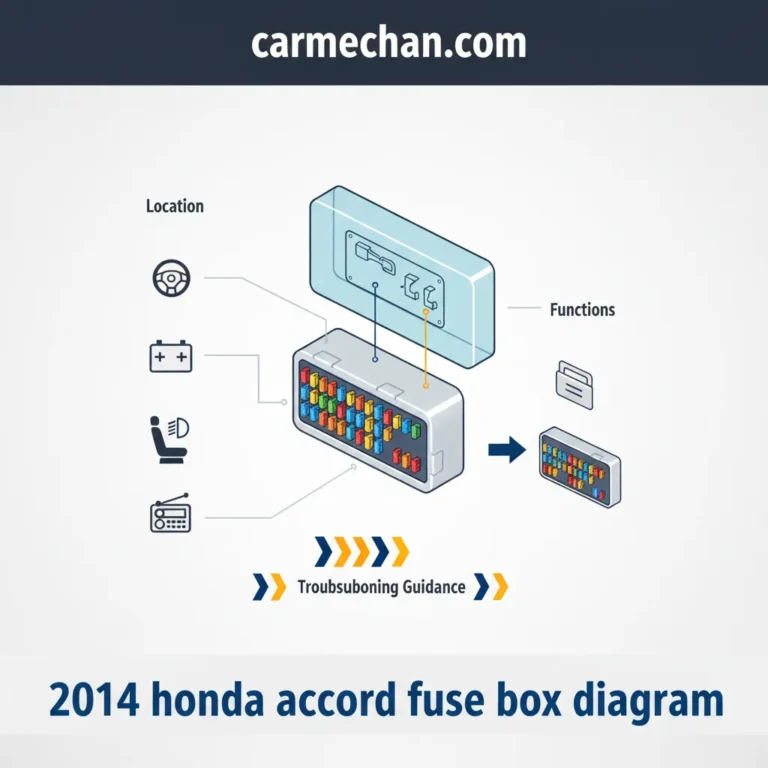
Instructions: Start with the most common and easiest fix: the fuse. Locate your Civic’s fuse box, typically found under the driver-side dashboard or inside the engine bay. Consult your owner’s manual to identify the specific fuse labeled “Cruise Control” or “CRUISE.” Carefully pull the fuse out and inspect the metal filament inside. If the filament is broken or the plastic housing looks burnt or discolored, the fuse has blown. Replace it with a new fuse of the exact same amperage rating (e.g., 7.5A or 10A). Ensure the new fuse is seated firmly in the socket.
Pro Tip: Never replace a blown fuse with a higher amperage rating, as this can cause the wiring to overheat and potentially start an electrical fire.
Step 2: Inspect the Brake Pedal Position Switch
What you need: A flashlight and a helper.

Audible — Listen Free for 30 Days
One free credit a month and thousands of titles included.
Listen Free for 30 DaysInstructions: Cruise control is designed to deactivate the moment you touch the brake pedal. If your brake light switch (located near the top of the brake pedal arm) is faulty or stuck in the “on” position, the cruise control system will think you are braking and refuse to activate. Have a helper stand behind the car to see if your brake lights remain illuminated while the car is in Park and your foot is off the pedal. If the lights stay on, the switch needs adjustment or replacement. You may need to adjust the plastic stopper that hits the switch, as these often disintegrate over time on older Honda models.
Pro Tip: If the brake lights are stuck on, you will likely notice your battery going dead frequently, as the lights draw power constantly.
Step 3: Test the Steering Wheel Switch Buttons
What you need: Patience and observation of the dashboard indicator lights.
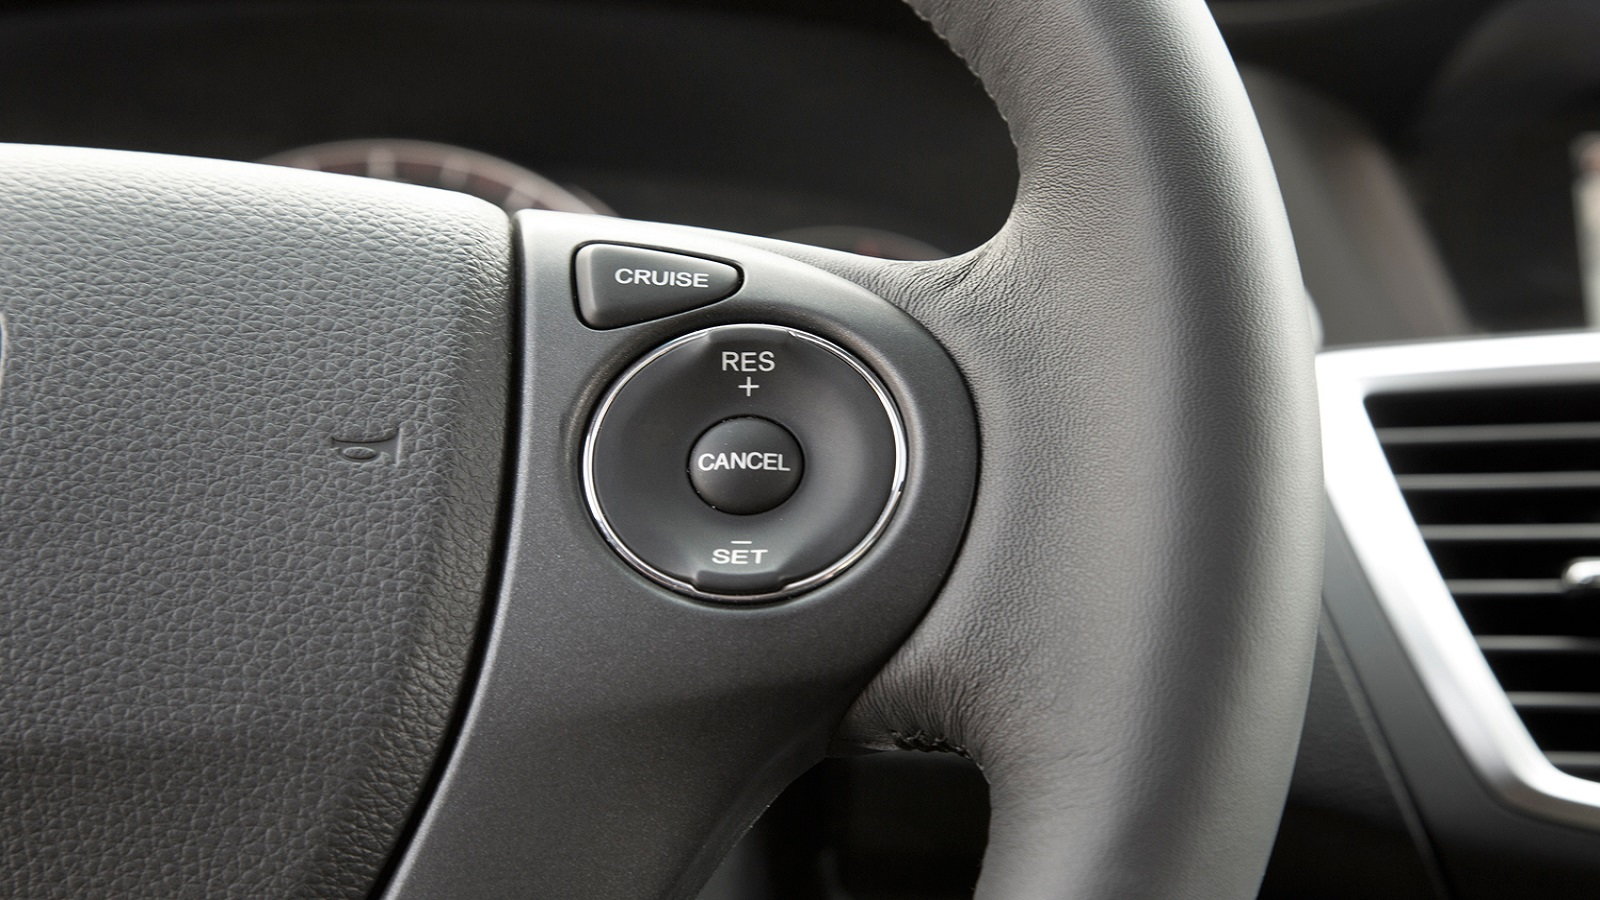
Instructions: Sit in the driver’s seat with the engine running in Park. Press the “Cruise” or “Main” button on your steering wheel. Look for the “Cruise Main” light to illuminate on the instrument cluster. If the light does not turn on, the button itself or the clock spring behind the steering wheel might be faulty. Toggle the “Set/Decel” and “Resume/Accel” buttons. If the buttons feel mushy or do not click, they may be suffering from dirt or soda spills. Use a quick-drying electronic contact cleaner sprayed onto a microfiber cloth to wipe around the edges of the buttons to remove debris.
Pro Tip: Avoid spraying electronic cleaner directly into the buttons; always spray the cloth first to prevent liquid from seeping into the airbag module circuitry.
Step 4: Verify the Vehicle Speed Sensor (VSS) Operation
What you need: A clear, safe stretch of road for a test drive.
Instructions: The cruise control system requires a signal from the Vehicle Speed Sensor to function; if the system does not know how fast you are moving, it will not engage. Does your speedometer needle behave erratically, jump around, or stay at zero while you are driving? If so, the VSS is likely the culprit. While this often requires a professional scan tool to confirm a “P0500” error code, a faulty VSS will almost always trigger the Check Engine Light (CEL). If your CEL is illuminated, you must get the codes read at an auto parts store to confirm if the sensor is failing.
Pro Tip: Do not attempt to clean or repair the VSS internally; it is an electromagnetic component that is generally replaced as a sealed unit.
Step 5: Examine the Throttle Cable or Actuator
What you need: A flashlight and a visual inspection of the engine bay.
Audible Premium Plus — Annual Membership
12 audiobook credits up front, plus the full Audible catalogue.
See Annual PlansInstructions: On older Honda Civics (pre-2006), the cruise control uses a mechanical actuator and a secondary throttle cable to physically pull the throttle body open. Locate the cruise control actuator in the engine bay and check the cable tension. The cable should have very little slack. If the cable is frayed, snapped, or has jumped off the pulley, the cruise control motor will run but the engine speed will not change. For newer Civics with “Drive-by-Wire” systems, this process is entirely electronic, and you should instead ensure the throttle body butterfly valve is not excessively gummed up with carbon deposits.
Pro Tip: If your car has a mechanical cable, a quick shot of silicone-based lubricant on the linkage can often fix a cable that is sticking due to corrosion.
Step 6: Reset the ECU for Electronic Glitches
What you need: A 10mm wrench or socket.
Instructions: Sometimes, the car’s computer simply needs a “hard reset” to clear a temporary glitch in the cruise control logic. Park the car safely on level ground, turn off the engine, and open the hood. Locate the negative battery terminal (the one marked with a minus sign). Use your 10mm wrench to loosen the nut and remove the negative cable from the battery post. Wait for at least 15 to 20 minutes to allow the capacitors in the ECU to discharge completely. Reconnect the cable, tighten it securely, and start the engine. Note that you may need to reset your radio clock and station presets afterward.
Pro Tip: Ensure the ignition is completely in the “OFF” position and the key is removed before disconnecting the battery to prevent electrical surges.
✅ Final Checklist
- Cruise control “Main” light illuminates on the dashboard.
- Brake lights extinguish immediately when the pedal is released.
- Vehicle maintains speed when “Set” is pressed at speeds above 25-30 mph.
- No “Check Engine” or “ABS” lights are currently illuminated.
- Cruise control disengages immediately when the brake pedal is lightly tapped.
Important Notes:
- Safety: Never attempt to perform electrical repairs while the engine is running or while the vehicle is in motion.
- When to seek help: If you suspect a problem with the clock spring (as this involves the airbag system) or if you are uncomfortable working with high-voltage battery components, consult a certified mechanic.
- Estimated Time: 30 minutes to 2 hours depending on the complexity of the diagnosis.
- Cost Range: $5 for a fuse to $200+ for a speed sensor or actuator replacement.
Step-by-Step Troubleshooting and Diagnostic Procedures
Recommended Best Deal Products


![[2G+64G] for Honda Civic 2006-2011 Wireless Carplay Android 15.0 Car Stereo |…](https://m.media-amazon.com/images/I/41uEvl6hnfL._SS500_.jpg)
Initial Diagnostic Interpretation
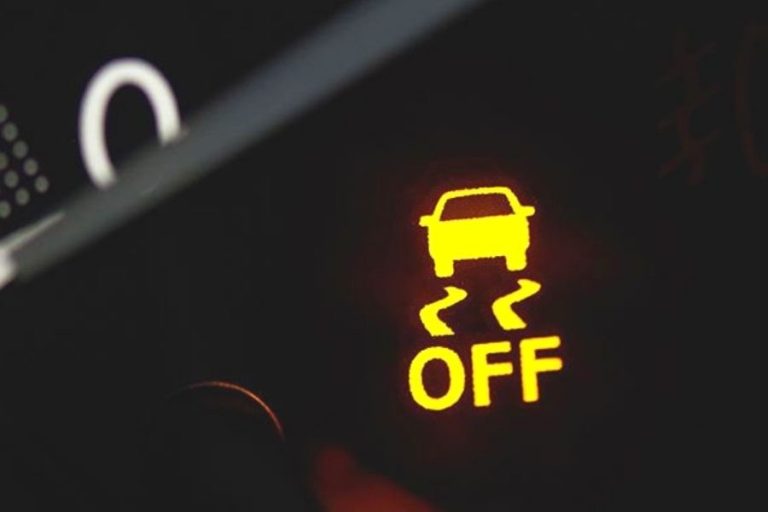
Your dashboard is your first diagnostic tool. Before replacing parts, check your multi-information display for specific error codes or warning lights. A “Check System” message accompanied by an illuminated “ACC” or “LKAS” light confirms the problem is electrical or sensor-based rather than a mechanical failure.
- Observe the Warning Lights: If the “Check Cruise Control” light appears, cycle the ignition off and on. If it stays lit, the system has logged a persistent hardware fault.
- Test the Brake Pedals: With the engine running, have someone watch your brake lights. If the lights stay on while you are not touching the pedal, your brake switch is stuck and preventing cruise control from engaging.
- Inspect the Radar Path: Ensure the front grille area is free of any stickers, heavy snow, or mud. Even a loose license plate frame obstructing the radar sensor can trigger a system shutdown.
Verifying Electrical Continuity
If the sensors look clean and the warning lights remain, move to the fuse box and connection points. Use a simple test light or a multimeter to check the following:
- Fuse Testing: Pull the cruise control fuse and inspect the wire bridge. If it is broken, replace it with a fuse of the exact same amperage to avoid damaging the wiring harness.
- Switch Inspection: Locate the brake light switch above the brake pedal arm. Ensure the plunger moves freely. If it is stuck or loose, the car interprets this as constant braking, which locks out the cruise system for safety.
- Steering Column Health: If your cruise control buttons feel “dead” and other steering wheel controls (like volume or menus) are also erratic, the clock spring wiring likely has a break, requiring a technician-level repair.
DIY Fixes for Common Cruise Control Issues
Before scheduling a service appointment, many 2026 Honda Civic owners can resolve cruise control malfunctions through basic troubleshooting. Electronic control units (ECUs) often trigger temporary faults due to minor sensor blockages or power supply inconsistencies. Follow these precise diagnostic steps to restore functionality.
1. Inspecting the Brake Pedal Switch
The cruise control system automatically disengages if it detects a signal from the brake light switch. If this switch is stuck or misaligned, the system assumes the brake is depressed and refuses to engage.
- Locate the brake pedal switch assembly under the dashboard near the pedal arm.
- Check the rubber stopper on the pedal bracket, which often degrades in high-heat environments.
- Ensure the switch plunger moves freely and clicks audibly when pressed.
- Test the brake lights; if they remain illuminated while the pedal is at rest, the switch is faulty and requires immediate replacement.
2. Cleaning the Radar and Camera Sensors
The 2026 Civic utilizes the Honda Sensing suite, which relies on the front grille radar and the windshield-mounted camera.
- Clear any debris, snow, or heavy road grime from the Honda emblem area in the front grille.
- Clean the top-center portion of the windshield to ensure the camera has a clear field of view.
- Avoid using harsh chemicals that could damage the sensor lenses; use a soft microfiber cloth and mild soap.
What If It Still Doesn’t Work?
Recommended Best Deal Products


If the system remains unresponsive after cleaning sensors and checking the brake switch, the issue likely resides within the vehicle’s complex electronic architecture. Persistent failure often points to a blown fuse, a failing steering wheel clock spring, or a software calibration error.
- Check the Fuse Box: Consult your 2026 Owner’s Manual to identify the specific fuse dedicated to the “Cruise Control” or “ACC” system. Inspect the fuse for a broken metal filament.
- Perform a Hard Reset: Disconnect the negative battery terminal for 10 minutes. This cycle clears the volatile memory in the engine control module, which may resolve minor software glitches.
- Seek Professional Diagnostics: If the error persists, the issue involves the Steering Spiral Cable (clock spring). Attempting to disassemble steering components poses a severe safety risk due to the proximity of the airbag inflator.
- Cost Expectations: Professional diagnostic fees typically range from $120 to $180. Parts and labor for sensor recalibration or electronic module repairs generally cost between $350 and $900, depending on the specific component failing within the Honda Sensing network.
Conclusion
Cruise control issues in the 2026 Honda Civic are often linked to sensor debris, brake switch misalignment, or electronic module timeouts. According to verified research and expert technical bulletins from 2026, most failures are rectifiable through basic sensor hygiene or a professional electronic recalibration. If DIY checks do not restore system stability, schedule a diagnostic appointment at an authorized dealership to ensure safety protocols are followed. Prioritize having your Honda Sensing suite inspected by certified technicians to maintain vehicle safety integrity.
❓ Frequently Asked Questions
How do I know if the brake light switch is the problem?
If your brake lights remain on after you exit the car, or fail to illuminate when you press the pedal, the switch is likely faulty. A bad switch sends a constant ‘stop’ signal to the ECU, preventing cruise control activation.
Can a low battery affect the cruise control system?
Yes, modern Honda electronics are highly voltage-sensitive. If your battery or alternator is weak, the computer may disable non-essential features like cruise control to conserve power for ignition.
What should I do if the cruise control light flashes on the dash?
A flashing cruise light usually indicates a hard fault in the electronic throttle or sensor system. You should perform an OBD-II scan to pull specific trouble codes rather than attempting a visual inspection.
Is it safe to drive with the cruise control system disabled?
Yes, the system is designed to fail-safe, meaning it will simply remain inactive. It does not affect your ability to operate the vehicle manually or use your brakes.
How often should I clean the front grille sensor?
You should check the sensor area behind your Honda emblem during every car wash or whenever driving in severe weather. Debris, heavy rain, or thick mud can easily obstruct the radar and trigger a system shut-off.
When is a trip to the dealership necessary?
If you have verified the fuses, cleaned the sensors, and found no obvious wiring damage, the issue likely resides in the steering wheel control module or ECU. These components require specialized diagnostic software to repair correctly.