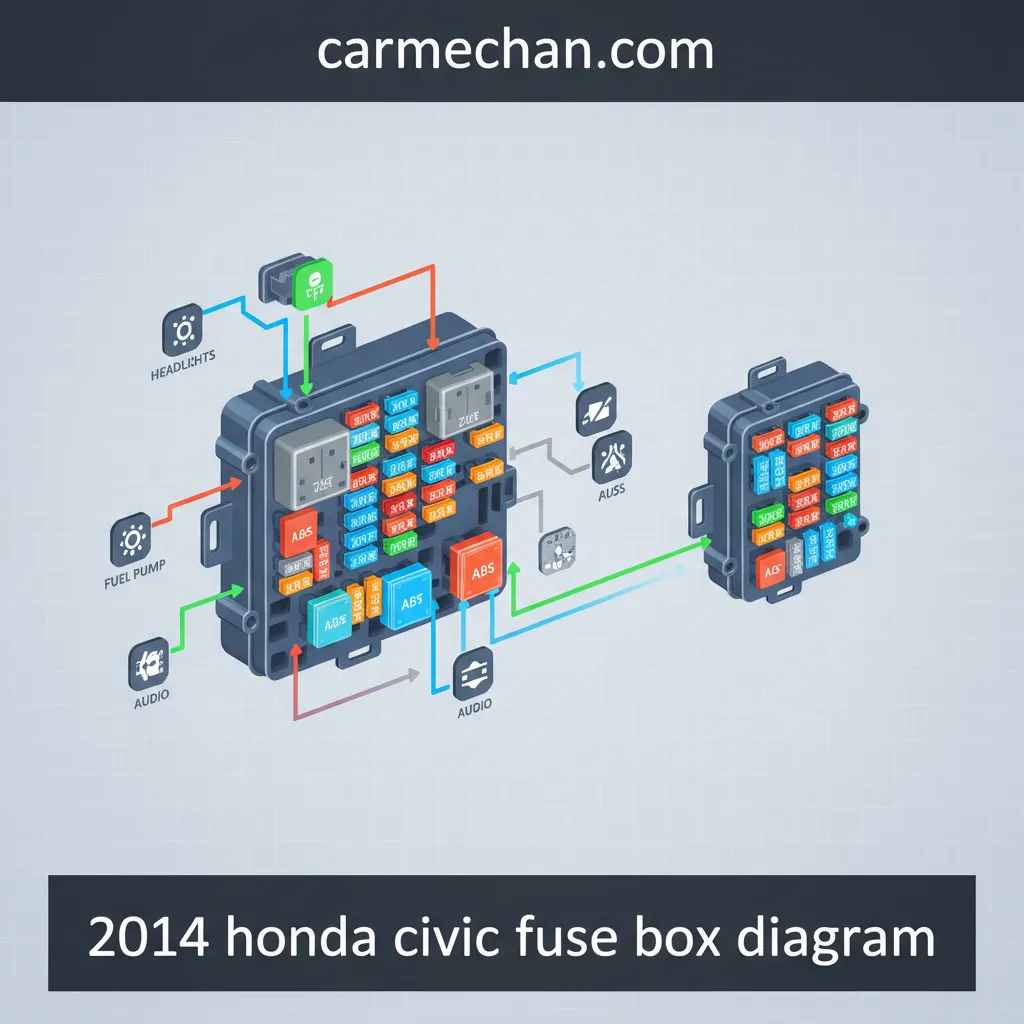
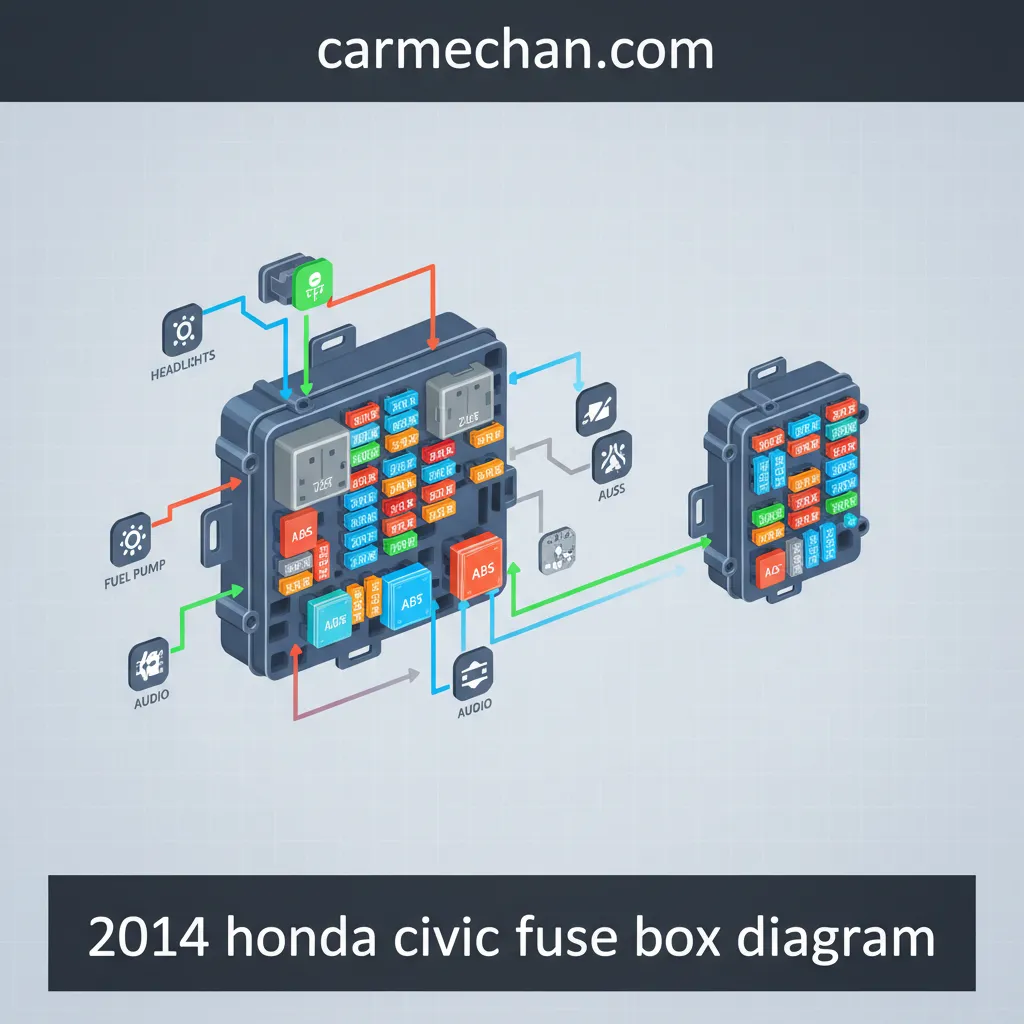
2014 Honda Civic Fuse Box Diagram: Locations And Circuit Functions
Title: 2014 Honda Civic Fuse Box Diagram: Locations And Circuit Functions
Experiencing an unexpected electrical malfunction in your 2014 Honda Civic can be a frustrating and often perplexing event. When a light, radio, or another electrical component ceases to function, the culprit is frequently a blown fuse. However, navigating the intricate fuse box diagrams without expert guidance can be a significant challenge, leading to confusion and potentially incorrect repairs. This professional guide provides a comprehensive, authoritative breakdown of the 2014 Honda Civic fuse box diagrams, empowering you to accurately locate, identify, and understand the function of every critical fuse, ensuring reliable diagnosis and safe resolution of common electrical issues.

Prime for Young Adults — 6 Months Free
Students and 18–24s get six months of Prime free, then half price.
Start 6 Months FreeUnderstanding the 2014 Honda Civic Electrical System and Fuse Fundamentals
Recommended Best Deal Products


📤 Share Image
The electrical system of your 2014 Honda Civic, like all modern vehicles, relies on a sophisticated 12-volt direct current (DC) architecture. This system is powered primarily by the vehicle battery, which provides initial cranking power, and maintained by the alternator, which generates electricity to run accessories and recharge the battery while the engine is running. An intricate network of wiring harnesses distributes this power to every component, from the engine control unit (ECU) to the interior lighting.
At the heart of protecting this complex system are fuses. Fuses are fundamentally sacrificial components engineered to prevent extensive electrical damage due to an overcurrent condition, such as a short circuit or an overloaded component. When the current flowing through a circuit exceeds a predefined safe limit, the metallic filament inside the fuse melts, opening the circuit and stopping the flow of electricity. This simple yet effective mechanism safeguards more expensive components and prevents potentially hazardous situations, including wiring fires.
For the 2014 Honda Civic, you will primarily encounter ATO/ATC blade fuses. These come in various physical sizes—standard, mini, and micro—each with distinct amperage ratings. Common amperage values range from as low as 5A (Amperes) for delicate circuits like instrument panel illumination, through 10A, 15A, 20A for systems like radio or power windows, and up to 100A or more for main fuses protecting critical primary circuits. A crucial aspect of maintaining your vehicle’s electrical integrity is the correct amperage matching for fuse replacement. For instance, if a minor short circuit occurs within the radio unit, its dedicated 10A fuse will blow, effectively isolating the fault and safeguarding the broader wiring harness and other vehicle electronics from damage. Visually, a blown blade fuse will typically show a broken or melted wire filament visible through its clear plastic body, whereas an intact fuse will have a continuous, unbroken filament.
Never replace a blown fuse with one of a higher amperage rating or a makeshift conductor like aluminum foil. This practice bypasses the intended overcurrent protection and can lead to severe wiring damage, component failure, or even vehicle fires. Always use a fuse with the identical amperage rating specified for the circuit to ensure the professional and reliable operation of your vehicle’s electrical system.

Locating the Fuse Boxes in Your 2014 Honda Civic: Interior and Under-Hood
Effectively troubleshooting any electrical issue begins with knowing precisely where to find the fuse boxes. The 2014 Honda Civic (FB/FG chassis) typically features two primary fuse box locations, each protecting distinct sets of circuits: one under the hood and one within the cabin.
1. The Under-Hood Fuse Box (Engine Compartment)
This fuse box is responsible for protecting higher-current systems and essential engine components. It is almost invariably located within the engine compartment, typically on the driver’s side, positioned in close proximity to the vehicle battery. To access it:
- Ensure the vehicle is turned off and the ignition key is removed.
- Open the hood and locate the black plastic box, usually rectangular, with a fuse diagram on its lid or underside.
- The lid is secured by clips or tabs. Gently depress or pry these tabs to release the cover. You may need a flat-head screwdriver for gentle leverage, but avoid excessive force to prevent damage.
- Once the cover is removed, you will see a layout of fuses and relays. The inside of the lid often contains a helpful diagram mapping out each fuse’s function and amperage.
This under-hood box handles critical systems such as the Anti-lock Braking System (ABS), cooling fans, engine control unit (ECU), headlights, and other high-demand circuits.

Audible — Listen Free for 30 Days
One free credit a month and thousands of titles included.
Listen Free for 30 Days2. The Interior Fuse Box (Cabin)
The interior fuse box primarily safeguards the vehicle’s cabin accessories and lower-current electronic components. For the 2014 Honda Civic, this box is commonly found on the driver’s side, often behind a panel near the dashboard or kick panel. To access this location:
- Ensure the ignition is off.
- Look for a small access panel. In many Civic models, this might be a coin tray or a removable plastic cover situated to the left of the steering wheel, near your left knee, or within the dashboard’s lower trim.
- The panel typically pulls off with a firm but gentle tug, often without requiring tools. Some models may have a small tab or screw.
- Once removed, the fuses will be visible, along with a corresponding diagram on the panel’s interior or adjacent trim.
This box protects systems like the infotainment unit, power windows, interior lighting, accessory power outlets, and HVAC controls. While less common in standard configurations, some specific trims or aftermarket accessory installations might include auxiliary fuse locations; however, for a comprehensive understanding of your vehicle’s standard electrical system, these two primary locations are your focus. Always refer to your owner’s manual (typically pages 270-275) for precise visual aids and specific instructions tailored to your vehicle’s exact configuration, ensuring a reliable and trusted approach to accessing these critical components.
Deciphering the 2014 Honda Civic Under-Hood Fuse Box Diagram
Recommended Best Deal Products


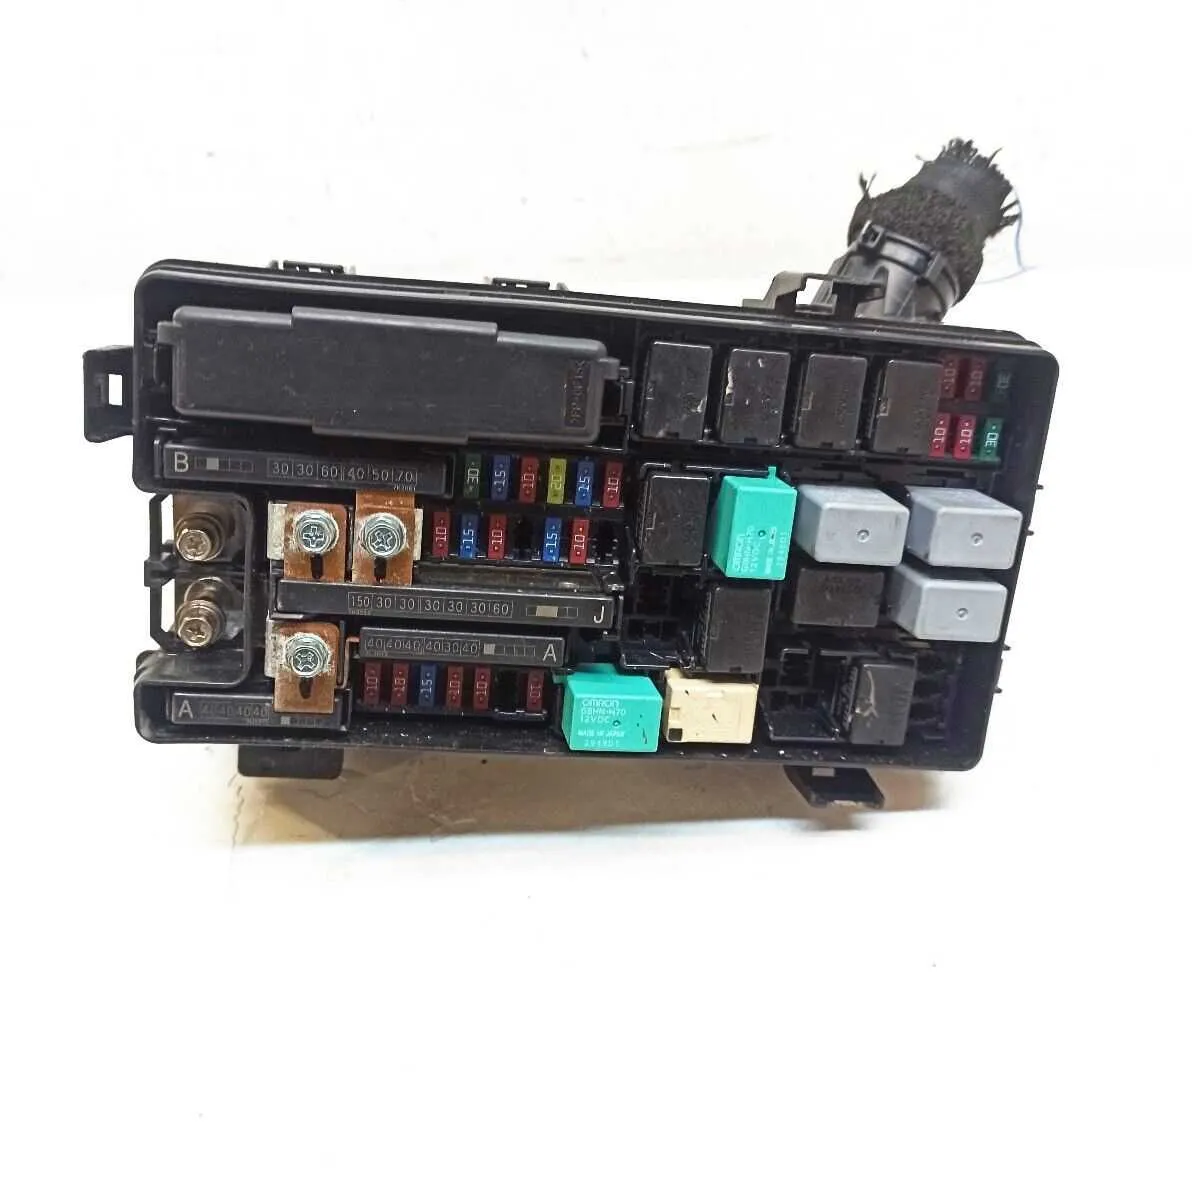
The under-hood fuse box is the nerve center for many of your Civic’s high-power, essential systems. Understanding its layout and the function of each fuse is paramount for accurate diagnosis. The diagram, usually printed on the inside of the fuse box cover, presents a visual map of the fuse layout, using symbols, numbers, and color-coded amperage ratings.
Layout and Identification
The diagram will show each fuse position, often numerically labeled (e.g., F1, F2, F3…). Beside each position, a symbol or text description indicates the protected circuit, and a number specifies its amperage rating (e.g., 10A, 20A, 30A). Larger fuses, sometimes referred to as Maxi fuses or cartridge fuses, are typically found here for circuits requiring significant current, such as the main battery fuse or fuses for the Anti-lock Braking System motor. Relays, which are electrically operated switches, are also housed here, controlling higher current loads for components like the starter or cooling fans.
Key Under-Hood Circuits and Common Issues
Here’s a breakdown of critical circuits typically protected by fuses and relays within the 2014 Honda Civic’s under-hood box:
- Main Fuses: These are often very high amperage (e.g., 100A main fuse, 70A battery fuse). If these blow, the entire vehicle electrical system may be dead. Their failure usually indicates a major short circuit or catastrophic component failure and requires immediate professional attention.
- Engine Control Unit (ECU)/PCM: Fuses for the ECU (often around 15A-20A) protect the vehicle’s “brain.” A blown ECU fuse can lead to a no-start condition, rough idling, or various warning lights on the dashboard.
- Anti-lock Braking System (ABS): The ABS system has dedicated fuses (e.g., 30A for the ABS motor, 10A-20A for the control unit). If an ABS fuse blows, the ABS warning light will illuminate, and the system will be disabled, though regular braking should still function.
- Power Steering (Electric Power Steering – EPS): If your Civic has electric power steering, a high-amperage fuse (often 50A-70A) will protect this system. A blown fuse here results in a loss of power assistance, making steering very heavy.
- Cooling Fans: Engine cooling fans are crucial for preventing overheating. Fuses for these (typically 20A-30A) can blow if the fan motor draws too much current, leading to engine overheating.
- Headlights/High Beams: Separate fuses (e.g., 10A-15A) often protect the left and right headlights. If one headlight fails, checking its specific fuse in the under-hood box is a primary diagnostic step.
- Starter Motor: The starter motor typically uses a large relay and is protected by a substantial fuse (e.g., 50A-70A starter relay fuse). If the starter motor is unresponsive, inspecting this fuse is a crucial diagnostic step before suspecting the starter itself.
Troubleshooting involves correlating a specific system failure with its corresponding fuse. For example, if your vehicle’s cooling fan fails to activate, leading to an increase in engine temperature, your first action should be to consult the diagram and inspect the 20A cooling fan fuse. This expert approach to diagnosis is key for a truly reliable fix. Understanding the layout and the typical current demands of these systems allows for a professional and targeted approach to electrical troubleshooting, ensuring the overall quality and safety of your 2014 Honda Civic.
Always begin your diagnosis by checking the most logically associated fuse first. Many fuse box lids come with a small fuse puller tool. Keep it handy, as it is essential for safely extracting fuses without damaging the fuse box terminals.
Navigating the 2014 Honda Civic Interior Fuse Box Diagram for Cabin Electronics
While the under-hood fuse box protects the muscle and bones of your Civic’s electrical system, the interior fuse box is dedicated to the creature comforts and cabin electronics that make your driving experience enjoyable. Understanding this diagram is key to resolving issues with your infotainment, power accessories, and interior lighting.
Interior Fuse Box Layout and Labeling
Similar to its under-hood counterpart, the interior fuse box diagram will present a grid-like layout, with each fuse position clearly marked. The labeling convention typically involves numbers or alphanumeric codes (e.g., A1, A2), along with a textual description or an icon representing the circuit it protects. Amperage values for interior fuses generally range from 5A to 20A, reflecting the lower current demands of cabin components compared to engine systems. This comprehensive guide helps you quickly pinpoint the affected circuit.
Audible Premium Plus — Annual Membership
12 audiobook credits up front, plus the full Audible catalogue.
See Annual PlansCommon Cabin Circuits and Troubleshooting
Here are some of the frequently encountered circuits protected by the 2014 Honda Civic’s interior fuse box:
- Accessory Power Outlets (Cigarette Lighter): A non-functional power outlet is a common complaint. Identifying the 15A accessory power socket fuse in the interior box is usually the first diagnostic step. If the fuse is blown, it’s often due to an overloaded device or a short in the power plug.
- Audio/Infotainment System: A non-responsive radio, navigation unit, or display often points to its dedicated fuse, typically 10A or 15A. Check this fuse before assuming a major component failure.
- Power Windows: If a power window fails to operate, the culprit could be its specific fuse. The 2014 Civic often has a dedicated fuse for each power window motor, usually around 20A. If only one window is affected, start by checking its individual fuse.
- Moonroof/Sunroof: Similarly, a non-operating moonroof will have a dedicated fuse, often in the 15A-20A range.
- Interior Lighting: Malfunctions with dome lights, map lights, or courtesy lights are often linked to a single fuse, usually 5A-10A, that protects the entire interior lighting circuit.
- HVAC Controls/Blower Motor: Issues with the heating, ventilation, and air conditioning (HVAC) system, such as a blower motor that doesn’t work, could be due to a blown fuse (e.g., 10A-20A for control unit, 30A-40A for blower motor relay), although the blower motor often has a separate relay or resistor.
- Wiper Blades: If your wipers suddenly stop working, check the relevant fuse (typically 20A-30A) in the interior box, although some models may route this through the under-hood box.
When troubleshooting a cabin electrical issue, the process remains consistent: identify the non-functional component, consult the interior fuse box diagram to locate its corresponding fuse, and then inspect and test that specific fuse. This methodical approach ensures a high-quality repair and helps maintain the overall trusted operation of your 2014 Honda Civic’s electrical system.
Safe and Effective Fuse Inspection and Replacement Procedures for Your 2014 Civic
Recommended Best Deal Products


Replacing a fuse might seem straightforward, but adhering to proper safety protocols and techniques is essential to prevent electrical shock, further damage to the vehicle, or even injury. This section provides a complete guide for a reliable and professional fuse replacement.
Essential Safety Precautions
- Disconnect Battery: For maximum safety, especially when working on the under-hood fuse box or if you are unsure, always disconnect the negative battery terminal first. This completely de-energizes the vehicle’s electrical system, preventing accidental shorts.
- Insulated Tools: Use insulated tools whenever possible to avoid creating unintended electrical paths.
- Well-Ventilated Area: Work in a well-ventilated area to disperse any potential fumes.
- Ignition Off: Ensure the vehicle ignition is turned off and the key is removed from the ignition.
📋
Step-by-Step Guide: Fuse Inspection and Replacement
Following the instructions in Section 2, locate the appropriate fuse box (under-hood or interior) and carefully remove its protective cover. Identify the specific fuse corresponding to the malfunctioning component using the fuse box diagram.
Carefully pull the suspect fuse straight out using a fuse puller (often clipped to the fuse box lid or found in the vehicle’s tool kit). Examine the fuse for a broken or melted filament. A blown fuse will clearly show a gap in the wire; sometimes, the plastic body may also appear discolored or burnt. This is the quickest way to identify a faulty fuse, such as a mini blade fuse.
For a definitive test, use a multimeter set to the ohms (Ω) or continuity setting. Touch the probes to the two metal terminals on top of the fuse. A properly functioning fuse will show continuity near 0 ohms or beep (if a continuity function is present). A blown fuse will show an open circuit (often displayed as “OL” or infinite resistance), confirming it’s faulty.
Select a new fuse of the identical amperage rating (e.g., replace a 10A fuse with another 10A fuse) and the correct physical size. Never use a higher amperage fuse or a temporary fix like aluminum foil. Firmly push the new fuse into the empty slot until it clicks securely into place. Reinstall the fuse box cover and reconnect the negative battery terminal if it was disconnected.
Advanced Troubleshooting for Recurrent Fuse Blowing
If a fuse blows immediately after replacement, or if the same fuse repeatedly blows, this indicates a more significant underlying issue that a simple fuse swap cannot resolve. Persistent fuse blowing is a clear sign of:
- Short Circuit: A wire’s insulation may be chafed, causing it to touch the vehicle’s metal chassis, creating a direct path to ground.
- Faulty Component: The electrical component itself (e.g., a motor, solenoid, or module) may be drawing excessive current due to an internal fault.
- Overloaded Circuit: An aftermarket accessory or modification might be drawing more power than the circuit is designed to handle.
In such cases, further investigation by a qualified automotive electrician or a certified Honda technician is highly recommended. They possess the specialized diagnostic tools and expertise to trace the fault and perform a comprehensive, professional repair, ensuring the long-term reliability and safety of your 2014 Honda Civic.
Precisely locating the under-hood and interior fuse boxes is the first critical step in diagnosing electrical issues. Understanding the specific circuits protected by each fuse, as detailed in the diagrams, is essential for accurate troubleshooting. Adhering to strict safety protocols and using correct amperage replacements are paramount for preventing further damage and ensuring vehicle integrity. For persistent or complex electrical faults beyond a simple fuse replacement, consult a certified Honda technician to ensure a thorough and professional diagnosis, safeguarding the long-term reliability and performance of your 2014 Honda Civic.
Frequently Asked Questions
What is the most common reason for a fuse to blow in a 2014 Honda Civic?
The most common reason for a fuse to blow is a short circuit or an overloaded electrical component. A short circuit occurs when current bypasses its intended path, creating excessive heat. Overloading happens when a component draws more amperage than the circuit is designed to handle, often due to a fault within the component itself or an aftermarket accessory.
Can I use a higher amperage fuse if I don’t have the correct one for my 2014 Civic?
Absolutely not. Using a higher amperage fuse is a significant safety risk. Fuses are precisely engineered to protect specific circuits by blowing at a predetermined current. A higher amperage fuse will allow excessive current to flow, potentially melting wiring, damaging expensive components, or causing an electrical fire. Always use a fuse of the exact specified amperage.
Where can I find a fuse puller tool for my 2014 Honda Civic?
A fuse puller tool is typically located within one of the fuse boxes themselves, often clipped to the underside of the fuse box lid. In some 2014 Honda Civic models, it might be found in the vehicle’s glove compartment or with the spare tire tool kit. Consult your owner’s manual for the exact location of this convenient and necessary tool.
How do I visually identify a blown fuse in my 2014 Civic?
For most blade-type fuses in your 2014 Civic, you can visually inspect the small wire filament inside the fuse. If the filament is broken or discolored (charred), the fuse is blown. Some fuses have a clear plastic body, making this easier. If unsure, a multimeter set to continuity mode can definitively confirm if a fuse is blown.
Why would a new fuse immediately blow after replacement in my 2014 Honda Civic?
If a new fuse immediately blows upon installation, it indicates that the underlying electrical problem (e.g., a persistent short circuit or a severely faulty component) has not been resolved. Replacing the fuse without addressing the root cause will only lead to repeated fuse failures. This scenario warrants professional diagnostic attention to identify and repair the primary fault.