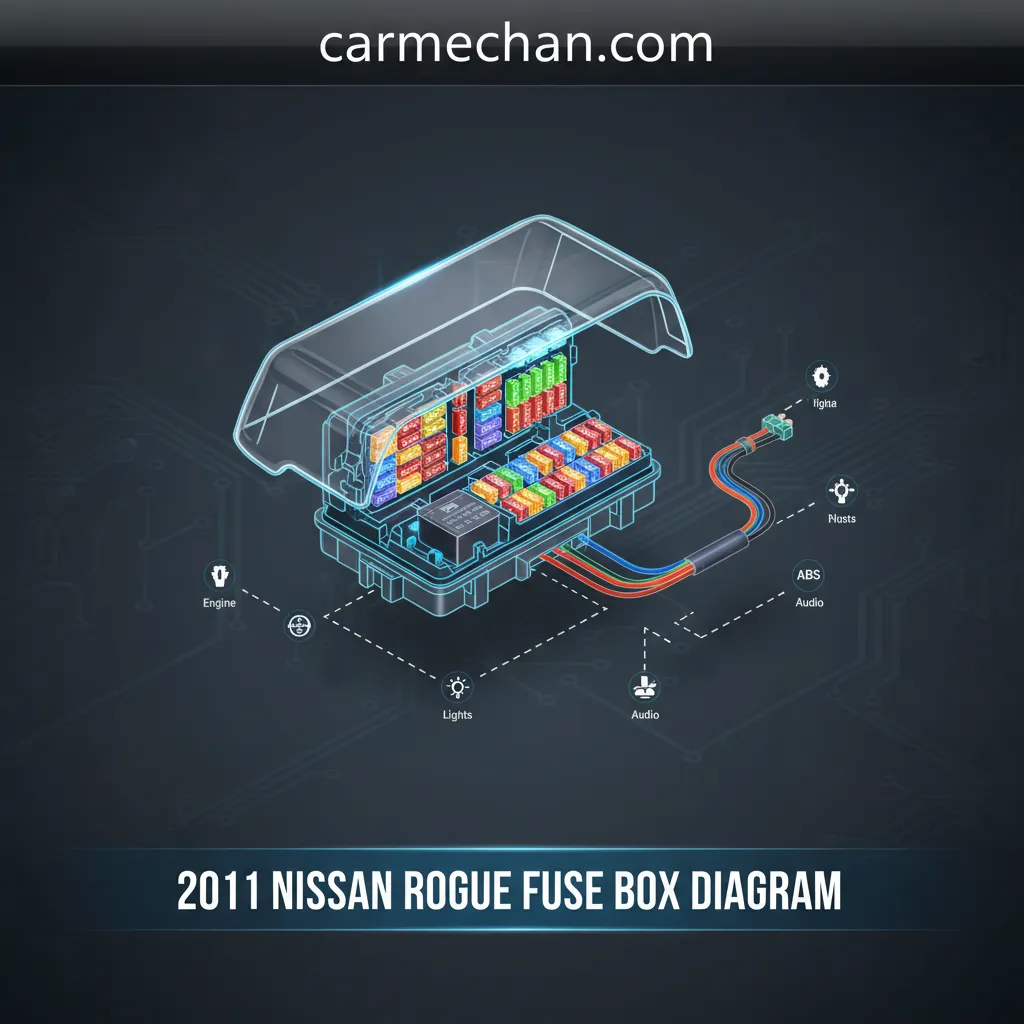
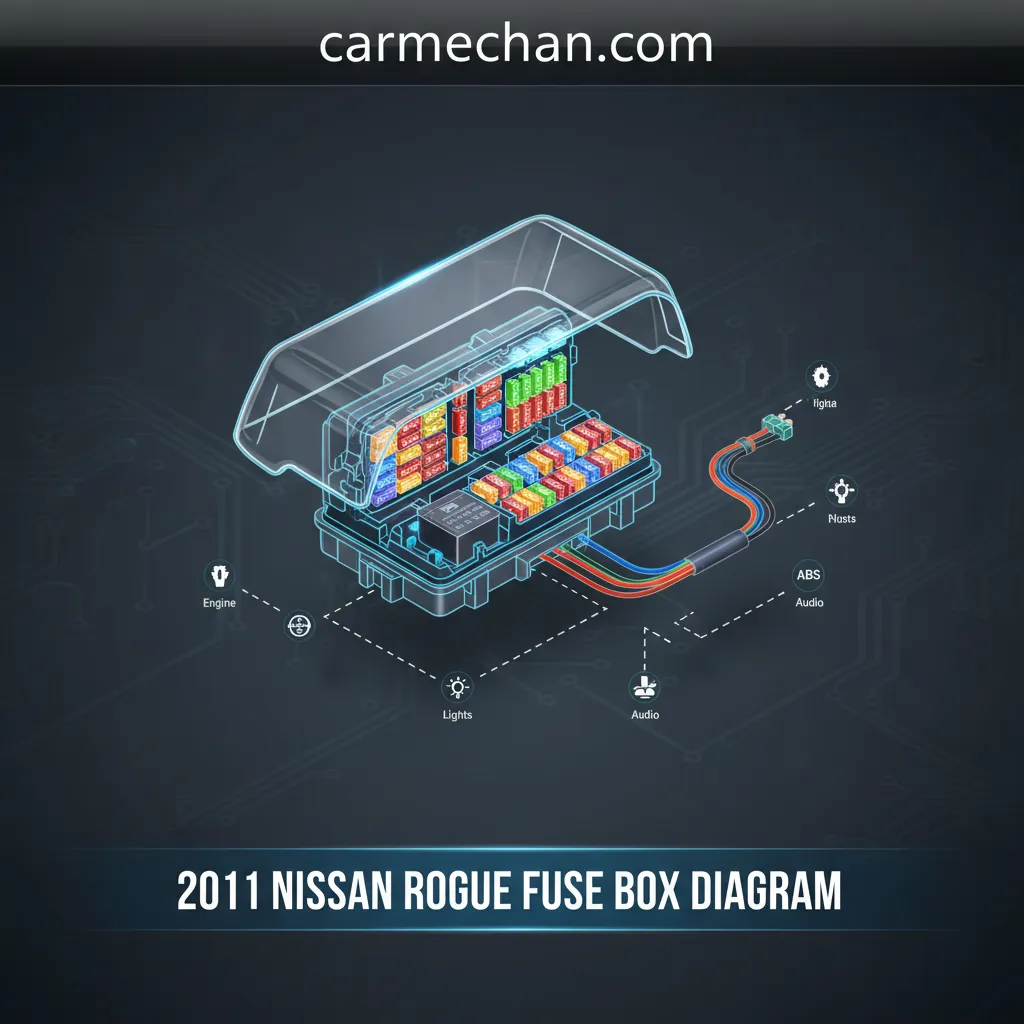
2011 Nissan Rogue Fuse Box Diagram: Essential Guide For Electrical Diagnostics
Experiencing an unexpected electrical issue with your 2011 Nissan Rogue can be a significant inconvenience, often leaving drivers puzzled about the source. When critical components like your radio, power windows, or headlights suddenly cease to function, the most common culprit is frequently a blown fuse. However, accurately identifying and locating the correct fuse without a clear guide can transform a simple fix into a frustrating ordeal. This expert-crafted guide provides the precise 2011 Nissan Rogue fuse box diagrams, empowering you to swiftly diagnose, locate, and safely replace blown fuses. You will gain a professional understanding of your vehicle’s electrical architecture, ensuring reliable operation and avoiding unnecessary service visits.

Understanding Your 2011 Nissan Rogue’s Electrical System and Fuse Box Locations
Recommended Best Deal Products


📤 Share Image
The electrical system of your 2011 Nissan Rogue is a sophisticated network designed to power everything from critical engine functions to convenience features. At its core, this 12-volt direct current (DC) system relies on a series of fuses to safeguard its numerous components. Fuses play a fundamental and indispensable role: they are designed to be the weakest link in a circuit, sacrificially blowing to prevent an overcurrent condition from damaging more expensive components or, critically, starting an electrical fire. Without these small, inexpensive devices, a short circuit or an overloaded component could lead to extensive wiring damage or even vehicle immobility.
For the 2011 Nissan Rogue, like most modern vehicles, fuses are strategically housed in two primary locations. The first is the engine compartment fuse box, typically situated near the battery. This box serves as the main power distribution hub, housing high-amperage fuses and relays that protect crucial systems such as the engine control unit, cooling fans, and major lighting circuits. The second location is the passenger cabin fuse box, usually found within the driver’s side lower dashboard area or kick panel. This interior box manages fuses for accessory and convenience functions, including the radio, power windows, interior lighting, and auxiliary power outlets. Understanding these distinct roles is the first step toward effective electrical diagnostics.
You will encounter several types of fuses within your 2011 Rogue, each designed for specific current loads and physical spaces. The most common are Mini fuses (also known as ATM or APM fuses), which are compact and often found in the passenger cabin for lower-amperage accessories. ATO/Blade fuses are slightly larger and were historically more common, sometimes appearing in both locations. For high-amperage circuits, especially in the engine compartment, you’ll find larger Maxi fuses (or cartridge fuses), which are designed to protect heavy-duty components like the ABS pump or main electrical feeders. Each fuse is clearly marked with its specific current threshold (e.g., 10A, 15A, 40A), indicating the maximum current it can safely handle before blowing. For instance, a 15A Mini fuse protecting your radio will blow if the circuit draws more than 15 amps, safeguarding the head unit from potential damage.
As a seasoned expert, I cannot overstate the importance of consulting your vehicle’s owner’s manual. While this guide provides comprehensive, reliable information, the owner’s manual contains the precise, model-specific diagrams and fuse ratings tailored exactly to your vehicle’s build. It remains the most trusted reference point for any in-depth electrical troubleshooting. Always verify the information here with your owner’s manual for absolute accuracy, establishing a professional standard for your diagnostic work.

Detailed 2011 Nissan Rogue Under-Hood Fuse Box Diagram and Critical Functions
The engine compartment fuse box in your 2011 Nissan Rogue is a pivotal component of its electrical architecture, serving as the central distribution point for high-current circuits and critical powertrain functions. Located typically on the driver’s side, adjacent to the battery, this robust box houses fuses and relays essential for the vehicle’s operation. While the exact layout can vary slightly between production runs, the overall structure is designed for clear identification of components.
Under-Hood Fuse Box Layout and Key Fuses
Upon opening the cover, you will observe an array of fuses, predominantly ATO/Blade and Maxi types, alongside various relays. High-amperage fuses, often rated from 10A up to 80A or even higher, are critical for protecting major systems:
- ABS (Anti-lock Braking System) Fuses: Typically 30A or 40A Maxi fuses, these protect the ABS pump and control module. A blown ABS fuse will disable the ABS, often illuminating the ABS warning light on your dashboard.
- EPS (Electric Power Steering) Fuse: Modern Rogues utilize electric power steering. A dedicated high-amperage fuse (often 50A or 60A) protects this crucial system. Its failure results in heavy steering.
- Cooling Fan Fuses: Usually two or more fuses (e.g., 20A-30A) dedicated to the radiator and condenser fans. A blown ‘RADIATOR FAN’ fuse can quickly lead to engine overheating, especially in traffic.
- Main Power Fuses: Extremely high-amperage fuses (e.g., 80A, 100A, 120A) distribute power to the entire electrical system, including the interior fuse box. If one of these blows, the entire vehicle often loses power.
Crucial Relays and Their Functions
Beyond fuses, the under-hood box houses several relays. While relay failures are less common than fuse failures, they can cause similar, often intermittent, symptoms.
- ECM (Engine Control Module) Relay: This relay supplies power to the ECM, which controls critical engine functions. A faulty ECM relay will prevent the engine from starting or running smoothly. You might find it labeled as ‘ENGINE CONT’.
- Fuel Pump Relay: Essential for fuel delivery, this relay powers the fuel pump. A clicking sound from the relay but no fuel pump whine (when priming) indicates a potential issue.
- Starter Relay: Energizes the starter motor. If the starter relay fails, the engine will not crank, even if the battery is fully charged.
- Headlight/Fog Light Relays: Control the high-current draw of lighting systems.
To accurately identify components, always refer to the diagram printed on the inside of the fuse box cover. This diagram visually represents the layout, often with abbreviations or symbols indicating the circuit each fuse or relay protects. For example, you might see ‘F/PUMP’ for the fuel pump, or ‘ECU’ for the engine control unit. Correlate these markings with the physical orientation of the fuses within the box for precise identification. This expert approach ensures reliable diagnostics every time.

Audible — Listen Free for 30 Days
One free credit a month and thousands of titles included.
Listen Free for 30 DaysWhen inspecting the under-hood fuse box, pay close attention to the larger, cartridge-style fuses. These often protect major components and can be harder to visually inspect. Use a fuse tester or multimeter for a quick and reliable check of continuity.

Interior Fuse Box Diagram: 2011 Nissan Rogue Cabin Electronics and Accessories
Recommended Best Deal Products


While the under-hood fuse box manages the engine’s critical functions, the interior fuse box in your 2011 Nissan Rogue is dedicated to the comfort, convenience, and entertainment systems within the passenger cabin. Its proper functioning is key to enjoying all the modern amenities your Rogue offers. Diagnosing issues with accessories often begins here.
Location and Access
For the 2011 Nissan Rogue, the interior fuse box is typically located on the driver’s side, behind the lower dashboard trim or kick panel. To access it, you will likely need to remove a small plastic cover, which usually pops off with a gentle but firm pull. Sometimes, a flat-head screwdriver or a trim removal tool might be helpful, but always exercise caution to avoid scratching plastic surfaces. This location, while somewhat confined, ensures the fuses are easily accessible for the driver, a thoughtful design for quick fixes.
Interior Fuse Box Diagram and Component Breakdown
The diagram on the inside of the access panel or in your owner’s manual will detail the specific fuses and their associated components. Many interior accessory fuses are typically rated between 5A and 20A, primarily consisting of Mini fuses. Here’s a breakdown of common circuits protected by this fuse box:
- Audio/Infotainment System: Fuses labeled ‘AUDIO’, ‘RADIO’, or similar protect your vehicle’s sound system, navigation, and display. If your radio suddenly goes dark, a blown ‘AUDIO’ fuse is a prime suspect.
- Power Windows: Each window, or a pair of windows, might have a dedicated fuse (e.g., ‘POWER WINDOWS’, ‘DRV P/W’). If a specific window fails to operate, locating the corresponding ‘POWER WINDOW’ fuse is a professional diagnostic step.
- Sunroof: If your Rogue is equipped with a sunroof, its operation is typically protected by an interior fuse, often labeled ‘SUNROOF’.
- Interior Lights: Dome lights, map lights, and sometimes even trunk lights are protected by fuses like ‘ROOM LAMP’ or ‘INT LIGHT’.
- Windshield Wipers: While the wiper motor might have a relay under the hood, the control circuit or intermittent function can be protected by an interior fuse, often labeled ‘WIPER’.
- Auxiliary Power Outlets: The ‘cigarette lighter’ or 12V power outlets are frequently used for charging devices and are highly susceptible to overloading. A common cause of interior fuse failures is accessory overloading, so fuses for circuits like ‘ACC SOCKET’ or ‘CIGAR’ are often among the first to check.
Practical Tips for Interior Fuse Inspection
Accessing these fuses can be tight. Always ensure good lighting. A small flashlight or headlamp is invaluable. Use a fuse puller – many Nissan Rogues come with one clipped to the fuse box cover or within the main fuse box under the hood. This specialized tool prevents damage to the fuse or its housing, allowing for safe and easy extraction. Visual inspection is usually sufficient for Mini fuses: look for a broken or charred filament inside. For a more reliable check, a fuse tester or multimeter is recommended, particularly if the filament isn’t clearly visible due to the fuse’s design or internal discoloration.
If you frequently blow fuses for your 12V power outlets, consider the combined amperage draw of your connected accessories. Devices like high-power air compressors or multiple USB chargers can easily exceed the circuit’s rated capacity, leading to recurring issues. Opt for a lower-amperage alternative or distribute loads across different outlets if available.
Practical Troubleshooting and Safe Fuse Replacement for Your 2011 Nissan Rogue
Successfully diagnosing and replacing a blown fuse in your 2011 Nissan Rogue is a straightforward process, provided you follow a structured approach and adhere to critical safety protocols. This complete guide ensures you can perform these tasks with confidence and precision, maintaining the quality of your vehicle’s electrical system.
📋
Step-by-Step Guide: Identifying and Replacing a Blown Fuse
Recommended Best Deal Products


When a component fails (e.g., radio, headlight, power window), consult the appropriate fuse box diagram (under-hood or interior) to pinpoint the suspected fuse. This narrows down your search significantly.
Audible Premium Plus — Annual Membership
12 audiobook credits up front, plus the full Audible catalogue.
See Annual PlansWith the ignition off, use a fuse puller to carefully remove the suspect fuse. Hold it up to a light source. A visibly blown fuse will have a broken or melted wire filament inside the transparent casing. For example, if your radio is out, pull the ‘AUDIO’ fuse and inspect it. If the filament is intact, the fuse is likely good.
For non-transparent fuses or a more precise diagnosis, use a continuity tester or multimeter set to resistance (ohms). Touch the probes to the two metal prongs on top of the fuse. A good fuse will show continuity (a beep or near-zero resistance); a blown fuse will show no continuity or an open circuit.
Crucially, always replace a blown fuse with one of the exact same amperage rating and physical type. For instance, if a 10A Mini fuse is blown, replace it with another 10A Mini fuse. Using a fuse with a higher amperage rating (e.g., a 20A where a 10A is specified) is extremely dangerous and can lead to wiring damage, component failure, or even vehicle fires, as the wire will overheat before the fuse blows.
Gently push the new fuse into its slot until it’s firmly seated. Reconnect the battery if it was disconnected, and test the affected electrical component. If it now works, you’ve successfully replaced the fuse. If it blows again immediately, there’s an underlying electrical issue that needs professional attention.
Before attempting any fuse inspection or replacement, always turn off the ignition and remove the key. For added safety, particularly when working in the engine compartment or on critical circuits, it is highly recommended to disconnect the negative terminal of your vehicle’s 12-volt battery. This prevents accidental short circuits and electric shocks. Never use foil, wire, or a higher-rated fuse as a temporary fix; this presents a severe fire hazard and can cause irreversible damage to your vehicle’s complex electrical system.
Understanding Why Fuses Blow and Preventing Recurrence
Fuses blow for a reason, and simply replacing a fuse without addressing the root cause is a temporary solution that will likely lead to recurring issues. Common reasons include:
- Short Circuits: This occurs when an insulated wire’s bare metal comes into contact with another wire or a grounded metal surface, creating an unintended path for current. This sudden surge of current immediately blows the fuse.
- Overloads: If too many accessories are drawing power from a single circuit, or if a component draws more current than its design intended, it creates an overload condition. This is common with 12V power outlets.
- Component Failure: A faulty component, such as a malfunctioning motor (e.g., power window motor, cooling fan motor) or a defective relay, can draw excessive current and cause the fuse to blow as a protective measure.
If a fuse blows repeatedly, it is a clear indicator of an underlying problem that requires further investigation. A study by the National Highway Traffic Safety Administration (NHTSA) indicates that electrical system failures are a significant contributor to vehicle breakdowns, underscoring the importance of addressing these issues promptly. Ignoring persistent fuse blowing can lead to more extensive and costly repairs, compromising the reliable and trusted operation of your 2011 Nissan Rogue.
Beyond the Diagram: Advanced Electrical System Considerations for the 2011 Nissan Rogue
Understanding your 2011 Nissan Rogue’s fuse box diagrams is an invaluable skill for basic electrical diagnostics. However, the vehicle’s electrical system is a dynamic and interconnected network. For comprehensive, long-term reliability and professional maintenance, it’s essential to consider broader implications and recognize when issues extend beyond a simple blown fuse. This section offers advanced insights for maintaining the overall integrity of your Rogue’s electrical health.
Impact of Aftermarket Accessories
Aftermarket accessories, while enhancing convenience or performance, can significantly impact your vehicle’s electrical system if not installed correctly. Poorly wired aftermarket head units, dash cameras, auxiliary lighting, or even performance chips can create unintended loads, draw excessive current, and lead to recurring blown fuses or, worse, damage to the vehicle’s original wiring harness and control modules. Always opt for professional installation of any aftermarket electrical components. A trusted technician understands circuit capacities and proper wiring practices, ensuring a quality installation that prevents overloading circuits.
Warning Signs of Broader Electrical Problems
A blown fuse is often a symptom, not the root cause. Be alert for warning signs that indicate more significant electrical problems:
- Dimming Lights: Headlights or interior lights that dim periodically, especially when electrical loads (like AC or power windows) are activated, can signal a failing alternator or battery.
- Intermittent Power Losses: Electrical components that sporadically stop working and then resume without a fuse replacement suggest a loose connection, a failing relay, or an intermittent short.
- Burning Smells: The smell of burning plastic or insulation is an urgent warning sign of overheating wires, which could be due to a severe short circuit or chronic overloading. Pull over safely and seek immediate assistance.
- Persistent Battery Drain: If your battery dies repeatedly despite being fully charged and tested, it indicates a parasitic draw, where a component continues to consume power even when the vehicle is off.
Battery and Alternator Health Checks
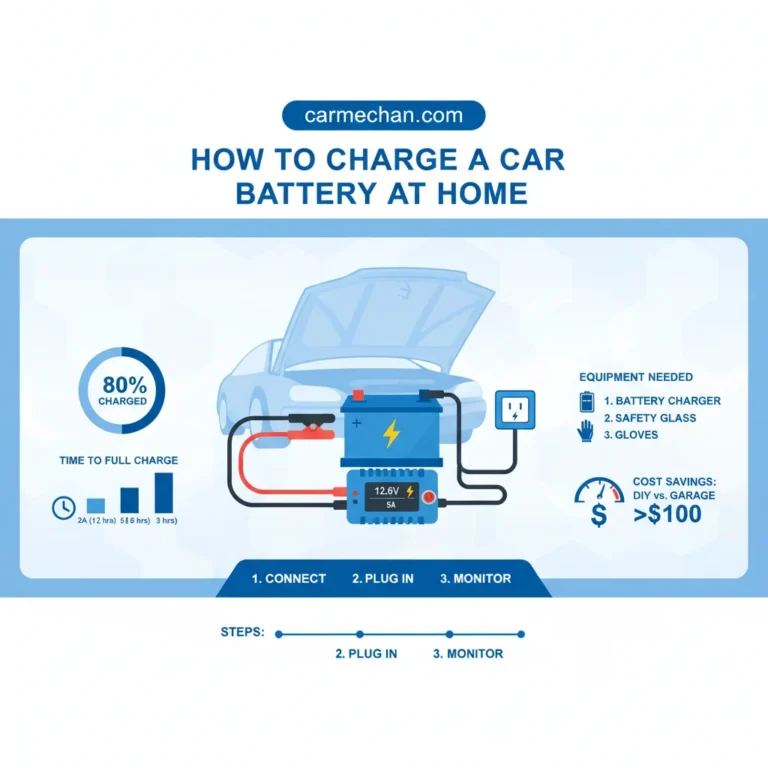
The battery and alternator are the cornerstones of your Rogue’s electrical system. Regular health checks are crucial. A failing alternator, for example, can produce voltages outside the typical 13.5-14.5V range, leading to under-voltage (which can stress components) or over-voltage (which can fry them), both contributing to fuse-related issues. The average car battery lasts 3-5 years, but extreme temperatures or poor maintenance can shorten this. A weak battery can cause intermittent electrical problems that might be mistaken for fuse issues.
By The Numbers
Average Battery Lifespan
Normal Alternator Output
When to Seek Professional Assistance
While this comprehensive guide empowers you with the knowledge for many common electrical issues, there are situations where professional intervention is not just recommended, but necessary. If you encounter:
- Repeatedly Blown Fuses: This indicates an unresolved underlying problem like a persistent short or failing component.
- Intermittent Electrical Problems: Diagnosing these often requires specialized tools like oscilloscopes and advanced diagnostic software.
- Multiple System Failures: When several unrelated electrical components fail simultaneously, it suggests a problem with main power distribution or a major control module.
- Dashboard Warning Lights: Persistent check engine, ABS, or other system warning lights.
A certified automotive technician possesses the expert knowledge, experience, and specialized equipment to accurately diagnose complex electrical issues. Their professional assessment ensures a reliable and lasting repair, safeguarding your 2011 Nissan Rogue’s intricate electrical system and overall operational safety.
The 2011 Nissan Rogue features an under-hood and an interior fuse box, each with specific roles, safeguarding various vehicle systems. Consulting the precise fuse box diagrams is crucial for accurate diagnosis and component identification, transforming a potentially frustrating electrical issue into a manageable task. Always match the amperage rating exactly when replacing a blown fuse, and diligently address any underlying causes of repeated failures to prevent further electrical complications. Prioritize safety by disconnecting the battery during fuse work, and do not hesitate to consider professional assistance for complex or persistent electrical issues that extend beyond a simple fuse replacement.
Equipped with this detailed blueprint, you can confidently address common electrical issues in your 2011 Nissan Rogue. Regularly refer to your owner’s manual for further specifics and model-year variations, ensuring a complete and accurate understanding. For intricate electrical diagnostics or recurring problems that challenge your troubleshooting, don’t hesitate to consult a certified technician. Their expertise ensures optimal vehicle performance and safety, providing a truly reliable solution for all your electrical system needs.
Frequently Asked Questions
Where are the fuse boxes located in a 2011 Nissan Rogue?
Your 2011 Nissan Rogue typically has two primary fuse box locations. The main fuse box is situated under the hood, usually on the driver’s side near the battery, managing critical engine and high-amperage systems. A secondary fuse box, dedicated to cabin electronics and accessories, is located in the passenger compartment, often behind a panel on the driver’s side dashboard or kick panel for convenient access to interior components.
What should I do if my 2011 Rogue’s radio fuse keeps blowing?
If your 2011 Rogue’s radio fuse repeatedly blows, it indicates an underlying electrical issue beyond a simple fuse failure. First, ensure the replacement fuse has the correct amperage rating. If the problem persists, it suggests a short circuit within the radio unit itself, its wiring, or a connected accessory. Professional diagnostic testing is recommended to pinpoint the exact fault and prevent potential damage to the electrical system.
How can I tell if a fuse is blown in my 2011 Nissan Rogue?
To determine if a fuse is blown, first, carefully extract it using a fuse puller. Visually inspect the metal filament inside; if it’s broken or discolored, the fuse is blown. For opaque fuses, use a fuse tester or a multimeter set to continuity mode. Touch the tester probes to the small metal test points on the fuse’s top. No continuity or no light indicates a blown fuse requiring replacement.
What kind of fuses does a 2011 Nissan Rogue use?
The 2011 Nissan Rogue primarily utilizes standard blade-type fuses, specifically Mini (ATM) and sometimes ATO (APR/ATC) sizes, for most accessory and circuit protection. For higher amperage applications, particularly in the under-hood fuse box, Maxi (APX/MAX) fuses or cartridge-type fuses may be present. Always refer to your owner’s manual or the fuse box cover for the exact fuse type and amperage rating for each circuit.
Is it safe to put a higher amperage fuse in my 2011 Rogue?
Absolutely not. Installing a fuse with a higher amperage rating than specified for your 2011 Nissan Rogue is extremely dangerous. Fuses are precisely engineered to blow at a specific current threshold, protecting wiring and components from excessive current and heat. Using a higher-rated fuse defeats this protection, potentially leading to overheating wires, electrical system damage, or even a vehicle fire. Always use a fuse with the exact specified amperage.