Proven Steps to Jump a Car Battery Safely 2026
Last Updated on September 1, 2026 by Albert Duke
Jump-starting a car battery requires careful preparation and precise steps to ensure safety and effectiveness. We guide you through gathering necessary tools, connecting cables correctly, and troubleshooting common issues to get your vehicle back on the road quickly.
Jump-starting a car battery requires careful preparation and precise steps to ensure safety and effectiveness. We guide you through gathering necessary tools, connecting cables correctly, and troubleshooting common issues to get your vehicle back on the road quickly.
- Prioritize safety with eye protection and ventilation.
- Connect positive to positive, then negative to a metal ground.
- Keep the donor car running during the process.
- Troubleshoot systematically if the car doesn’t start.
- Drive for at least 15-20 minutes post-jump to recharge.
When facing a dead car battery, knowing the precise steps to jump a car battery can get you back on the road quickly and safely. This situation can be stressful, but with the right guidance, you can manage it with confidence. Our comprehensive guide provides actionable instructions for 2026, ensuring you’re prepared for any unexpected roadside battery failure.
We’ll cover everything from essential safety measures to proper cable connection and disconnection. You’ll learn how to approach this task safely and efficiently. This guide simplifies the process, starting with crucial preparation to ensure a safe and successful jump.
Key Takeaways


- Prioritize safety with eye protection and ventilation.
- Connect positive to positive, then negative to a metal ground.
- Keep the donor car running during the process.
- Troubleshoot systematically if the car doesn’t start.
- Drive for at least 15-20 minutes post-jump to recharge.
Gather These 5 Essential Tools for Jump Starting


Before attempting to jump start your vehicle, gathering the right tools is the first critical step towards a safe and effective outcome. Having these items readily available streamlines the entire process. This preparation minimizes delays and enhances safety during a potentially urgent situation.
Here’s what you’ll need:

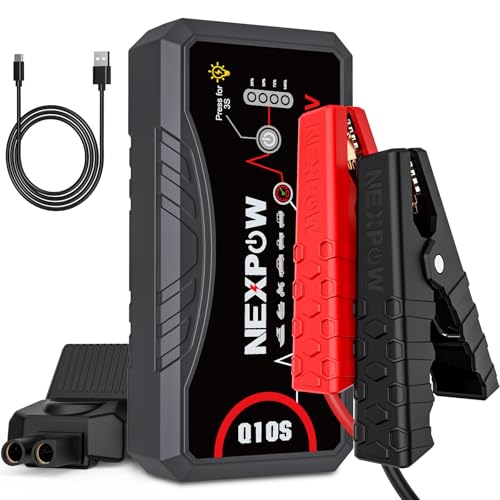
- Jumper Cables: Quality cables are non-negotiable.
- Donor Vehicle: A car with a fully charged, compatible 12-volt battery.
- Safety Gear: Eye protection and gloves are highly recommended.
- Vehicle Manual: Consult it for specific battery location or procedures.
- Wire Brush or Cleaning Cloths: To clean corroded terminals.
Choose Right Cables
Invest in good quality jumper cables. We recommend at least 6-gauge or 4-gauge cables for effective power transfer . Thicker cables allow more current to flow. They are less likely to overheat during the jump.
Secure a Donor Vehicle
You will need a donor vehicle with a healthy, fully charged battery. Ensure both vehicles use a 12-volt electrical system. This is standard for most modern passenger cars. Avoid using a much larger vehicle like a truck for a smaller car if possible, though it’s generally safe.
Wear Safety Gear
Safety glasses are crucial to protect your eyes from potential sparks or battery acid. Heavy-duty gloves can shield your hands. They also improve grip on the cables.
With your equipment ready, understanding the fundamental safety protocols becomes the next indispensable phase in this process.
7 Critical Safety Rules for Jump Starting

Safety must always be your top priority when dealing with car batteries; ignoring precautions can lead to serious injury or vehicle damage. Batteries contain corrosive acid and can produce flammable hydrogen gas. Following these rules protects you and your vehicles. We emphasize caution above all else for any jump-starting attempt.
Here are crucial safety guidelines:
- Turn Off Both Cars: Ensure both vehicles are switched off before connecting cables.
- Engage Parking Brakes: Always apply the parking brake on both vehicles.
- Verify Voltage: Confirm both batteries are 12-volt systems.
- Check Battery Condition: Inspect the dead battery for cracks or leaks.
- Ensure Ventilation: Jump-start in an open area to disperse hydrogen gas.
- Keep Sparks Away: Avoid any sources of ignition near the battery.
- Remove Metal Jewelry: Metal can conduct electricity and cause burns.
Protect Your Eyes
Always wear eye protection, such as safety glasses or goggles. This safeguards against battery acid splashes or sparks. These incidents can cause severe eye injuries.
Ensure Good Ventilation
Battery gases are highly flammable. Perform the jump-start in a well-ventilated area. Hydrogen gas can accumulate around the battery, posing an explosion risk .
Prevent Sparks
Never allow the metal ends of the jumper cable clamps to touch each other. This can create dangerous sparks. It could also damage the vehicles’ electrical systems.
Verify Battery Voltage
Confirm both vehicles operate on a 12-volt system. Mixing voltages can lead to severe electrical damage. It can also cause personal injury.
Secure Both Vehicles
Park the donor vehicle close enough for the cables to reach. Do not let the vehicles touch. Engage the parking brake on both cars. Place both cars in neutral or park.
Once safety measures are firmly in place, the precise sequence of connecting the jumper cables becomes the focal point for getting your car running.
How to Connect Jumper Cables in 4 Steps
The critical juncture of jump-starting lies in the correct connection of your jumper cables, following a specific order to prevent electrical issues. Incorrectly connecting them can cause serious damage or injury. We prioritize a clear, step-by-step approach. This ensures a safe and effective jump for your car.
Follow these steps carefully:

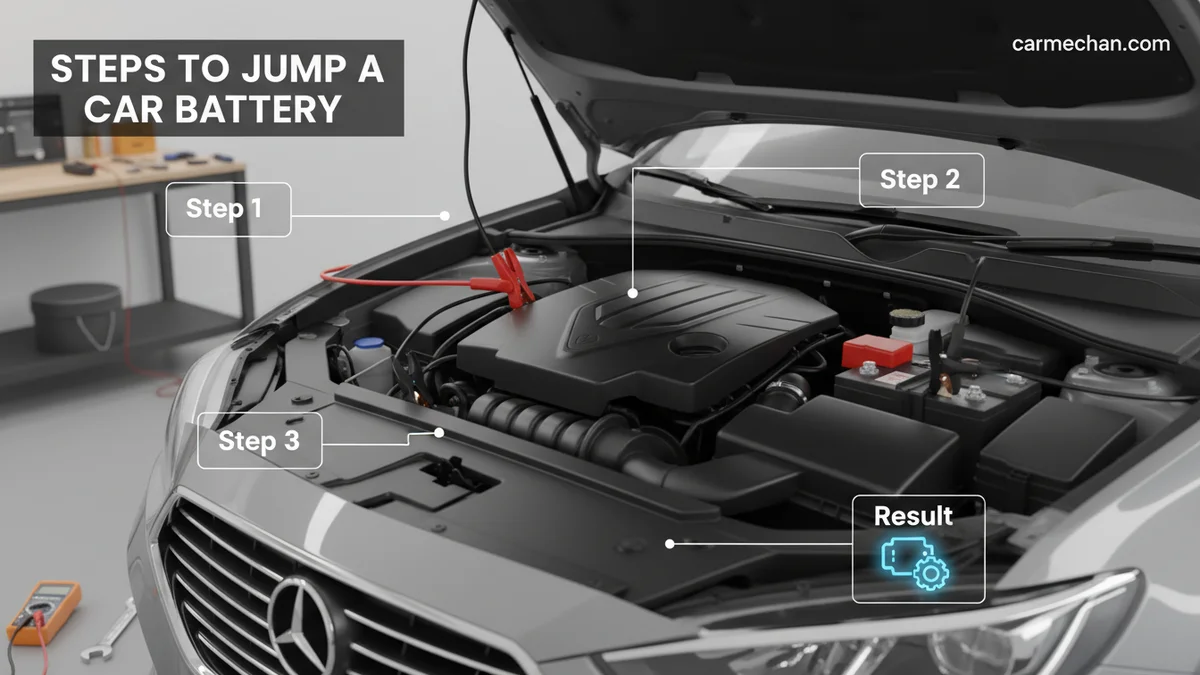
Attach Red to Dead Positive
Locate the positive terminal on the dead battery. It is typically marked with a “+” sign and often has a red cap. Clamp one end of the red (positive) jumper cable firmly onto this positive terminal. Ensure a solid metal-to-metal connection.
Connect Red to Live Positive
Take the other end of the red (positive) jumper cable. Connect it to the positive terminal of the donor car’s battery. Again, confirm a tight connection. The donor car’s battery should also be clearly marked with a “+”.
Clamp Black to Live Negative
Now, take one end of the black (negative) jumper cable. Connect it to the negative terminal of the donor car’s battery. This terminal is usually marked with a “-” sign. Secure it firmly.
Secure Black to Dead Metal
Connect the remaining black (negative) jumper cable clamp to an unpainted metal surface on the dead car’s engine block or frame. Choose a sturdy, grounded metal part away from the battery itself. This placement minimizes the risk of sparks igniting battery gases . Do not connect it directly to the dead battery’s negative terminal.
With the cables securely connected, the next crucial phase involves the careful disconnection process, which is just as important for safety and preventing damage.
How to Disconnect Jumper Cables Safely
Disconnecting jumper cables requires a reverse order of connection to maintain electrical safety and prevent potential sparks or damage. Once your disabled car has successfully started, the process isn’t over. A careful disconnection ensures no short circuits or hazards occur. We guide you through the correct sequence for safe removal.
Follow these steps for safe disconnection:
- Start the Dead Car: Once cables are connected, start the donor vehicle and let it run for a few minutes. Then, try to start the car with the dead battery. If it starts, let both cars run for several minutes (5-10 minutes). This allows the newly started car’s battery to gain some charge.
- Turn Off Donor Car: We recommend turning off the donor vehicle before disconnecting. This reduces the risk of electrical surges.
Remove Black From Dead Metal
Carefully remove the black (negative) clamp from the unpainted metal surface on the previously dead car. Ensure your hands are clear of any moving engine parts.
Detach Black From Live Negative
Next, remove the black (negative) clamp from the negative terminal of the donor car’s battery. Be mindful of not letting the clamps touch each other or any metal surfaces.
Disconnect Red From Live Positive
Then, unclip the red (positive) clamp from the positive terminal of the donor car’s battery. Handle it with care to avoid accidental contact.
Unclip Red From Dead Positive
Finally, remove the red (positive) clamp from the positive terminal of the now-running car’s battery. You have now safely disconnected the jumper cables. Store them properly for future use.
While a successful jump-start is often the outcome, preparing for scenarios where your car still won’t start, or understanding post-jump care, ensures complete readiness.
What If Your Car Still Won’t Start After a Jump
Even after following all the correct steps, your car might still refuse to start, indicating a need for troubleshooting or further assessment. This can be frustrating, but various factors could be at play. We offer practical advice for diagnosing the issue. Understanding these potential problems helps you address them efficiently.
Check Cable Connections
First, double-check all four cable connections. Ensure they are clean and securely clamped. A loose connection can prevent proper current flow. Try wiggling the clamps slightly to ensure good contact.
Verify Donor Battery
Confirm the donor vehicle’s battery was strong enough. If the donor battery itself is weak, it may not provide sufficient power. Allow the donor car to run for a longer period (up to 10 minutes) before attempting the jump again.
Listen for Engine Sounds
Listen for specific sounds when you try to start the car. A rapid clicking sound suggests insufficient power to the starter. No sound at all might indicate an issue with the starter motor or ignition system.
Drive After Success
If your car does start, drive it for at least 15-20 minutes to allow the alternator to recharge the battery . Avoid turning off the engine during this period. Short trips may not provide enough charge.
Consider Battery Replacement
If the car consistently fails to hold a charge or won’t start despite jump attempts, the battery itself might be faulty. It may be too old or severely damaged. We recommend having your battery tested at an auto parts store. You may need a battery replacement.
Understanding these nuances completes your knowledge on how to jump a car battery, ensuring you are prepared for almost any roadside battery emergency.
Mastering Car Battery Jumps for 2026
Successfully jump-starting a car battery is an essential skill for any driver in 2026. We hope this guide has provided you with clear, actionable steps and the confidence to handle a dead battery situation. Always prioritize safety and methodical execution. Following our recommended steps minimizes risks and maximizes your chances of a successful jump. Keep your jumper cables handy, and review these steps periodically. Being prepared is the best way to avoid roadside stress.
Can I Jump Start My Car With Any Other Car?
Generally, yes, as long as both vehicles have 12-volt electrical systems, which is common for most passenger cars. Avoid using a larger vehicle like a truck with a small car if possible, and never mix voltage systems (e.g., 12V and 24V). Verify compatibility with your vehicle’s manual.
How Long Should I Wait After Connecting Jumper Cables Before Trying to Start My Car?
After connecting the cables, let the donor vehicle run for about 5-10 minutes. This allows some charge to transfer to the dead battery, increasing the chances of a successful start without overtaxing the donor vehicle’s system. Longer waits might be beneficial for very dead batteries.
What Does It Mean If My Car Clicks but Doesn’t Start After a Jump?
A clicking sound often indicates insufficient power to engage the starter motor, even after a jump attempt. This could mean the cables are poorly connected, the battery is completely dead and won’t hold a charge, or there’s an issue with the starter itself. Recheck connections carefully.
What Should I Do Immediately After My Car Starts?
Once your car starts, allow both vehicles to run for a few minutes (5-10) before disconnecting the cables in reverse order. Then, drive your car for at least 15-20 minutes. This allows the alternator to recharge your battery sufficiently. Avoid immediate engine shutdown.
When Should I Seek Professional Help for a Dead Battery?
If your car repeatedly dies, won’t hold a charge after a jump, or if you notice strange electrical issues, it’s time for professional help. A mechanic can diagnose if the problem is the battery, alternator, or starter. Timely intervention prevents further vehicle damage.