2015 Honda Cr-V Fuse Box Diagram: Essential Electrical System Guide
2015 Honda Cr-V Fuse Box Diagram: Essential Electrical System Guide


📤 Share Image
The intricate electrical system of your 2015 Honda CR-V is fundamental to its operation, powering everything from its engine management to cabin comfort. When a component unexpectedly ceases to function, whether it’s the radio, a power window, or even a headlight, the first logical step for many vehicle owners is to consult the fuse box. However, locating the correct fuse and understanding its purpose within a complex vehicle system can be a daunting task without clear, professional guidance.
This expert guide will provide a detailed, authoritative blueprint of your 2015 Honda CR-V’s fuse box diagrams, empowering you with the knowledge to efficiently diagnose and resolve common electrical issues, ensuring the continued reliability and performance of your trusted vehicle.

Understanding the 2015 Honda CR-V Electrical System Fundamentals

The robust electrical architecture of the 2015 Honda CR-V is meticulously designed to safeguard its numerous components and ensure overall operational reliability. At the heart of this protection system lie fuses and relays. Fuses serve as sacrificial components, strategically placed to protect electrical circuits from detrimental overcurrent conditions. When excessive current flows due to a short circuit or overload, the fuse’s internal filament melts, breaking the circuit and preventing damage to more expensive components, such as wiring, motors, or control units.
The 2015 Honda CR-V, like most modern vehicles, employs a distributed electrical system, featuring multiple fuse boxes positioned throughout the vehicle. This design optimizes power distribution efficiency, allowing for dedicated protection and management of various functions—from critical engine operations to comfort and convenience features within the cabin. This distributed approach enhances both safety and diagnostic precision.
The consequences of a blown fuse can range from a minor inconvenience to a significant safety concern. For instance, a simple burnt-out interior light fuse might only affect a single lamp, making diagnosis relatively straightforward. However, a fuse protecting the anti-lock braking system (ABS) or a critical engine control module (ECM) circuit could lead to compromised driving safety or complete vehicle immobilization. This underscores the imperative for prompt and quality diagnosis when any electrical component fails. The ECM, in particular, constantly monitors numerous circuits, and a fault in a protected circuit can trigger diagnostic trouble codes, guiding technicians to the specific area requiring attention.
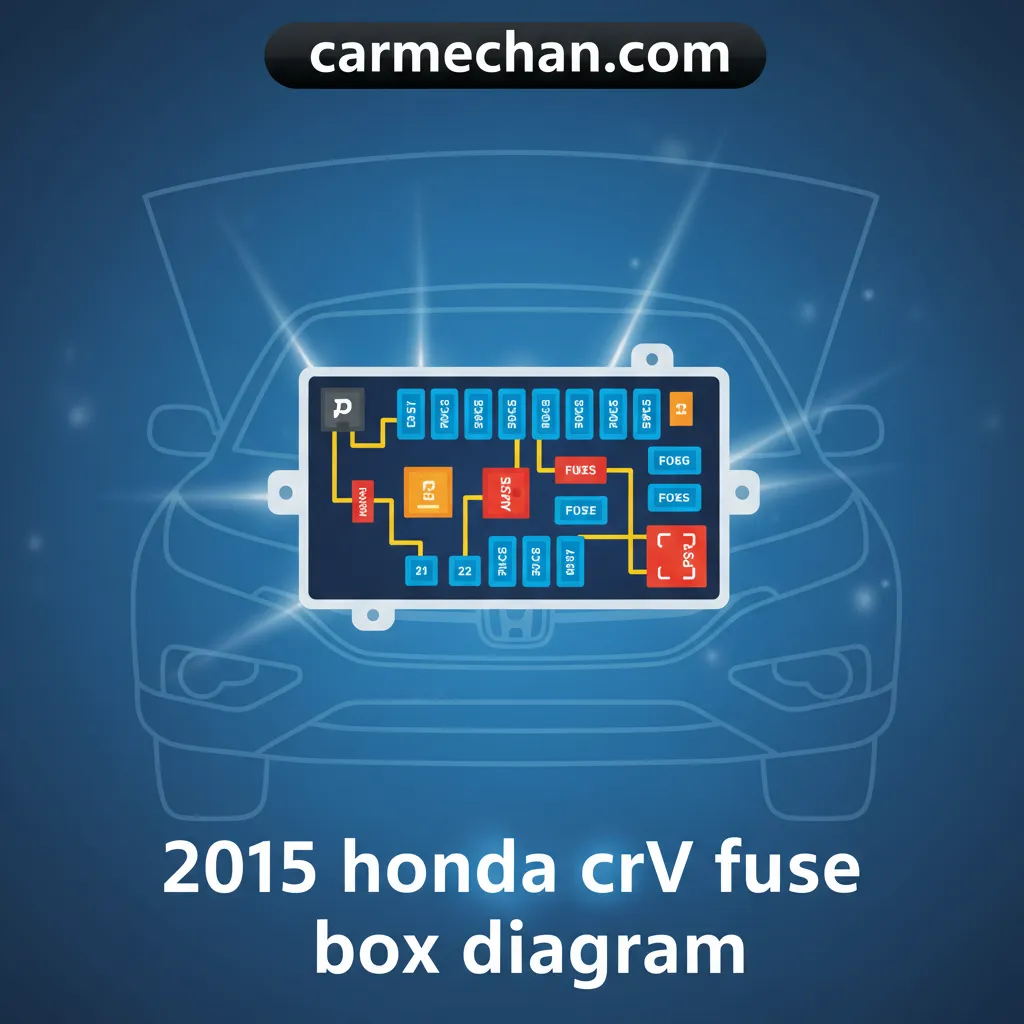
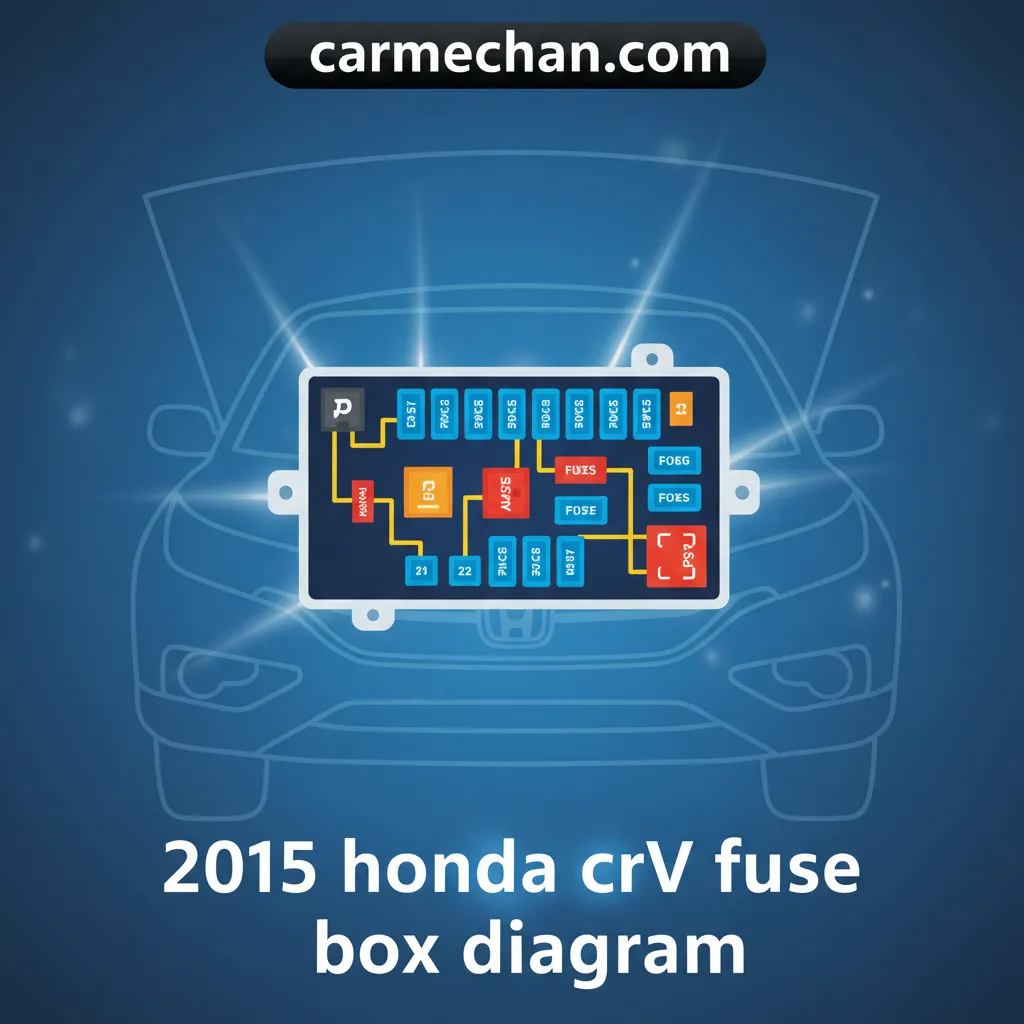
Generally, the 2015 CR-V features two primary fuse box locations: one positioned under the hood, typically handling high-current and essential powertrain circuits, and another within the cabin, primarily managing accessories and interior electronics. Familiarity with these locations is the first step towards competent electrical troubleshooting, providing a solid foundation for any vehicle owner or professional technician.
By The Numbers
Fuses & Relays
of Protected Circuits

Locating and Accessing the 2015 Honda CR-V Under-Hood Fuse Box
The under-hood fuse box in your 2015 Honda CR-V is the central hub for critical powertrain and safety system electrical protection. Accessing it correctly and safely is paramount for any diagnostic or replacement procedure.
Locating the Under-Hood Fuse Box:
The under-hood fuse box is typically located on the driver’s side of the engine compartment, often situated between the battery and the fender. It’s usually a black plastic box with a clear label or symbol indicating its function. To locate it:
- Ensure your CR-V is parked on a level surface and the engine is off and cool.
- Open the hood and secure it with the support rod.
- Visually scan the area near the battery. You will typically find a rectangular or square black plastic cover.
- The cover often has release mechanisms—these could be simple tabs that need to be squeezed or latches that need to be lifted. Gently manipulate these to unclip the cover.
This particular fuse box is responsible for protecting high-current circuits crucial for vehicle operation. These include, but are not limited to, the cooling fan, which prevents engine overheating; the Anti-lock Braking System (ABS) for optimal stopping performance; the headlights, vital for nighttime visibility; and the Engine Control Unit (ECU), which manages all aspects of engine performance. High-amperage fuses within this box also protect components like the starter motor and various main relays, emphasizing its role in the fundamental operation of the vehicle.
Once the cover is removed, you will expose an array of fuses and relays. The underside of the cover often features a detailed legend or diagram, illustrating the function and amperage of each fuse and relay. This legend is your primary reference tool for identifying specific circuits. It is critical to keep this area clean and free from debris, as contaminants can interfere with electrical connections and potentially lead to malfunctions.
Before pulling any fuses, always examine the diagram printed on the fuse box cover. This provides a quick and reliable reference for each fuse’s function and amperage rating, crucial for accurate diagnosis and replacement. Take a picture with your phone if the diagram is hard to read in dim light.
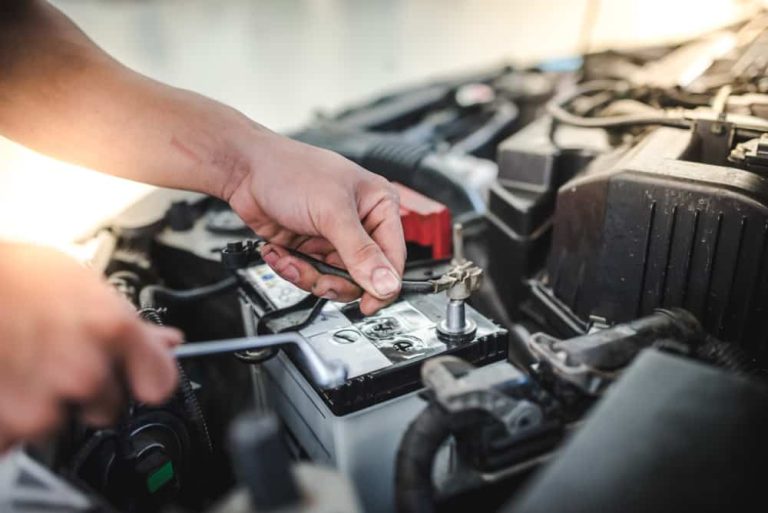
Safety Precautions: When working within the engine bay, safety must be your top priority. Always ensure the ignition is off to prevent accidental activation of electrical systems. It’s also advisable to disconnect the negative terminal of the battery if you are working on high-current circuits or are unsure about the component you are troubleshooting. Wear appropriate protective gear, such as gloves and eye protection, to guard against potential electrical hazards, hot engine components, or sharp edges. The under-hood fuse box in the 2015 Honda CR-V typically contains a mix of blade-type fuses ranging from 10A to 80A, and often includes larger cartridge fuses specifically engineered for high-load applications like the main power circuits. Handling these components with a professional approach ensures both your safety and the longevity of your vehicle’s electrical system.
Detailed Breakdown of the 2015 Honda CR-V Interior Fuse Box Diagram
While the under-hood fuse box manages the heavy-duty circuits, the interior fuse box is dedicated to the functionality of your cabin electronics, comfort features, and various accessories. Understanding its layout is key to resolving many common convenience-related electrical glitches.
Locating the Interior Fuse Box:
The interior fuse box for the 2015 Honda CR-V is commonly found on the driver’s side of the cabin, often positioned under the dashboard or behind a kick panel. To access it:
- Ensure the vehicle’s ignition is off.
- Kneel or position yourself comfortably in the driver’s footwell.
- Look for a small access panel or door, typically marked with a fuse symbol, on the lower left side of the dashboard, near the driver’s door hinge.
- Use a small flat-head screwdriver or your fingers to gently pry open or unclip the access panel. The panel might be hinged or simply pull off.
Once exposed, this fuse box will reveal a smaller array of fuses, typically protecting circuits such as:
- Audio System: For your radio, infotainment screen, and speakers.
- Power Windows: Ensuring smooth operation of all windows.
- Sunroof: If your CR-V is equipped with one.
- Interior Lighting: Dome lights, map lights, and dash illumination.
- Charging Ports (12V outlets/USB): For powering and charging your devices.
- Instrument Panel Components: Warning lights, gauges, and other dashboard functions.
- Power Mirrors and Seat Heaters: Contributing to comfort and convenience.
Interpreting the diagram for this fuse box is crucial. The diagram, often printed on the inside of the removed access panel or detailed within the vehicle’s owner’s manual, will clearly correlate each fuse position with its protected component and its specific amperage rating. For example, if your power window fails, consulting this diagram will allow you to quickly pinpoint the specific fuse (e.g., “POWER WINDOW” or “P/WINDOW”) responsible for that circuit, along with its amperage (e.g., 20A).
While fuse box covers often have diagrams, the official 2015 Honda CR-V owner’s manual provides the most accurate and comprehensive fuse box diagrams, including detailed circuit descriptions and amperage ratings. Always refer to this trusted document for definitive information, especially if the cover diagram is worn or unclear.
Interior fuses are predominantly smaller blade-type fuses, specifically mini or low-profile mini fuses, with amperage ratings typically ranging from 5A to 20A. These lower amperage ratings are precisely tailored for the less demanding, lower-current accessories and electronic modules found within the passenger compartment of your 2015 CR-V, ensuring optimal protection without over-fusing circuits.
Practical Guide: Safely Inspecting and Replacing Fuses in Your 2015 CR-V
Inspecting and replacing a blown fuse is one of the most common and straightforward electrical maintenance tasks you can perform on your 2015 Honda CR-V. However, it requires a methodical and safety-conscious approach to prevent further damage or personal injury. This guide ensures a quality, professional approach to self-service.
📋
Step-by-Step Fuse Inspection and Replacement
Before touching any electrical components, always ensure the ignition is completely off. For higher-current circuits, or if you feel uncomfortable, disconnect the negative terminal of your vehicle’s battery. Wear appropriate personal protective equipment, such as insulated gloves and safety glasses, to prevent accidental shocks or injuries. Avoid allowing metal tools to contact exposed terminals.
Locate the appropriate fuse box (under-hood or interior) and consult its diagram to identify the fuse corresponding to the malfunctioning component. Once identified, carefully examine the fuse. A blown blade-type fuse will typically have a visibly broken or melted metal filament inside its clear plastic body. For a more reliable and professional check, use a fuse tester or multimeter set to continuity mode; a good fuse will show continuity, while a blown one will not.
Most fuse boxes contain a small plastic fuse puller, often clipped inside the fuse box cover. Use this specialized tool to grip the top of the suspect fuse and pull it straight out. Avoid using pliers or other metal tools unless absolutely necessary, as they can damage the fuse terminals or surrounding components. If a fuse puller isn’t available, carefully use needle-nose pliers with insulated handles.
Take a new fuse of the exact specified amperage and type (e.g., standard blade, mini, low-profile mini, or cartridge fuse). Insert the new fuse firmly into the empty slot. A properly seated fuse will typically audibly ‘click’ into place, ensuring a secure connection. Double-check that it is fully seated and not protruding.
NEVER replace a blown fuse with one of a higher amperage rating or attempt to bypass it with aluminum foil or wire. Doing so removes the circuit’s intended overcurrent protection, which can lead to severe electrical damage, melting of wires, component failure, or even a vehicle fire. Even a mere 5A increase in fuse rating can cause critical circuit overload in specific scenarios. Always match the exact amperage and physical type.
After installing the new fuse, replace the fuse box cover, reconnect the battery (if disconnected), and test the previously malfunctioning component. If the component now works, you have successfully resolved the issue. If the new fuse blows immediately or the problem persists, it indicates a deeper electrical issue, such as a short circuit or an overloaded component, which requires further professional investigation.
Troubleshooting Common 2015 Honda CR-V Electrical Issues with Fuse Diagrams
Leveraging your 2015 Honda CR-V’s fuse box diagrams for troubleshooting is an expert-level approach to quickly and effectively diagnose a wide range of electrical malfunctions. This systematic methodology can save considerable time and effort, enhancing the overall reliability of your vehicle.
Systematic Troubleshooting Methodology:
Follow these steps for an organized approach to diagnosing electrical faults:
- Identify the Malfunctioning Component: Clearly define what isn’t working (e.g., “right headlight,” “driver’s side power window,” “radio”).
- Consult the Relevant Fuse Box Diagram: Determine whether the component is typically protected by the under-hood or interior fuse box. Refer to the corresponding diagram on the cover or in your owner’s manual.
- Locate the Corresponding Fuse: Pinpoint the exact fuse listed for that component on the diagram. Note its amperage rating and physical location.
- Inspect the Fuse: Carefully remove and inspect the fuse using the steps outlined previously. Replace it if it’s blown.
- Test and Observe: Reconnect power and test the component. If it works, the issue was a simple blown fuse.
Diagnostic Pathways for Common Problems:
- Non-Functioning Radio/Infotainment: This usually points to the interior fuse box. Look for fuses labeled “RADIO,” “AUDIO,” or “ACC” (Accessory). For instance, in many 2015 CR-Vs, a 10A or 15A fuse might protect the audio system.
- Inoperative Power Windows: Check the interior fuse box for “POWER WINDOW,” “P/W,” or fuses for individual windows if separate. These are typically higher amperage, around 20A.
- No Headlights/Taillights: Refer to the under-hood fuse box. Look for “HEADLIGHT (HI/LO),” “TAIL LIGHT,” or specific left/right designations. These are crucial and often protected by 10A or 15A fuses.
- Accessory Power Outlets (12V) Not Working: This is an interior fuse box issue. Search for “ACCESSORY SOCKET,” “POWER OUTLET,” or “CIGARETTE LIGHTER.” A common example is Fuse No. 29 (15A) in the interior fuse box for the accessory socket. If this fuse blows, replacing it often resolves the issue.
Recurring Fuse Blowouts: A fuse that blows repeatedly after replacement is a clear indicator of a deeper underlying electrical problem. This typically signifies a persistent short circuit within the wiring or a component that is drawing excessive current. Continuing to replace such a fuse without addressing the root cause is dangerous and can lead to significant damage to the vehicle’s electrical system, including melted wiring insulation or component burnout. In these scenarios, a simple fuse replacement is insufficient; the circuit requires thorough professional inspection and diagnostics to identify and repair the fault.
Quick Diagnostics
Rapidly pinpoint common electrical faults, saving time and potentially costly diagnostic fees.
Empowered Ownership
Gain confidence in basic vehicle maintenance, reducing reliance on external services for minor issues.
Enhanced Reliability
Proactive fault isolation maintains the integrity of the 2015 CR-V’s robust electrical system.
✅ Pros of DIY Fuse Replacement
- Cost-Effective: Often resolves issues for the price of a few cents.
- Immediate Resolution: Quick fix for common problems, restoring function promptly.
- Increased Understanding: Enhances your knowledge of your vehicle’s electrical system.
❌ Cons & Limitations
- Misdiagnosis Risk: Incorrectly identifying the fuse or problem source.
- Safety Hazards: Risk of electric shock or damage if precautions aren’t followed.
- Ignores Root Cause: Simple replacement doesn’t fix underlying shorts or overloads.
While fuse inspection and replacement is an excellent initial diagnostic step, accounting for approximately 20-30% of minor electrical complaints, persistent electrical issues, intermittent failures, or complex system malfunctions should always prompt a visit to a trusted, professional Honda service center. The 2015 CR-V’s electrical system is designed for quality fault isolation, but advanced diagnostics often require specialized equipment and expert knowledge beyond what a basic fuse check can offer. A certified technician possesses the tools and experience to trace complex shorts, diagnose module failures, and ensure the complete integrity of your vehicle’s sophisticated electrical network.
Conclusion
Mastering the intricacies of your 2015 Honda CR-V’s fuse box diagrams is undeniably crucial for effective electrical system maintenance and troubleshooting. This comprehensive guide has detailed how properly identifying and safely replacing fuses for both under-hood and interior circuits can resolve a wide array of common electrical issues, fostering a sense of empowered and reliable vehicle ownership. However, the expert advice remains consistent: always use the correct amperage and type of fuse, and recognize when to elevate a problem beyond a simple fuse swap.
Consult your 2015 Honda CR-V’s owner’s manual for specific fuse details and equip yourself with the confidence to tackle minor electrical concerns. For persistent, recurring, or complex issues that indicate a deeper electrical fault, contact a certified Honda service technician for expert diagnosis and repair. Prioritizing both safety and proper procedure ensures your CR-V remains a trusted and high-quality performer for years to come.
Frequently Asked Questions
Where are the fuse boxes located in a 2015 Honda CR-V?
The 2015 Honda CR-V typically features two primary fuse boxes. One is located under the hood, usually near the battery on the driver’s side of the engine compartment, protecting major powertrain and safety systems. The second interior fuse box is situated inside the cabin, commonly beneath the dashboard on the driver’s side, often behind a kick panel or small access door, managing accessories and cabin electronics. Refer to your owner’s manual for precise locations.
What tools do I need to check or replace a fuse?
To safely check or replace a fuse in your 2015 Honda CR-V, you will typically need a fuse puller (often included within one of the fuse boxes), a flashlight for better visibility in tight spaces, and potentially a multimeter or a dedicated fuse tester for a more precise diagnosis of a blown fuse. Always ensure the ignition is off before beginning work.
Can I use a higher amperage fuse if I don’t have the exact replacement?
No, it is critically important to replace a blown fuse with one of the exact specified amperage and type. Using a higher amperage fuse can override the circuit’s protection, leading to severe electrical damage, wiring fires, or damage to expensive components. Always match the fuse’s amperage rating precisely as recommended by the manufacturer for reliable and safe operation.
How can I tell if a fuse is blown without a tester?
Most standard blade-type fuses allow for a visual inspection. A blown fuse will typically have a visible break in the metal wire or filament inside the plastic casing. If the wire is intact, the fuse is likely good. However, some fuses (especially mini-fuses) can be harder to visually inspect, making a fuse tester or multimeter a more reliable method for confirmation.
What if a new fuse blows immediately after replacement?
If a newly replaced fuse blows immediately, it indicates an underlying electrical short circuit or an excessive current draw within that specific circuit. Simply replacing the fuse again will not resolve the root cause and could potentially lead to further damage. In such cases, it is strongly recommended to seek professional diagnosis from a qualified automotive technician to identify and repair the fault safely and effectively.