2008 Honda Civic Fuse Box Diagram: A Professional Guide To Electrical Troubleshooting
Experiencing an unexpected electrical malfunction in your 2008 Honda Civic can be a significant inconvenience, from a non-functional radio to critical lighting failures. The challenge often lies in accurately diagnosing the root cause, with a common culprit being a blown fuse. However, locating the correct fuse box and deciphering its intricate diagram can be a daunting task for many owners, leading to frustration or unnecessary professional service calls. This expert content blueprint provides a detailed, quality guide to understanding the 2008 Honda Civic’s fuse box diagrams, empowering you with the professional knowledge to efficiently troubleshoot and resolve common electrical issues, ensuring reliable operation of your vehicle.


Understanding the 2008 Honda Civic’s Electrical System and Fuse Functionality

📤 Share Image
At the heart of every modern vehicle’s functionality, including the robust 2008 Honda Civic, lies a complex yet meticulously designed electrical system. This system powers everything from essential engine components to convenience features like the radio and power windows. Critical to safeguarding this intricate network are automotive fuses. These seemingly small components serve a fundamental purpose: to protect electrical circuits from overcurrent. When an electrical fault occurs, causing an excessive surge of current, the fuse acts as a sacrificial link, melting and interrupting the current flow before sensitive components and wiring harnesses can suffer irreparable damage.
The 2008 Honda Civic primarily utilizes several types of fuses. Blade fuses, characterized by their plastic bodies and two metal prongs, are the most common, ranging from mini blade fuses (APS/ATC) for lower amperage circuits to standard ATO/ATC blade fuses. For higher current applications, such as those found in the under-hood fuse box, you might encounter larger cartridge fuses (JCase or Maxi fuses). Each fuse type is designed for specific applications and current loads, reflecting the trusted engineering principles behind vehicle electrical protection.
In a typical vehicle electrical circuit, a 12V DC power source (the battery) supplies current through various components and back to the ground. A fuse is strategically placed in series within this circuit. If, for instance, a short circuit develops in the radio, instead of that excessive current destroying the radio unit or melting the wiring, the fuse for the radio circuit will blow. This immediate interruption prevents cascading damage, underscoring the importance of their role. Each fuse is assigned a specific amperage rating (e.g., 5A, 10A, 20A, 40A), which dictates the maximum current it can safely handle. Using a fuse with an incorrect rating compromises the circuit’s integrity, risking severe electrical issues or even fire. Maintaining the correct amperage ensures reliable circuit operation without risk of overcurrent.

Locating the Fuse Boxes in Your 2008 Honda Civic: Interior and Under-Hood
To effectively troubleshoot electrical issues in your 2008 Honda Civic, knowing the precise locations of its fuse boxes is paramount. The Civic, like most modern vehicles, incorporates at least two primary fuse box locations, each protecting specific categories of electrical circuits.
The Interior Fuse Box (Driver’s Side)
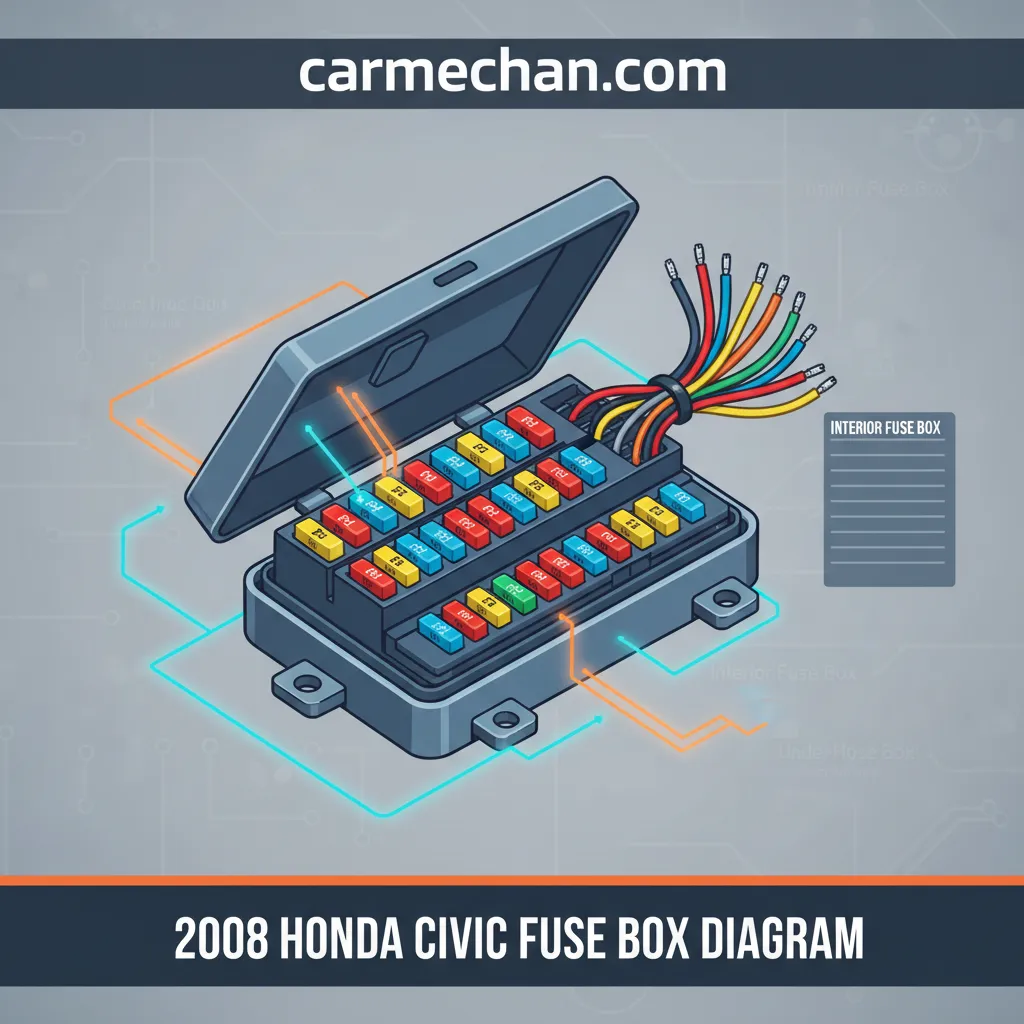
The interior fuse box, often referred to as the under-dash fuse box, is primarily responsible for protecting circuits related to your vehicle’s cabin accessories and essential electronic modules. In the 2008 Honda Civic, this fuse box is conveniently located on the driver’s side dashboard. To access it, you will typically find it behind a removable panel situated to the left of the steering column, often near the driver’s knee. This panel usually has a small notch or a tab that allows you to gently pry it open or pull it off. Exercising a professional standard of care during removal is crucial to avoid damaging the clips or the panel itself.
The Main Under-Hood Fuse Box (Engine Compartment)
The main under-hood fuse box is tasked with safeguarding circuits that handle higher current loads and critical engine components. This includes engine management systems, headlamps, cooling fans, the anti-lock braking system (ABS), and major power distribution. For your 2008 Honda Civic, the under-hood fuse box is generally located in the engine compartment, typically along the passenger-side fender or closer to the battery. It’s usually a larger, rectangular black box with a clearly marked cover that often has clips or latches. To open it, simply depress the release tabs or unclip the latches, then lift the cover straight up. These locations are standard across the 2008 Honda Civic LX, EX, Si, and Hybrid variants, though minor spatial variations can occur.
Always ensure the fuse box covers are securely reattached after inspection or replacement. This prevents moisture, dust, and debris from entering the fuse box, which can lead to corrosion and electrical malfunctions over time, compromising the quality of your electrical connections.

Deciphering the 2008 Honda Civic Fuse Box Diagrams: A Detailed Interpretation Guide
Understanding the layout and legend of your 2008 Honda Civic’s fuse box diagrams is an expert skill that vastly simplifies electrical troubleshooting. These diagrams, typically found printed on the inside of the fuse box cover or within the vehicle’s owner’s manual, provide a complete roadmap of your vehicle’s electrical protection system. Honda diagrams are often consistent across models of the same generation, offering a reliable standard for interpretation.
Reading the Diagram Legend and Symbols
The first step in interpreting any fuse diagram is to familiarize yourself with its legend. This section explains common symbols and abbreviations used to denote various electrical components and their functions. For example:
- ACC: Accessory (e.g., radio, power outlets)
- IG: Ignition (circuits powered when the ignition is on)
- TAIL: Taillights
- DRL: Daytime Running Lights
- WASHER: Windshield Washer
- ABS: Anti-lock Braking System
- FAN: Cooling Fan
The diagram will show a grid-like layout, with each square or rectangle representing a fuse position, often identified by a number or letter. This corresponds directly to the physical arrangement of fuses in the fuse box itself.
Interpreting Amperage Ratings
Crucially, each fuse position on the diagram will display its specific amperage rating (e.g., ’10A,’ ’15A,’ ’30A’). This rating indicates the maximum current the fuse can carry before blowing. When replacing a fuse, matching this rating precisely is non-negotiable. Substituting a fuse with a higher amperage rating is a serious safety hazard, as it allows excessive current to flow, potentially damaging components or causing a fire.
Correlating Components to Fuses: An Example
Let’s consider a practical example: your 2008 Honda Civic’s audio system suddenly stops working. Here’s how you’d use the diagram:
- Consult the Owner’s Manual/Fuse Box Cover: Locate the interior fuse box diagram.
- Find the Relevant Label: Scan the diagram for labels such as “AUDIO,” “RADIO,” “ACC,” or “CIGAR LIGHTER” (as audio systems are often on the same circuit as the accessory power outlet).
- Identify Fuse Position and Amperage: For instance, you might find a label like “AUDIO (15A) – Fuse #15.” This tells you the fuse’s function, its amperage, and its physical location within the box.
- Locate Physically: Match “Fuse #15” on the diagram to the corresponding slot in your actual interior fuse box.
This systematic approach, guided by the diagram, enables efficient diagnosis and ensures you are targeting the correct fuse, saving time and effort in the troubleshooting process. This comprehensive understanding forms the bedrock of reliable electrical maintenance.
Step-by-Step Fuse Inspection and Replacement for Your 2008 Honda Civic
📋
Step-by-Step Guide
Before touching any electrical components, always turn off the vehicle’s ignition. For extensive work, consider disconnecting the negative battery terminal to eliminate power. Wear appropriate personal protective equipment, such as safety glasses and gloves, to prevent injury. This professional precaution is non-negotiable.
Refer to your owner’s manual or the diagram on the fuse box cover to identify the specific fuse associated with the non-functioning component (e.g., a dead radio or a dashboard warning light). Once located, identify the correct physical fuse by its position in the fuse box.


Carefully remove the fuse using the plastic fuse puller typically found clipped to the inside of the fuse box cover, or a pair of small needle-nose pliers. Visually inspect the fuse: a blown fuse will have a visibly broken or melted filament inside. For fuses where the filament isn’t visible or if you’re unsure, use a fuse tester (a simple tool with a light that illuminates if the fuse is good) to confirm continuity. Most 2008 Civics use standard ATO/ATC blade fuses.
This step is critical for quality and safety. Always replace a blown fuse with a new one that matches the exact amperage rating and type of the original. Replacing a 10A fuse with a 20A fuse, for example, removes the intended overcurrent protection, allowing excessive current to flow and potentially causing severe damage to the electrical component, wiring, or even resulting in an electrical fire. The fuse’s amperage is usually stamped on its top.
Carefully insert the new fuse into the correct slot, ensuring it fits securely. Reconnect the negative battery terminal if it was disconnected. Then, turn on the ignition and test the affected electrical component for functionality. If the component now works, you have successfully replaced the fuse. If the new fuse blows immediately, it indicates a deeper electrical issue that requires professional diagnosis.
Never use aluminum foil, wire, or a fuse with a higher amperage rating as a temporary or permanent replacement for a blown fuse. This can lead to overheating, severe electrical damage, component destruction, and poses a serious fire risk to your vehicle. Always adhere to the manufacturer’s specified amperage rating for optimal safety and reliable circuit protection.
Common Electrical Malfunctions and Their Associated Fuse Solutions in the 2008 Civic
Having spent years diagnosing automotive electrical systems, I can confirm that many seemingly complex electrical malfunctions in a 2008 Honda Civic boil down to a simple blown fuse. This section offers targeted troubleshooting guidance for frequent issues, directly linking problems to specific fuses, providing a reliable resource for quick diagnosis.
Interior Accessories
These are often the first to fail due to user overloading or minor component shorts.
- Non-working Radio/Infotainment System: Check fuses labeled ‘AUDIO,’ ‘RADIO,’ or ‘ACC’ (Accessory) in the interior fuse box. For the 2008 Civic, this often corresponds to fuse #15 in the interior panel (typically 10A or 15A).
- Blown Cigarette Lighter/Power Outlet: A very common issue, usually caused by plugging in high-draw devices. Look for fuses labeled ‘CIGAR,’ ‘POWER OUTLET,’ or ‘ACC’ in the interior fuse box. These are frequently 15A or 20A fuses.
- Malfunctioning Interior Lights (Dome, Map Lights): Check the ‘ROOM LIGHT’ or ‘DOME’ fuse in the interior fuse box (often a 10A fuse).
Exterior Lighting
Critical for safety, lighting issues warrant immediate attention.
- Non-functioning Headlights (Low Beam/High Beam): Specific fuses exist for left/right low beams and high beams. Consult the under-hood fuse box diagram for ‘HEADLIGHT (LO) L/R’ or ‘HEADLIGHT (HI) L/R’. These are usually 10A or 15A fuses.
- Taillights or Turn Signals Not Working: Check fuses labeled ‘TAIL’ or ‘TURN’ in the under-hood fuse box. Brake light fuses (‘STOP’) are also important to check for brake lamp issues.
Power Convenience Features
These add comfort but can occasionally falter due to fuse issues.
- Inoperable Power Windows or Door Locks: These are often protected by dedicated fuses in the interior fuse box, labeled ‘POWER WINDOWS’ or ‘DOOR LOCKS’. These fuses are typically higher amperage, such as 20A or 30A.
- Sunroof Not Responding: Look for a fuse labeled ‘SUNROOF’ in the interior fuse box.
Engine, Transmission, and Warning Lights
Though less common, a blown fuse can sometimes affect critical powertrain functions or trigger warning lights.
- Check Engine Light or Transmission Malfunction: While often indicating sensor or module failure, sometimes a fuse related to the ECU (Engine Control Unit), TCM (Transmission Control Module), or specific sensors (e.g., O2 sensor heater) can blow. These are typically in the under-hood fuse box. An example is the A/C clutch relay fuse, which if blown, prevents the A/C from engaging.
- ABS or VSA (Vehicle Stability Assist) Warning Lights: Check the fuses for ‘ABS’ or ‘VSA’ in the under-hood fuse box.
The vehicle’s owner’s manual typically contains a more granular and complete fuse list, offering quality information specific to your 2008 Honda Civic’s exact trim level. Always cross-reference your findings with this authoritative source.
Ensuring Electrical System Longevity and Safety: Professional Insights and Preventative Measures
As a seasoned industry expert, I emphasize that effective electrical system maintenance extends beyond simply replacing blown fuses. Proactive measures and a nuanced understanding of potential issues are key to ensuring the long-term reliability and safety of your 2008 Honda Civic’s electrical network.
Preventing Overloads and Using Correct Fuses
One of the most common causes of blown fuses is circuit overloading. This frequently occurs when too many high-draw accessories are plugged into a single power outlet or when aftermarket electronics are installed without proper consideration for the circuit’s amperage rating. Always be mindful of the current draw of your devices. Furthermore, when replacing fuses, the importance of using genuine Honda or OEM-equivalent fuses cannot be overstated. These fuses are manufactured to precise specifications, ensuring proper fit, quality construction, and critically, the correct current interruption characteristics. Substandard fuses can have inaccurate amperage ratings or poor build quality, compromising your vehicle’s safety.
Proactive Maintenance and Inspection
A truly comprehensive approach includes preventative checks. Periodically inspect your fuse box covers, especially the under-hood one, to ensure they are securely fitted. Loose covers can allow moisture and dirt to enter, leading to corrosion on fuse terminals and potential intermittent electrical faults. Check for any signs of water intrusion or rust. These simple visual checks can preempt more significant electrical problems down the line.
When to Seek Professional Assistance
While replacing a fuse is a straightforward repair, there are clear indicators that a problem might be beyond a simple fuse replacement and warrants professional intervention:
- Repeated Fuse Blowing: If a fuse blows immediately or very soon after replacement, it is a definitive sign of an underlying issue, such as a short circuit in the wiring, a faulty component, or an overloaded circuit. A repeatedly blown fuse for a specific circuit (e.g., headlights) is a symptom, not the problem itself, and requires thorough diagnosis.
- Burning Smell or Smoke: Any sign of burning plastic, melting wires, or smoke emanating from the fuse box or elsewhere in the vehicle indicates a serious electrical fault that demands immediate attention from a qualified technician. Short circuits can draw hundreds of amps, making correct fuse function critical.
- Multiple Component Failures: If several unrelated electrical components fail simultaneously, it could point to a more systemic issue, such as a problem with a main power relay, a ground fault, or a failure in the vehicle’s electrical control unit.
Emergency Preparedness
To foster reliable preparedness, I always recommend keeping a small, organized emergency fuse kit in your vehicle. This kit should contain a selection of common amperage blade fuses (5A, 10A, 15A, 20A) and a fuse puller. A simple roadside fuse replacement can restore functionality to critical systems like headlights or turn signals, allowing you to safely reach your destination or a service center.
Adhering to these insights ensures the lasting integrity of your 2008 Honda Civic’s electrical system, keeping it functioning optimally and safely for years to come.


The 2008 Honda Civic features both interior and under-hood fuse boxes, each protecting specific electrical circuits. Accurate interpretation of fuse box diagrams, including symbols and amperage ratings, is crucial for effective troubleshooting. Safe and correct fuse inspection and replacement involve matching the exact amperage and type, avoiding risks of further damage. Many common electrical malfunctions in the Civic can be resolved by identifying and replacing the associated blown fuse. Preventative measures and understanding when to seek professional assistance are key to maintaining electrical system integrity. Armed with this trusted knowledge, you can approach electrical troubleshooting in your 2008 Honda Civic with confidence. Always prioritize safety, and if a problem persists or seems beyond a simple fuse replacement, consult a quality certified automotive technician for a thorough diagnosis.
Frequently Asked Questions
Where is the main interior fuse box located in a 2008 Honda Civic?
The main interior fuse box for the 2008 Honda Civic is typically located on the driver’s side of the dashboard. It’s usually behind a small removable panel, often near the driver’s left knee. Refer to your owner’s manual for its precise location and access instructions to ensure ‘quality’ removal.
What types of fuses are commonly used in the 2008 Honda Civic?
The 2008 Honda Civic primarily uses standard ATO/ATC blade fuses in various amperage ratings (e.g., 5A, 10A, 15A, 20A, 30A). It may also contain a few larger cartridge-type fuses (e.g., 40A, 50A) in the under-hood fuse box for major power circuits, reflecting ‘professional’ electrical design.
How can I tell if a fuse is blown without a tester?
You can often identify a blown fuse by visual inspection. A good fuse will have an intact metal filament connecting its two terminals. A blown fuse will show a break or burn mark in this filament. For clear or opaque fuses, this is visible; for opaque fuses, a fuse tester offers more ‘reliable’ confirmation.
Can I use a higher amperage fuse temporarily if I don’t have the correct one?
No, it is critically important to always replace a blown fuse with one of the exact same amperage rating. Using a higher amperage fuse can prevent it from blowing when an overcurrent occurs, leading to potential damage to wiring, components, or even cause an electrical fire. This is a crucial ‘professional’ safety guideline.
What should I do if replacing a fuse doesn’t fix the electrical problem?
If replacing a fuse doesn’t resolve the issue, or if the new fuse blows immediately, it indicates a deeper underlying electrical problem, such as a persistent short circuit, a faulty component, or damaged wiring. At this point, it’s best to consult a ‘trusted’ qualified automotive technician for a comprehensive diagnosis and repair.