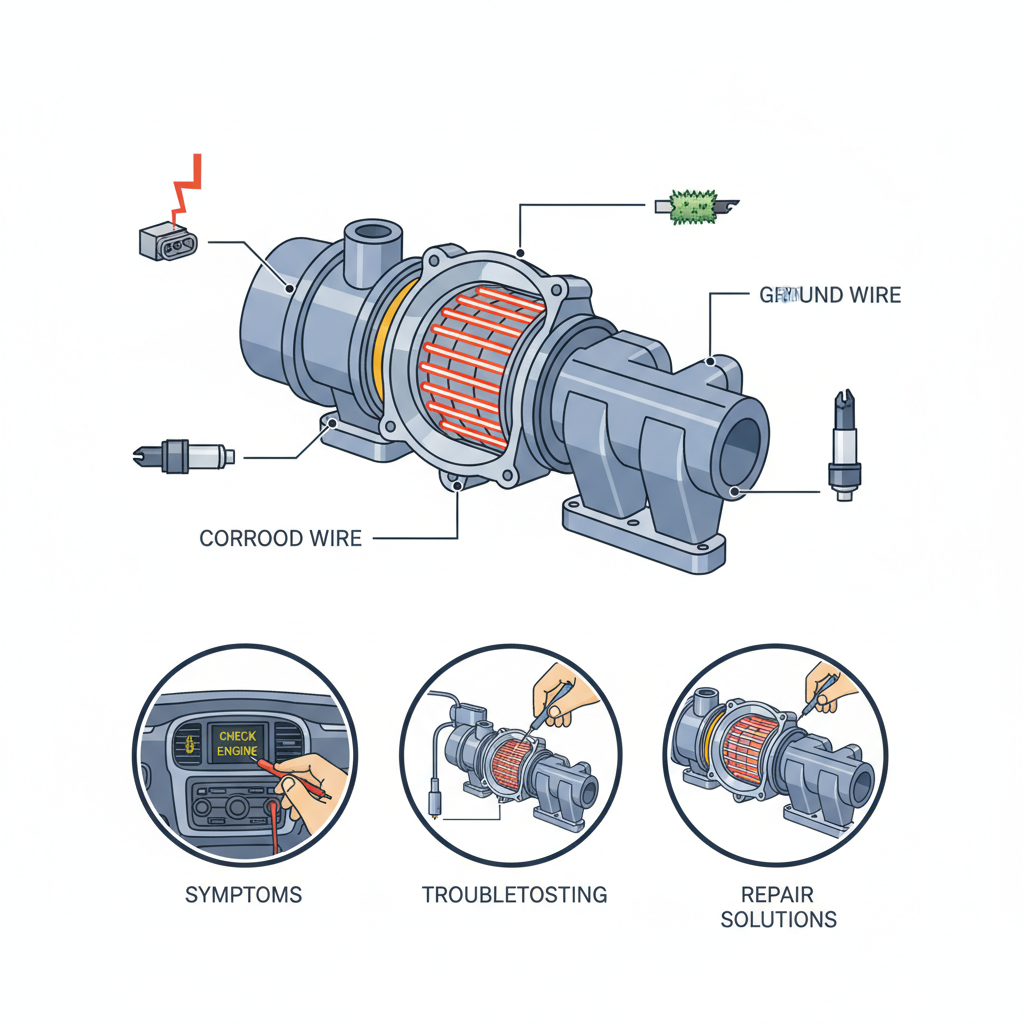
6.7 cummins grid heater problems: Troubleshooting, Symptoms, and Repair Solutions
Last Updated on September 1, 2026 by Ryan
When the temperature drops, the 6.7 Cummins relies heavily on its intake air heating system to breathe life into the cylinders. Unlike light-duty gasoline engines, these high-compression diesel powerplants require significant heat to facilitate combustion in frigid environments. However, grid heater malfunctions can transform a reliable workhorse into a frustrating ‘no-start’ liability, often leaving owners stranded in freezing conditions. Whether you are dealing with a simple relay failure or the dreaded “killer bolt” issue, understanding the nuances of this system is critical. This guide provides a technical deep dive into diagnosing, troubleshooting, and repairing 6.7 Cummins grid heater problems to ensure your engine fires up every time.

Prime for Young Adults — 6 Months Free
Students and 18–24s get six months of Prime free, then half price.
Start 6 Months FreeUnderstanding the 6.7 Cummins Grid Heater System and Components
Recommended Best Deal Products

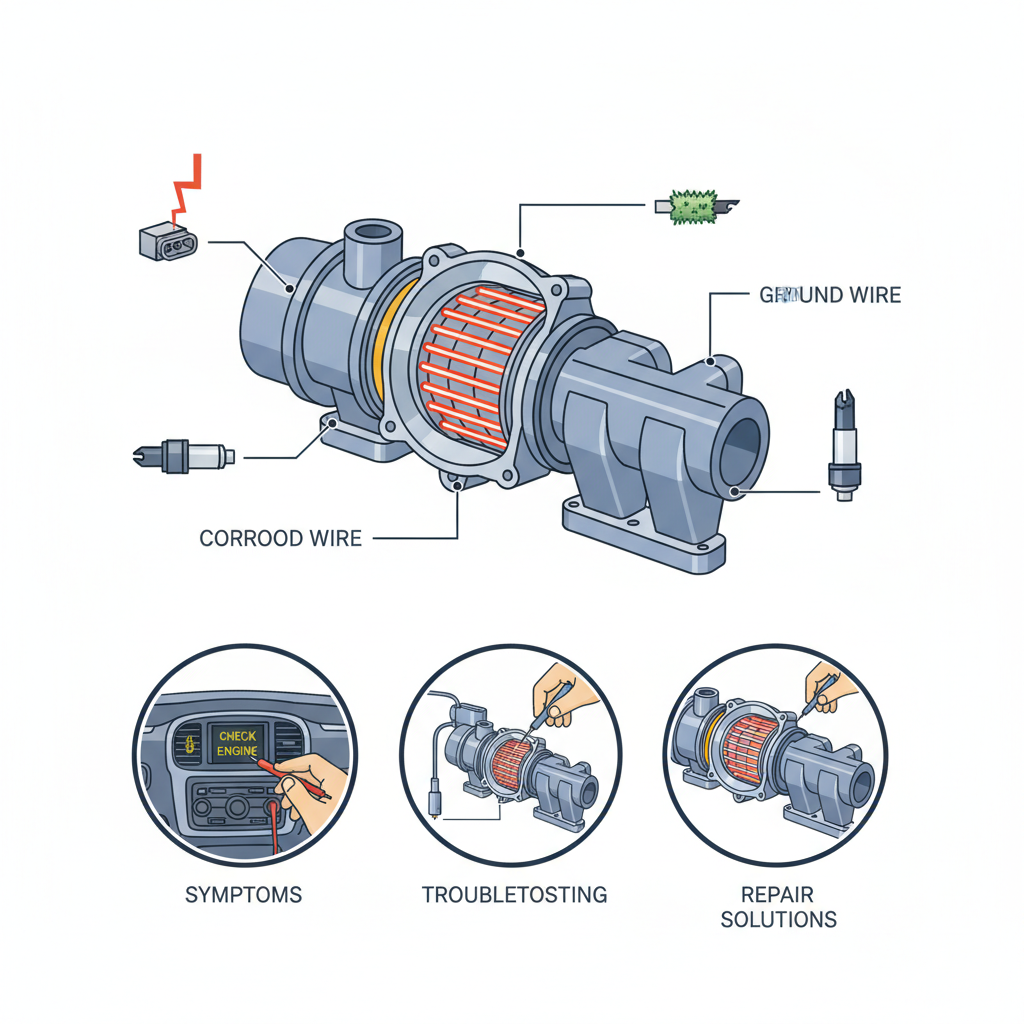
To effectively debug a failing system, one must first understand its architecture. The grid heater in a 6.7 Cummins is an electrical resistance heating element integrated into the intake manifold. Unlike glow plugs found in other diesel platforms, the grid heater warms the entire volume of incoming air before it enters the individual cylinders. This design is highly efficient for large displacement engines but creates a massive electrical demand.
Spatial Orientation and Layout
The grid heater is strategically located downstream of the air filter and turbocharger. Specifically, it sits directly between the intake air horn and the cylinder head. This placement ensures that once the air is pressurized and cooled by the intercooler, it receives a final blast of heat before reaching the combustion chamber. For those performing a DIY diagnose, identifying the thick power leads running to the intake manifold is the first step in locating the system. According to the BLANKPLACEHOLDER”>Ram specs, maintaining these pathways is vital for system integrity.
Electrical Architecture and Control Logic
The grid heater system is a high-amperage circuit, often drawing upwards of 200 amps during its initial activation. To manage this load, the system uses heavy-gauge wiring and high-current relays (solenoids) usually mounted on the passenger-side fender well or near the battery tray. The Engine Control Module (ECM) acts as the brain, utilizing ambient and intake air temperature sensors to determine the “Wait to Start” timing. In a typical scenario, a driver in 10-degree weather will see the ‘Wait to Start’ light illuminate for 10-15 seconds as the ECM cycles the heater to reach optimal ignition temperature.
Identifying Common Symptoms of 6.7 Cummins Grid Heater Problems
When the grid heater fails, the symptoms are rarely subtle, particularly in northern climates. Identifying these signs early can prevent the need for more costly repair solutions later. Research suggests that approximately 20% of 6.7 Cummins owners encounter grid heater-related performance issues within the first five years of ownership, making it a common point of discussion on the BLANKPLACEHOLDER”>expert tips forums.
Hard Starting and Engine Hesitation
The most frequent symptom is extended cranking or “hard starting” during cold soak periods. If your truck starts perfectly in the mild afternoon but struggles for 20 seconds every morning during winter, the grid heater is likely not reaching the necessary temperature. This failure forces the engine to rely solely on the heat of compression, which is often insufficient in sub-freezing temperatures.
Visual and Diagnostic Indicators
- Excessive White Smoke: Post-startup white smoke signifies unburnt diesel fuel. Without the grid heater’s assistance, the cylinder temperatures remain too low for a complete burn, causing raw fuel to exit the exhaust.
- Diagnostic Trouble Codes (DTCs): The ECM will often throw codes such as P0541 (Intake Air Heater Signal Low) or P2609 (Intake Air Heater System Performance).
- Lack of Voltage Drop: Under normal operation, you should see the dashboard lights or headlights slightly dim or “pulse” during the pre-heat cycle. If this doesn’t occur, the heater is likely not drawing a load.
By The Numbers
Owners with issues (5 Yrs)
Relay Lifespan (Years)
Typical Initial Amp Draw

Diagnostic Procedures to Troubleshoot Grid Heater Failure
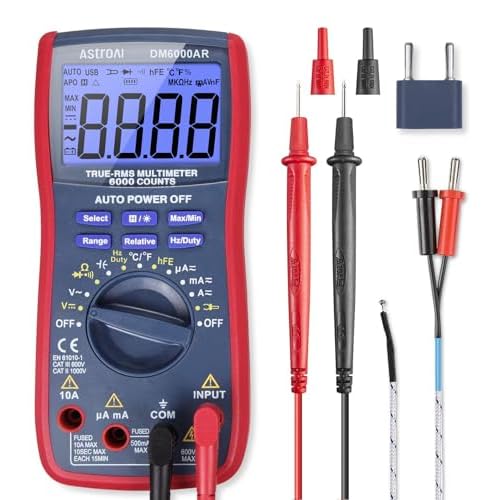
To resolve a grid heater issue without “parts cannoning” the truck, a systematic diagnostic approach is required. You will need a digital multimeter and potentially a DC clamp-on ammeter for the most accurate results.
📋
Step-by-Step Diagnostic Guide

Audible — Listen Free for 30 Days
One free credit a month and thousands of titles included.
Listen Free for 30 DaysExamine the high-current leads for signs of arcing, heat discoloration, or terminal corrosion. Wiggle the main power stud on the intake; any play here suggests a dangerous internal failure.
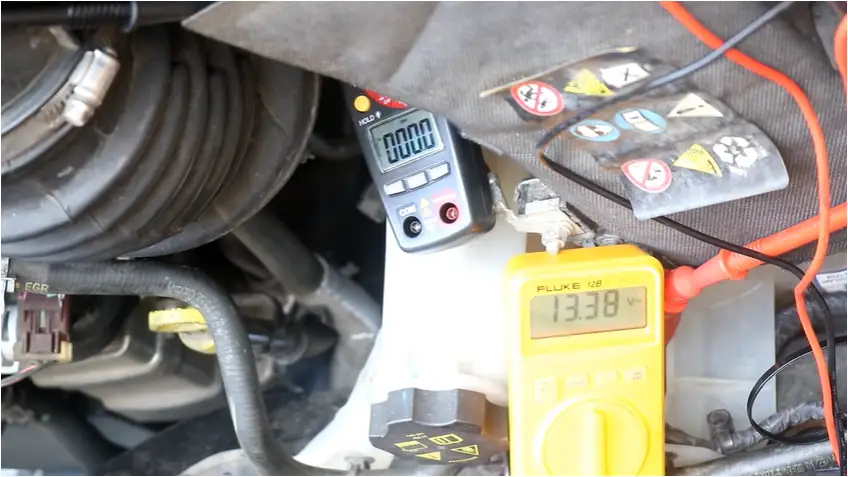
Using a multimeter, check for 12V at the supply side of the relay. Have an assistant cycle the ignition and verify the output voltage at the solenoid when the ECM triggers it.
Measure ohms across the grid heater element itself. An ‘open’ circuit (infinite ohms) indicates a broken element that requires full replacement of the heater block.
Expert insight suggests using a DC clamp-on ammeter on the main power wire. This is the only way to truly verify if the system is pulling the expected 180-200 amps. A relay might “click” and show voltage, but burnt internal contacts can prevent the actual flow of high-amperage current needed to heat the air.
Step-by-Step Repair and Resolution Strategies
Once the cause has been isolated, the repair can range from a 15-minute relay swap to a multi-hour intake manifold disassembly. For those looking for the BLANK
PLACEHOLDER”>official guide on component replacement, following factory torque specs is non-negotiable.Relay and Terminal Maintenance
Replacing the fender-mounted solenoids is the most common workaround for “Wait to Start” failures. Ensure you clean all terminal ends with a wire brush and apply a light coat of dielectric grease. This prevents the high-resistance connections that lead to premature relay failure. While an OEM relay is sufficient, many owners opt for high-quality aftermarket relays designed for heavy-duty applications to improve long-term reliability.
The “Killer Grid Heater Bolt” Fix
The most critical repair involves the nut that secures the heating element. Over time, vibration can cause this nut to back off, potentially falling into the intake and being sucked into a cylinder. When replacing the grid heater element or gaskets, ensure the heating element nut is torqued correctly. When reassembling the intake air horn, use new gaskets and torque the manifold bolts to the factory specification of 18 ft-lbs to prevent boost leaks.
Audible Premium Plus — Annual Membership
12 audiobook credits up front, plus the full Audible catalogue.
See Annual PlansPreventative Maintenance and System Upgrades
Proactive owners don’t wait for a failure to act. Given that engine failures caused by a loose grid heater nut can exceed $15,000 for a long-block replacement, prevention is the smartest investment. 15 years of industry experience has shown that those who perform annual inspections rarely face catastrophic outcomes.
If you notice any “wiggle” or looseness in the main power stud on the intake manifold, do not start the engine. This is a primary indicator that the internal connection is failing and the nut may fall into the cylinder head.
Upgrades and Delete Kits
In warmer climates, some owners choose to bypass or delete the grid heater entirely to improve airflow and eliminate the risk of the “killer bolt.” However, this is not recommended for those in colder regions as it can lead to severe starting issues and increased cylinder wear. A better solution is a grid heater relocation kit, which moves the heating element further up the intake path, away from the direct entry into the head.
Annual Inspections
Checking terminal torque and stud stability once a year can prevent 90% of catastrophic failures.
Relocation Kits
Moving the element prevents internal debris from entering the engine while maintaining cold-start capability.
To extend the life of your grid heater and relays, utilize the engine block heater during extreme cold. Warming the coolant reduces the duration the grid heater needs to cycle, saving your batteries and solenoids from excessive wear.
Conclusion
Navigating 6.7 Cummins grid heater problems requires a blend of technical knowledge and preventative action. By recognizing the early symptoms—such as white smoke at startup or the P2609 code—you can intervene before a minor electrical fault becomes a major mechanical disaster. Always perform systematic diagnostics with a multimeter to isolate faulty relays from the heating element itself. Furthermore, implementing preventative measures like checking terminal torque and considering heavy-duty upgrades will safeguard your engine for the long haul. Inspect your grid heater connections today and replace aging relays before the next cold snap hits; your 6.7 Cummins will thank you for it.
Frequently Asked Questions
How do I know if my grid heater is working correctly?
The most obvious sign of a functional grid heater is the ‘Wait to Start’ indicator on your dash during cold starts. Additionally, you should observe a significant drop in the voltmeter on your dashboard as the heater cycles, often accompanied by a distinct clicking sound from the fender-mounted relays and a slight dimming of interior lights as it pulls high amperage.
What are the symptoms of a bad grid heater relay?
A failing relay typically manifests in two ways: it either fails to close, resulting in no heat and hard cold starts, or it sticks closed, which can drain your batteries rapidly and potentially melt the heater element. Check for a lack of voltage at the heater stud when the key is cycled, or feel the relay for excessive heat even when the truck is off.
Where is the grid heater located on a 6.7 Cummins?
The grid heater is integrated into the intake manifold assembly. It is located directly beneath the cast aluminum intake ‘horn’ (the elbow that enters the engine). It sits between the intake horn and the cylinder head plenum, acting as a spacer through which all incoming air must pass before entering the cylinders.
Can I bypass the grid heater on my 6.7 Cummins?
Technically, yes, you can bypass or delete the grid heater using an aftermarket spacer plate. However, this is only recommended for trucks in warm climates or dedicated race applications. In cold climates, bypassing the heater will lead to severe hard-starting issues, excessive smoke, and increased wear on the starter and batteries due to extended cranking times.
How do I test the grid heater with a multimeter?
Set your multimeter to DC volts to check for 12V at the heater’s main power stud while an assistant cycles the ignition. To test the element itself, switch to Ohms (resistance) and measure between the power stud and the engine block. A functional heater should show very low resistance (typically 0.1 to 0.5 ohms). A reading of ‘OL’ or infinite resistance indicates a burnt-out element.