Last Updated on October 6, 2023 by Albert Duke
To reset the service battery charging system light, you can disconnect the battery for a few minutes and then reconnect it. However, it is advisable to consult your vehicle’s manual or a mechanic to ensure that other systems are not affected by this reset.
When your vehicle’s service battery charging system light comes on, it can be an indication of various issues with your battery or charging system. This can range from a low battery that needs replacement to a faulty alternator or bad wiring.
To diagnose and fix the issue, it is recommended to take your vehicle to a mechanic who can test your battery strength, inspect the charging system parts, and perform any necessary repairs or replacements. Remember, troubleshooting and resolving the underlying cause is essential to ensure the proper functioning of your vehicle’s battery and charging system.
Reasons For Service Battery Charging System Light
If you’re wondering how to reset the service battery charging system light, there are a few steps you can take. One option is to disconnect your battery for a few minutes and then reconnect it, but be cautious as this may reset other systems in your car.
Consulting your vehicle’s manual or a mechanic is recommended for the best approach.
If you see the service battery charging system light illuminated on your dashboard, it could indicate a problem with your vehicle’s electrical system. Here are some possible reasons for this issue:
Low Battery Power:
- Battery problems: Your battery might be low on charge and needs to be replaced. Take your vehicle to a mechanic to test the battery strength.
Faulty Alternator:
- Bad alternator: A faulty alternator might not be adequately charging the battery. This can result in the service battery charging system light turning on. Consult a professional to inspect and fix the alternator.
Blown Fuse:
- Blown fuse: The service battery charging system light can also be triggered by a blown fuse. Check the fuse box for any blown fuses and replace them if necessary.
Broken Serpentine Belt:
- Broken serpentine belt: A broken serpentine belt can cause the alternator to stop working properly, resulting in the service battery charging system light coming on. Have a professional inspect and fix the serpentine belt.
Bad Wiring:
- Bad wiring: Faulty or damaged wiring can disrupt the flow of electricity, leading to the service battery charging system light turning on. Get a professional to check the wiring and repair any issues.
Malfunctioning Ecm:
- Malfunctioning engine control module (ECM): The ECM controls the vehicle’s electrical system, including the battery charging system. If it malfunctions, it can cause the service battery charging system light to illuminate. Contact a professional to diagnose and fix any ECM issues.
Remember, it is crucial to address the underlying cause of the service battery charging system light to ensure the safety and proper functioning of your vehicle’s electrical system. If you’re unsure about any of these issues, consult a qualified mechanic for assistance.
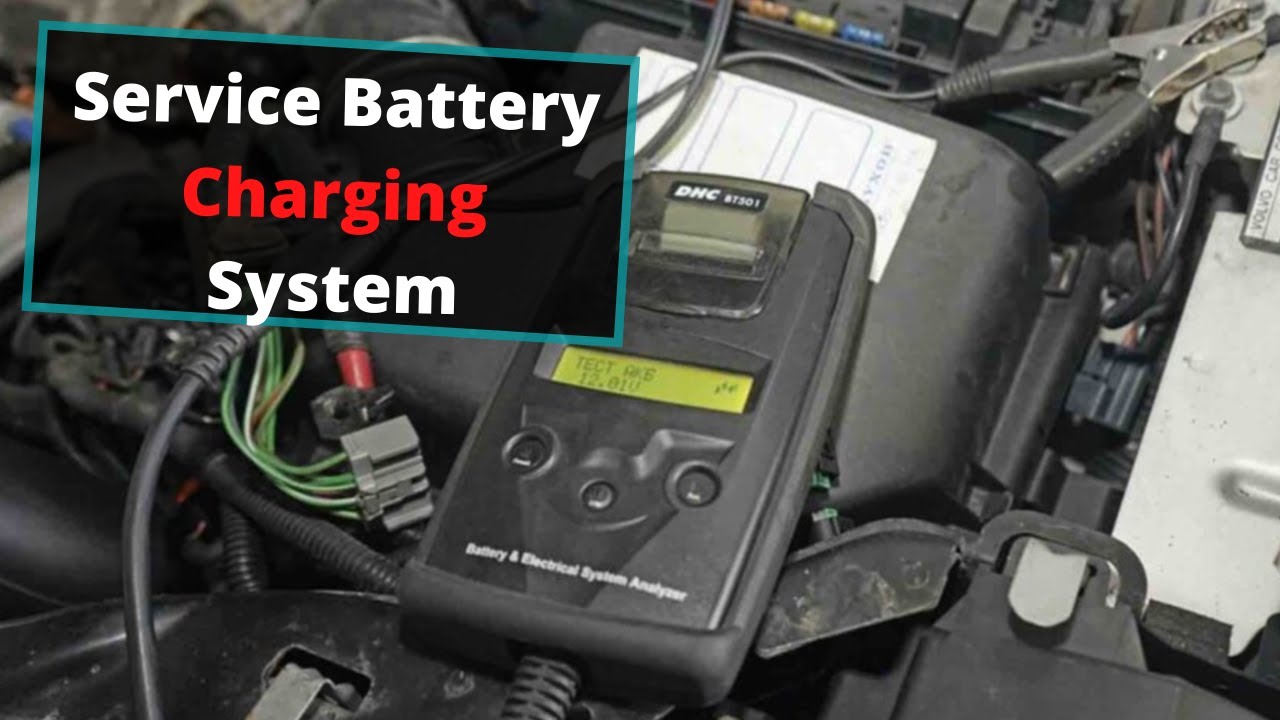
Credit: www.youtube.com
Diagnostic Steps
To reset the service battery charging system light, first, check if the battery is bad or the charging system is not functioning properly. Test the alternator, battery current sensor, and inspect the wiring. If needed, consult a professional or refer to your vehicle’s manual for further instructions on resetting the light.
If you’re facing the “Service Battery Charging System” light on your vehicle’s dashboard, it’s essential to diagnose the issue promptly. Here are the steps to follow in order to effectively reset the light and address any underlying problems:
Checking The Battery:
- Inspect the battery for any signs of corrosion or damage.
- Ensure that the battery terminals are clean and securely connected.
- Use a multimeter to measure the voltage of the battery.
- If the battery voltage is low or below the manufacturer’s specifications, it may need to be replaced.
Testing The Alternator:
- Start the engine and check the voltage output of the alternator using a voltmeter.
- The alternator should typically produce a voltage between 13.5 and 14.5 volts.
- If the voltage is lower or higher than the expected range, the alternator may need to be repaired or replaced.
Inspecting The Serpentine Belt:
- Check the condition of the serpentine belt for any signs of damage or wear.
- Ensure that the belt is properly tensioned and aligned.
- A loose or damaged belt can affect the charging system’s performance and trigger the warning light.
Checking The Fuse Box:
- Inspect the fuse box to identify any blown fuses related to the charging system.
- Replace any blown fuses with the appropriate fuse rating.
- A blown fuse can disrupt the flow of electricity and cause the warning light to illuminate.
Inspecting The Wiring:
- Carefully examine the wiring connections related to the charging system.
- Look for loose or damaged wires that may be causing an electrical issue.
- Repair or replace any faulty wiring to restore the proper functioning of the charging system.
Scanning For Error Codes:
- Use a diagnostic scanner or code reader to retrieve any error codes related to the charging system.
- Make a note of the codes and refer to the vehicle’s repair manual or consult a professional for further troubleshooting steps.
- Clear any stored error codes after addressing the underlying issues.
By following these diagnostic steps, you can better understand the cause of the “Service Battery Charging System” light and take appropriate actions to reset it. If you’re unsure about any of the steps or unable to resolve the issue yourself, it’s advisable to consult a professional mechanic for assistance.
Remember, timely diagnosis and resolution can prevent further damage to your vehicle’s charging system.
Resetting The Service Battery Charging System Light
When the service battery charging system light comes on, you can reset it by disconnecting the battery for a few minutes and then reconnecting it. However, it’s advisable to consult your vehicle’s manual or a mechanic before doing so to avoid resetting other systems in the car.
If you’re seeing the Service Battery Charging System Light on your vehicle’s dashboard, don’t worry – there are a few simple methods you can try to reset it. In this section, we’ll walk you through two popular methods: disconnecting the battery and using a scan tool.
Method 1: Disconnecting The Battery
To reset the Service Battery Charging System Light by disconnecting the battery, follow these steps:
- Open the hood: Find the hood release lever inside your vehicle and pull it to open the hood.
- Locate the battery: Take a look around your engine bay to find the battery. It should be a rectangular-shaped device with two terminals.
- Disconnect the negative terminal: Identify the negative terminal, often marked with a “-” symbol. Using a wrench, loosen the nut or bolt holding the terminal in place. Once loose, carefully remove the cable from the terminal.
- Wait for a few minutes: Leave the negative terminal disconnected for about 5-10 minutes. This allows any residual electricity in the system to dissipate.
- Reconnect the negative terminal: After the waiting period, reattach the negative cable to the negative terminal. Tighten the nut or bolt securely to ensure a proper connection.
Method 2: Using A Scan Tool
If you prefer a more advanced method, you can reset the Service Battery Charging System Light using a scan tool. Here’s how:
- Obtain a scan tool: Purchase or borrow a scan tool that is compatible with your vehicle’s make and model. These tools can typically be found at automotive supply stores or online.
- Connect the scan tool to the OBD-II port: Locate the OBD-II port in your vehicle, usually found underneath the dashboard on the driver’s side. Plug the scan tool’s cable into the port until it fits securely.
- Power on the scan tool: Turn on the scan tool by following the manufacturer’s instructions. This may involve pressing a power button or activating a switch.
- Access the “Clear Codes” function: Use the control buttons or touch screen on the scan tool to navigate through the menu options until you find the “Clear Codes” or “Reset” function. Select this option to proceed.
- Reset the service battery charging system light: Once you’ve accessed the appropriate function, follow the on-screen prompts to reset the Service Battery Charging System Light. This process may take a few seconds to complete.
Remember, it’s essential to address the root cause of the Service Battery Charging System Light appearing. If the light continues to reappear after resetting, it may be an indication of an underlying issue with your vehicle’s battery or charging system.
In such cases, it’s recommended to consult a professional mechanic for further diagnosis and repairs.
Now that you know two effective methods for resetting the Service Battery Charging System Light, you’ll be able to tackle this issue with confidence. Whether you choose to disconnect the battery or utilize a scan tool, these steps should help you get back on the road with peace of mind.
Preventive Measures
To reset the service battery charging system light, start by checking the battery to see if it needs replacing. If the issue persists, inspect the drive belt, clean the charging system parts, and check the wiring. You can also try reducing accessories or replacing the alternator.
Consider consulting your vehicle’s manual or a mechanic for specific instructions on resetting the light.
Regular Battery Maintenance:
- Keep the battery clean and free from corrosion by regularly cleaning the terminals with a mixture of baking soda and water.
- Check the battery’s water level if it is not a maintenance-free battery and add distilled water if necessary.
- Inspect the battery for any signs of damage or leakage and replace it if needed.
- Test the battery’s voltage regularly using a multimeter to ensure it is within the recommended range.
Keeping The Alternator In Good Condition:
- Check the alternator’s belt tension regularly and tighten or replace it if necessary.
- Inspect the alternator for any signs of damage or loose connections and repair or replace it if needed.
- Test the alternator’s output voltage using a multimeter to ensure it is charging the battery correctly.
- Avoid excessive electrical loads on the alternator such as using high-power accessories or leaving lights on for long periods.
Checking The Serpentine Belt Regularly:
- Look for any signs of wear, cracks, or fraying on the serpentine belt and replace it if needed.
- Check the belt tension to ensure it is properly tightened, as a loose belt can cause charging system issues.
- Make sure the serpentine belt is properly aligned on all pulleys to prevent any slipping or squealing noises.
- Consider replacing the serpentine belt at regular intervals as recommended by the manufacturer.
Inspecting The Fuse Box And Wiring Periodically:
- Check all fuses related to the charging system and replace any blown fuses.
- Inspect the wiring for any signs of damage, such as fraying or loose connections, and repair or replace as needed.
- Ensure that all connections are tight and secure, including the battery terminals, alternator, and fuse box.
- Consider using dielectric grease on electrical connections to protect against corrosion.
Avoiding Excessive Accessory Usage:
- Limit the use of power-consuming accessories, such as high-powered audio systems or aftermarket lighting, as they can put strain on the battery and alternator.
- Avoid leaving accessories on when the engine is not running, as this can drain the battery.
- Use energy-efficient accessories whenever possible to reduce the load on the charging system.
- Regularly check the vehicle’s electrical system for any aftermarket modifications that may impact the charging system’s performance.
Remember to take these preventive measures regularly to keep your battery charging system in optimal condition and minimize the chances of seeing the service battery charging system light. By performing these maintenance tasks, you can extend the life of your battery and charging components, and ensure a reliable electrical system in your vehicle.
Frequently Asked Questions For How To Reset Service Battery Charging System Light
What To Do When Service Battery Charging System Light Comes On?
To address the service battery charging system light, follow these steps: 1. Have your battery tested by a mechanic to determine if it needs to be replaced. 2. Inspect the alternator and wiring for any signs of damage or malfunction. 3.
Check the drive belt and clean the charging system parts. 4. Reduce the use of accessories in your vehicle. 5. If necessary, replace the alternator, battery, or other components as recommended. 6. In some cases, resetting the light may be necessary.
Consult your vehicle’s manual or a mechanic for instructions.
How Do I Fix My Charging System Warning Light?
To fix your charging system warning light, you can try the following steps: 1. Replace the alternator. 2. Inspect the drive belt. 3. Clean the charging system parts. 4. Check the wiring. 5. Reduce the use of accessories. 6. Change the ECU.
7. Drive the car multiple times. 8. Replace the battery. Note: It’s always best to consult your vehicle’s manual or a mechanic for specific instructions on how to reset the light.
Why Does My Car Keep Saying Service Battery Charging System?
The “Service Battery Charging System” message appears when there is an issue with your charging system, such as a bad battery or a malfunctioning alternator. Take your car to a mechanic to diagnose and fix the problem.
How Can I Reset The Battery Light?
To reset the battery light, disconnect the battery for a few minutes and then reconnect it. Consult your vehicle’s manual or a mechanic if necessary.
Conclusion
When the service battery charging system light comes on in your vehicle, it can indicate potential battery or alternator problems. To address this issue, you can take a few steps. First, have your battery tested by a mechanic to determine its strength and if it needs replacing.
Inspect the drive belt and clean the charging system parts. Check the wiring for any issues and reduce the use of accessories that may be draining the battery. If these steps don’t resolve the problem, you may need to replace the alternator or consult a professional for further assistance.
Remember, it’s important to address the service battery charging system light promptly to avoid further damage to your vehicle’s electrical system. If you need to reset the light, consult your vehicle’s manual or seek advice from a mechanic. By following these steps, you can keep your vehicle’s battery charging system in optimal condition.
Author
-
by
-
