Car Wrap Cost Guide: How Much to Wrap Your Vehicle?
Last Updated on September 1, 2026 by Ryan
The cost to professionally wrap a car typically ranges from $2,000 to $6,000 for a full vehicle, though specialty finishes can exceed $10,000. Price is heavily influenced by material type, vehicle size, design complexity, and installer’s expertise.
🎯 Key Takeaways


- Standard vinyl wraps generally cost $2,000-$6,000.
- Specialty finishes like chrome can exceed $10,000.
- Vehicle size and complexity greatly impact labor hours.
- Material quality and type significantly drive pricing.
- Always obtain detailed quotes from multiple reputable shops.
Determining the exact cost to professionally wrap your car involves a broad spectrum, typically ranging from $2,000 for a compact car with a standard vinyl finish to upwards of $12,000 for large trucks or SUVs with premium, specialty materials. This significant variation is not arbitrary; it directly reflects the size and complexity of your vehicle, the specific type and quality of the wrap material you choose, the intricacy of the design, and the labor rates of the experienced shop performing the installation. Understanding these core figures and their underlying influences is key to setting a realistic budget for your vehicle transformation.

For most car owners considering a full wrap, the goal is often a fresh look or paint protection without the permanence and expense of a repaint. Knowing where your vehicle and desired finish fall within these cost parameters will enable you to approach wrapping shops with informed expectations and make a decision that aligns with both your aesthetic goals and financial plan. Let’s break down these costs.
Understanding Car Wrap Cost Ranges by Type & Vehicle Size

![[ARMOR UP] 4"x72" Clear Car Paint Protection Film- 6-mil TPU Protector Wrap…](https://m.media-amazon.com/images/I/31TMm3JasxL._SS500_.jpg)

The core of your car wrap expense is dictated by two major components: the type of wrap material and the size of your vehicle. These figures represent a professional full wrap, covering all exterior painted surfaces, and generally include material, labor, and basic vehicle preparation.
Standard Vinyl Wraps (Matte, Satin, Gloss)
These are the most common and cost-effective options, offering a wide array of solid colors in various finishes. They are durable, long-lasting, and provide excellent paint protection. The cost primarily scales with the amount of material needed and the labor hours required for installation.
- Compact Cars (e.g., Honda Civic, Mazda 3): Expect to pay between $2,000 and $3,500. Their smaller surface area and fewer complex curves make them quicker and more material-efficient to wrap.
- Mid-Size Sedans (e.g., Toyota Camry, BMW 3 Series): The typical range is $2,500 to $5,000. These vehicles present a balanced challenge in terms of size and contour.
- Full-Size Sedans & Small SUVs (e.g., Mercedes E-Class, Toyota RAV4): Costs generally fall between $3,500 and $6,000. Larger panels and more substantial curves require additional material and more intricate labor.
- Large SUVs, Trucks & Vans (e.g., Ford F-150, Chevrolet Tahoe): Prepare for prices from $4,500 to $7,000+. These vehicles demand significantly more material and labor due to their expansive surfaces, numerous recesses, and often more complex body lines.
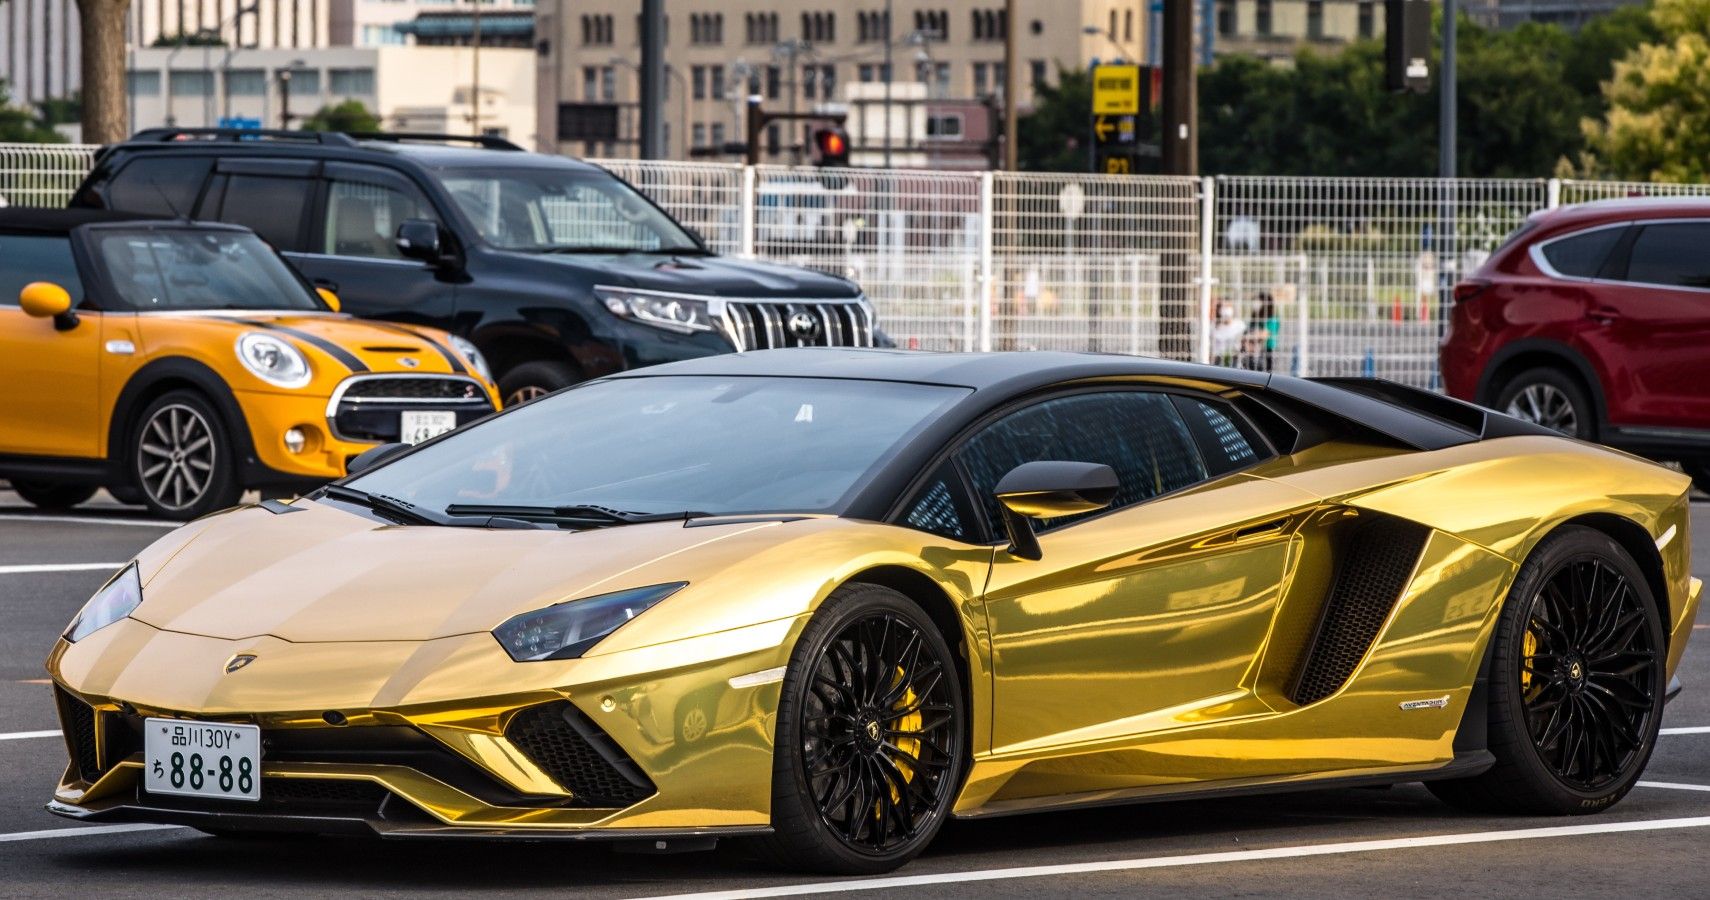
Premium & Specialty Finishes (Chrome, Color-Shift, Textured)
Venturing beyond standard colors opens up a world of unique finishes that command higher prices. These materials are often more expensive to manufacture, more delicate to work with, and require specialized techniques and more installation time to achieve a flawless finish.
- Metallic or Pearlescent Wraps: Adding subtle flecks or a shifting luster to a standard finish can increase costs by 10-25% over a basic solid color.
- Chrome or Mirror Wraps: These highly reflective, difficult-to-install films are among the most expensive. Costs typically start around $5,000 for a compact car and can easily exceed $10,000-$12,000 for larger vehicles due to material expense and intensive labor.
- Color-Shift or Chameleon Wraps: Films that change color depending on your viewing angle are visually striking but labor-intensive. Expect prices in the range of $4,000 for compact cars up to $8,000-$10,000+ for larger models.
- Textured Wraps (e.g., Carbon Fiber, Brushed Metal, Leather Grain): These add tactile and visual depth. While not as high as chrome, they are more expensive than standard vinyls, often adding 20-50% to the base cost, depending on the specific texture and vehicle size.
How to Wrap a Car Like a Pro: A Practical Walkthrough


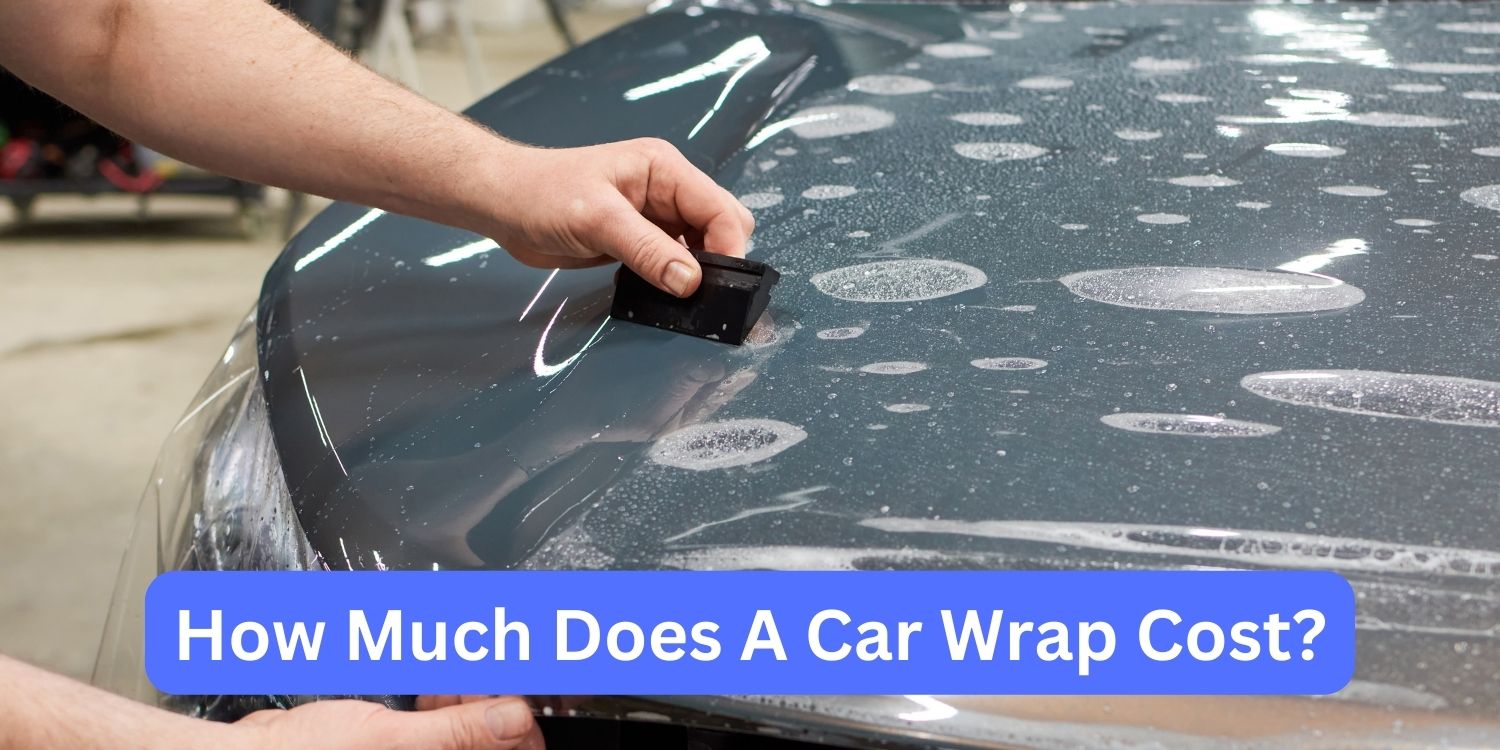
This comprehensive guide will walk you through the essential steps and calculations required to accurately determine how much vinyl film you’ll need to wrap your car. Getting these measurements right is crucial to avoid costly mistakes and ensure a seamless, professional-looking finish for your full color change, partial wrap, or accent project. Follow these detailed instructions to confidently plan your next automotive wrapping endeavor.
Step 1: Understand Car Dimensions and Wrap Coverage
What you need: Measuring tape (preferably a long, flexible one), pen and paper, calculator, your car.
Instructions: Before you grab the vinyl, you need to understand the basic principle: a full car wrap generally requires covering all painted exterior surfaces. This includes the hood, roof, trunk, fenders, doors, bumpers, and possibly side mirrors and door handles. Small details like antenna bases or window trim might be wrapped separately or omitted. Be aware that the film needs to stretch and tuck into edges, so simply measuring flat panels isn’t enough; you need to account for extra material around all edges and into recesses for proper adhesion and a clean finish.
Pro Tip: Visualize the wrap as fabric being draped over the car. Think about how much extra material you’d need to cut and tuck in if you were sewing a custom car cover.
Step 2: Measure the Length of Your Vehicle
What you need: Measuring tape (at least 25-30 ft long), a helper (optional but recommended for accuracy).
Instructions: Begin by measuring the overall length of your car. Start at the very front tip of the bumper and extend the tape all the way to the very rear tip of the bumper. Record this measurement in feet or meters. For example, a mid-size sedan might be around 15-16 feet (4.5-4.9 meters) long, while a larger SUV or truck could be 18-20+ feet (5.5-6.1+ meters). This foundational measurement is critical as it forms the basis for estimating the primary film length needed, before factoring in height and complex areas.
Pro Tip: Measure twice, cut once! Or in this case, measure twice, order once. Always round up to the nearest foot or half-meter to give yourself a small safety margin.
Step 3: Determine the Width of the Widest Panels
What you need: Measuring tape, pen and paper.
Instructions: Identify the widest single panel on your car that needs wrapping. This is typically the hood or the roof. Measure across the widest point of this panel, adding at least 6-12 inches (15-30 cm) to each side for overhang, stretching, and trimming. For example, if your hood is 5 feet (1.5 meters) wide, you’d want film that is at least 6 feet (1.8 meters) wide to accommodate the necessary edges. Most vinyl comes in standard widths like 5 feet (60 inches or 1.52 meters), so this measurement will determine if you need multiple pieces for certain areas.
Pro Tip: Don’t forget to account for the curvature of the panel. A flat measurement won’t capture the full surface area needed for a complex curve; the extra overhang helps here.
Step 4: Calculate Base Film Length for a Full Wrap (Sedan/Coupe)
What you need: Your car’s measured length, a calculator.
Instructions: For most sedans, coupes, and smaller SUVs, a general rule of thumb for a full wrap is to take your vehicle’s total length and multiply it by 3. This accounts for the top surfaces (hood, roof, trunk), the sides (doors, fenders), and the bumpers, plus a healthy allowance for waste, trimming, and intricate areas. For instance, if your car is 16 feet long, you’d calculate 16 ft * 3 = 48 feet of film. This is a starting point for standard 60-inch (5 ft or 1.52 m) wide rolls, assuming panels are narrower than 60 inches.
Pro Tip: This “length x 3” rule is a solid baseline for typical vehicles. For very boxy vehicles or those with minimal curves, you might get away with slightly less, but it’s always safer to err on the side of more.
Step 5: Adjust for Vehicle Type and Complexity (SUVs, Trucks, Vans, Complex Shapes)
What you need: Your base film length calculation, understanding of your vehicle’s body style.
Instructions: If you’re wrapping a larger vehicle like an SUV, truck, or van, or a car with very complex curves (like many sports cars), you’ll need to adjust your estimate upwards. For medium SUVs/crossovers, multiply length by 3.5. For full-size SUVs, trucks, or vans, aim for length multiplied by 4 or even 4.5. The additional multiplier accounts for taller side panels, larger bumpers, mirror caps, roof rails, and the extra material needed for deep recesses and intricate contours that require more stretching and relief cuts.
Pro Tip: Vehicles with integrated spoilers, complex grille designs, or large, deeply recessed areas (e.g., side vents) will consume more material. Don’t underestimate these “hidden” consumption points.
Step 6: Account for Specific Panel Requirements and Overlap
What you need: All previous measurements, knowledge of standard vinyl roll widths.
Instructions: Consider individual large panels. If your roof or hood is wider than 5 feet (1.52 meters), you will need to seam it, requiring two pieces of film that overlap. Each piece would need to be the full length of the panel plus overhang, and you’d need extra for the overlap itself (typically 0.5-1 inch or 1.2-2.5 cm). Also, some areas like door jambs are often wrapped for a more complete look, which adds to the overall film requirement. Factor in an additional 10-15% for waste from trimming, mistakes, or redo sections.
Pro Tip: Ordering in continuous lengths is often better for consistency. If you need 50 feet of film, order it as one 50-foot roll rather than two 25-foot rolls, if possible, to avoid unnecessary seams.
Step 7: Final Calculation and Ordering Considerations
What you need: All calculated lengths and adjustments, a calculator, your desired vinyl product specifications.
Instructions: Sum up your base length, adjustments for vehicle type, and additional allowances for complex panels or waste. For example, if your 16-foot car estimated 48 feet, and you added 5 feet for complexities and 5 feet for waste, you’re looking at 58 feet. Vinyl is typically sold in linear feet or meters from a standard 60-inch (1.52 meter) wide roll. So, if you need 58 feet, you would order 58 linear feet of 60-inch wide film. Always round up to the nearest whole foot or meter, as suppliers rarely sell partial units.
Pro Tip: If you’re using a specialty film (e.g., chrome, textured), these can be less forgiving to work with, so adding an extra 5-10% buffer for potential mistakes is highly advisable.
Step 8: Consider Partial Wraps or Accents
What you need: Measuring tape, paper, and pen.
Instructions: For partial wraps (like roof, hood, or trunk only), measure the specific panel’s length and width, adding at least 12 inches (30 cm) to both dimensions for trimming and overhang. For instance, a hood might be 5 feet (width) x 4 feet (length). You’d order a piece that’s 6 feet x 5 feet to be safe. For accent pieces like mirror caps or small trim, these are often done with scraps or smaller, pre-cut sheets, but if you’re ordering specifically, measure the individual part generously, adding substantial overhang for handling.
Pro Tip: When planning a partial wrap, consider the direction of the vinyl grain (if applicable) for a consistent look across different panels, especially if they are adjacent.
Step 9: Review and Double-Check Your Estimates
What you need: All your notes, calculator, a clear head.
Instructions: Go through all your measurements and calculations one final time. Compare your estimated total length with online resources or community forums for similar vehicles. Search for “how much vinyl to wrap [your car model]” to see what others have used. While these are not definitive, they can help you gauge if your estimate is significantly off. It’s better to have a little too much film than not enough, as color and batch consistency can vary between orders, making reordering problematic.
Pro Tip: Take photos of your car from various angles, then “draw” the wrap coverage onto the photos to visualize the areas that need film, helping identify any overlooked sections.
Step 10: Order Your Vinyl and Prepare for Installation
What you need: Finalized film length, chosen vinyl product, reputable supplier.
Instructions: Once you have a confident estimate, proceed to order your vinyl. Ensure you specify the correct linear footage/meterage and the desired color/finish. Also, consider ordering a small roll of matching scrap material for practice, especially if this is your first time wrapping. While waiting for your film to arrive, gather all necessary tools for the actual installation, such as squeegees, heat gun, cutting knives, surface cleaner, and ensure you have a clean, dust-free workspace to begin the application process.
Pro Tip: Always order from a reputable supplier to ensure you receive genuine, high-quality vinyl that performs as expected. Cheap film often leads to poor results and frustration.
✅ Final Checklist
- Car’s total length accurately measured?
- Widest panel width (with overhang) determined?
- Base film length calculated (Length x 3 or more)?
- Adjustments for vehicle type/complexity made?
- Allowance for waste/trims (10-15%) included?
- Total linear feet/meters rounded up and confirmed?
- All calculations double-checked against common guidelines?
Important Notes:
- Safety considerations or warnings: Always work in a well-ventilated area when cleaning with solvents. Use sharp knives and heat guns with extreme caution; wear appropriate PPE (gloves, eye protection) and avoid direct skin contact or prolonged heat application to paint.
- When to seek professional help: For vehicles with extremely complex curves, deep recesses, or when working with notoriously difficult finishes like chrome or textured films, consider professional installation. Professionals possess specialized tools, experience, and techniques for flawless results.
- Estimated time and cost range: The film itself ranges from $400 – $1500+ for a full car, depending on brand and finish. DIY installation can take 20-60+ hours over several days. Professional installation typically takes 2-5 days and costs $2000 – $5000+ depending on the vehicle and project complexity.
Key Factors Influencing Your Car Wrapping Quote
Beyond the fundamental cost drivers of material type and vehicle size, several other critical factors will significantly impact the final quote you receive for your professional car wrap. These variables explain why quotes can vary considerably even for similar vehicles and materials.
📤 Share
💾 Download
Material Quality and Type
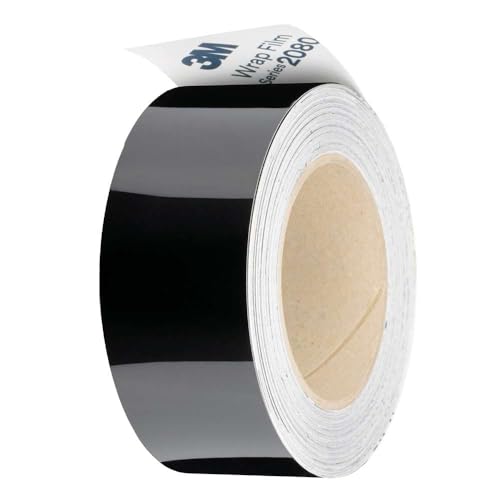
Not all vinyl is created equal. High-quality cast vinyl films (e.g., 3M 1080/2080, Avery Dennison SW900) are engineered for vehicle wrapping. They are more durable, conform better to complex curves, resist fading, and offer easier, cleaner removal. Cheaper, lower-grade calendered vinyls might save you money upfront but are harder to install correctly, prone to bubbling or peeling, and have a shorter lifespan. The choice of brand and specific film within that brand affects the material cost. Specialty films, as mentioned, inherently cost more due to their unique properties and manufacturing processes.
Vehicle Size, Complexity, and Preparation
Larger vehicles demand more material, directly increasing material costs. However, vehicle complexity is equally important. Cars with intricate body lines, sharp angles, numerous recesses, complex bumpers, mirrors, or spoilers require significantly more labor time to ensure a seamless finish. The need for technicians to carefully trim around badges, lights, and door handles, or even remove and reinstall components like door handles or mirrors, adds to the labor hours. Furthermore, the vehicle’s initial condition is crucial. Any existing dents, scratches, or imperfections must be addressed before wrapping, as vinyl will highlight rather than hide them. Extensive cleaning, waxing, or paint correction needed before installation will add to your total cost.
Labor Rates and Shop Expertise
The hourly labor rates for professional wrap installers vary based on geographic location and the shop’s reputation and experience. Metropolitan areas typically have higher labor costs than rural ones. More experienced shops, known for their meticulous attention to detail, precision, and use of best practices, often command higher rates. Investing in a reputable installer is vital; a high-quality wrap is more about the skill of the installer than just the material. A cheaper quote might indicate less experienced labor, potentially leading to a shorter-lasting or flawed wrap, requiring costly re-dos.
Design Complexity
A solid color full wrap is the baseline. If your vision includes intricate graphics, custom patterns, or a multi-color design, expect additional costs. This includes the time spent on graphic design, printing custom vinyl, and the increased complexity and time required for precise installation of multiple vinyl layers or intricate cutouts. Partial wraps, such as hood, roof, or accent wraps, will naturally cost less than a full wrap because they use less material and require less labor, but the per-square-foot cost might be slightly higher due to setup fees.
Welcome back to our exploration of car wrap costs! In the first half of this guide, we covered the basics of what a car wrap is, the primary factors influencing price (like vehicle size and vinyl type), and a general overview of cost ranges. Now, let’s dive deeper into understanding professional estimates and how to choose the best installer for your project.
What’s Included (and Not Included) in a Professional Wrap Estimate
A professional car wrap estimate isn’t just a single number; it’s a breakdown of components that contribute to the final price. Understanding these components helps you compare quotes accurately and avoid unexpected costs down the line.
Standard Inclusions
- Premium Vinyl Material: This is the core of your wrap. The cost depends heavily on the brand (e.g., 3M, Avery Dennison, KPMF), the type (cast vinyl is premium and more expensive than calendared), and the finish (gloss, matte, satin, metallic, chrome). Higher quality, brand-name cast vinyls are more expensive but offer superior durability, conformability to curves, and a longer lifespan.
- Expert Labor: This covers the skilled technicians’ time for meticulous application. A quality wrap demands hours, sometimes even days, of precise work. This includes thorough preparation, careful cutting, precise heat application to mold the vinyl, and post-installation checks to ensure adhesion and finish quality.
- Thorough Vehicle Preparation: Before any vinyl touches your car, it undergoes an intensive cleaning and prep process. This involves washing, degreasing, clay barring, and often the careful removal of minor components like emblems, door handles, or lights to ensure a seamless, edge-wrapped finish. Proper prep is crucial for the vinyl’s adhesion and longevity.
- Basic Warranty: Most reputable installers offer a warranty on both their labor and the vinyl material itself. This typically ranges from 1 to 5 years. Always clarify what’s covered, such as bubbling, peeling, or premature fading, and what might void the warranty.
Potential Upcharges or Exclusions
- Complex Vehicle Designs: Cars with numerous curves, sharp angles, intricate body kits, or very deep recesses (like many sports cars or custom builds) demand significantly more material and labor. Wrapping a Porsche 911, for example, will likely be more expensive than a flat-sided panel van.
- Specialty Vinyls: Materials like chrome, color-shift (chameleon), textured, carbon fiber, or fluorescent vinyls carry a much higher per-foot cost than standard colors. Expect these to add a premium, often 20-50% or more, to your material budget.
- Door Jambs & Interior Trim: A standard full exterior wrap typically does not include the door jambs (the inside of the door frame). Wrapping these for a truly complete color change adds significant material and labor. The same applies to interior trim pieces you might want wrapped.
- Pre-existing Damage & Paint Correction: Vinyl wraps adhere best to smooth surfaces. If your car has dents, deep scratches, rust, or significant paint imperfections, the installer might recommend paint correction or bodywork beforehand. This will be an additional charge and is usually handled by a separate specialist.
- Custom Design & Graphics: If you’re looking for a personalized design, specific stripes, logos, or printed graphics, the design work, high-resolution printing, and specialized installation will be itemized separately from a simple color change.
- Wrap Removal: If you need an old, existing wrap removed before a new one can be applied, this is a distinct service with its own labor cost, especially if the old wrap is aged, brittle, or difficult to remove without damaging the underlying paint.
Tips for Getting Accurate Quotes and Choosing an Installer
Choosing the right installer is just as vital as selecting your wrap material. A poor installation can quickly ruin even the most expensive vinyl. Here’s how to navigate the process to ensure a beautiful, long-lasting result.
Getting Multiple Quotes
- Contact Reputable Shops: Start by identifying at least three to five well-regarded local car wrap specialists. Online searches, car enthusiast forums, and local recommendations are excellent starting points. Don’t just pick the cheapest option; quality matters.
- Provide Detailed Information: Be precise about your vehicle’s make, model, year, and its current condition (mention any existing body damage, however minor). Clearly state the type of wrap you want – for instance, “full matte black wrap for a 2018 Ford Mustang GT,” including any specific areas like mirrors or spoilers.
- Ask for an Itemized Breakdown: Request a quote that itemizes material cost, labor, prep work, and any potential extras. This transparent breakdown helps you compare offers accurately and avoid hidden fees. Don’t be shy about asking specific questions, like if door handles are wrapped or removed for a cleaner finish.
- Discuss Your Expectations: Clearly communicate what you expect from the final product, especially regarding specific areas like bumpers, intricate body lines, or whether you want edges tucked or trimmed.
Evaluating Potential Installers
- Review Their Portfolio: Examine their past work, ideally in person or through high-resolution photos. Pay close attention to corners, edges, and recessed areas. Are there visible seams, bubbles, lifted edges, or creases? Look for consistency in quality across various projects.
- Check Online Reviews & Testimonials: Scour Google Reviews, Yelp, Facebook, and Instagram. Look for consistent positive feedback about quality, professionalism, and customer service. Be wary of shops with many negative reviews, especially those citing durability issues, poor communication, or peeling wraps.
- Experience & Certifications: Inquire about their team’s experience and any certifications they hold from vinyl manufacturers like 3M, Avery Dennison, or KPMF. Certified installers have undergone specific training and often adhere to higher industry standards.
- Understand the Warranty: A strong warranty is a sign of confidence in their work. Clarify the length and specific coverage for both labor and material defects. What happens if the wrap peels, bubbles, or fades prematurely? Get it in writing.
- Visit Their Shop: A tidy, well-organized, and climate-controlled workshop is often indicative of an installer’s attention to detail and professionalism. This also gives you an opportunity to assess their customer service firsthand and see ongoing projects.
Wrapping Up Your Car Wrap Decision
Wrapping your car is a fantastic way to refresh its look, protect its original paint, and express your personal style. While the cost to wrap a car can vary significantly – influenced by your vehicle’s size, the complexity of its design, and your chosen vinyl material – it’s an investment that offers both aesthetic appeal and practical benefits.
Don’t rush the process. Take the time to research different vinyl options, understand what’s included in an estimate, and thoroughly vet potential installers. Get multiple detailed quotes and scrutinize their portfolios and customer reviews.
By doing your homework, you’ll be well-equipped to make an informed decision and enjoy a stunning, long-lasting car wrap that truly reflects your vision. Get ready to turn heads on the road!
❓ Frequently Asked Questions
What’s the average cost for a full car wrap for a standard vehicle?
A full vinyl wrap for a standard sedan typically costs between $2,500 and $4,500, varying based on material quality, brand, and installer’s rates. Larger vehicles like SUVs or trucks will generally cost more, ranging from $3,500 to $6,000 or higher due to increased material and labor.
How do specialty wraps like chrome or matte compare in price to standard gloss vinyl?
Specialty wraps such as chrome, color-shift, carbon fiber, or textured matte finishes are significantly more expensive than standard gloss vinyl. These premium materials often start at $6,000 and can easily exceed $10,000 for a full vehicle due to higher material costs, increased installation difficulty, and specialized handling requirements.
What role does vehicle size and complexity play in the total car wrap cost?
Vehicle size directly impacts both the amount of vinyl material needed and the labor hours required for installation. Larger vehicles like SUVs, trucks, or vans will naturally cost more to wrap than compact cars or sedans, often increasing the price by $1,000 to $2,500 or more. Complex body lines, intricate bumpers, and numerous removable components also add to labor costs.
Are there any potential hidden costs or additional services I should factor into a car wrap budget?
Potential additional costs can include extensive vehicle preparation if your paint isn’t in good condition (e.g., minor body repair, paint correction), the removal of old wraps, or supplementary services like chrome deletes, window tinting, or ceramic coating over the wrap. Always request an itemized quote to understand all potential charges upfront.
How much does labor contribute to the overall car wrap cost, and what factors affect it?
Labor typically accounts for a significant portion, often 50-70%, of the total car wrap cost. This covers the highly skilled work of surface preparation, precise material application, trimming, and finishing. Labor rates vary widely based on the installer’s experience, reputation, geographic location, and the complexity of your vehicle’s design.
Is it more cost-effective to get a full wrap or a custom paint job for my car?
For a quality color change, a professional car wrap is often more cost-effective than a high-end paint job, especially if you desire specialty finishes. While a basic paint job might be cheaper, a quality paint job that matches the durability and finish options of a wrap can easily cost twice as much or more, ranging from $5,000 to $15,000+.