How to Sand a Car for Paint Proven 2026 Step-by-Step Guide
Last Updated on September 1, 2026 by Albert Duke
Sanding a car for paint requires careful preparation, the right tools, and a systematic approach. We guide you through each stage, from initial cleaning and material selection to final wet sanding, ensuring a flawless surface ready for a professional-grade finish.
To effectively sand a car for paint, you must follow a precise sequence of steps, employing the correct tools and techniques for a durable, smooth finish. This meticulous process ensures paint adhesion and a professional appearance for your vehicle. We understand the challenges DIY enthusiasts and budget restorers face, and we’ve distilled decades of auto body experience into this definitive guide for 2026.
A carefully sanded surface is the indisputable foundation of any high-quality paint job, setting the stage for stunning results. We will first equip you with the knowledge of essential safety measures and the right tools you will need.
Key Takeaways
Recommended Best Deal Products


- Always start with thorough cleaning.
- Use appropriate sandpaper grits for each stage.
- Master both machine and hand sanding methods.
- Inspect constantly for imperfections and scratches.
- Proper safety gear protects health and finish.
What 8 Essential Tools Do You Need?
Before you begin sanding a car for paint, gathering the correct tools and safety equipment is paramount for both your protection and the quality of your work. Neglecting proper gear can lead to health hazards and a substandard finish.
Protect Yourself First
Your safety is non-negotiable when dealing with paint dust and chemicals. We recommend a high-quality respirator, specifically rated for paint fumes and fine dust. OSHA guidelines for respiratory protection during automotive sanding advise using an N95 or P100 mask. Always wear safety glasses to shield your eyes from flying debris and chemical splashes.
Durable work gloves protect your hands from abrasions and harsh solvents. Ear protection is also wise, especially when using power sanders for extended periods.
Different Sander Types
Sanding machines significantly speed up the process. A Dual Action (DA) sander is versatile for general sanding, offering both rotary and orbital motion to minimize swirl marks. For larger, flatter panels, a random orbital sander is a popular choice. We suggest investing in a good quality electric or air-powered model.
For entry-level DIYers, common brands and price ranges for entry-level DA sanders for DIYers typically range from $80 to $250. Linear sanders are less common but useful for specific contours. Always ensure your sander has good dust extraction capabilities.
Hand Block Options
For precision work, especially on contoured surfaces and checking flatness, hand sanding blocks are indispensable. Options include firm foam blocks, flexible rubber blocks, and hard plastic blocks. Choose a block that matches the panel’s contour to ensure even pressure and prevent low spots. These blocks are crucial for feeling the surface and achieving ultimate flatness.
Degreasing Solutions
Before any sanding, the car must be meticulously clean. You will need automotive-grade degreasers or wax and grease removers. Common solvents or cleaners recommended by automotive paint manufacturers for degreasing include isopropyl alcohol or specific panel wipes. These effectively remove contaminants that could impede paint adhesion later.
You will also need clean microfibre cloths and a tack cloth for final dust removal.
With your workspace and safety gear sorted, the next crucial step is preparing the car’s surface itself.
How to Prepare Your Car Surface Correctly?
Recommended Best Deal Products


Proper surface preparation forms the bedrock of any successful paint job, making this initial phase critical before you even consider how to sand a car for paint. This initial meticulousness prevents future paint failures.
Remove All Contaminants
Start with a thorough wash using automotive soap and water to remove loose dirt and grime. Follow this with a comprehensive degreasing step using a wax and grease remover applied with clean towels. Wipe down small sections at a time, turning the cloth frequently and finishing with a fresh, dry cloth.
This process eliminates any silicones, oils, or waxes that could cause fisheyes or poor adhesion in the paint. We also recommend using a clay bar treatment to remove embedded contaminants that washing alone cannot.
Identify Imperfections Early
After cleaning, conduct a detailed inspection of the entire vehicle surface under good lighting. Look for rust spots, dents, dings, deep scratches, and any areas of existing paint delamination or clear coat failure. Mark these imperfections with a grease pencil or chalk. Addressing these issues now, before sanding, saves considerable time and effort later.
Any rust must be completely removed, and dents repaired with body filler to ensure a smooth, uniform surface beneath the new paint.
Tape Off Critical Parts
Masking is a crucial step to protect areas you do not want to sand or paint. Use high-quality automotive masking tape (e.g., 3M automotive tape is excellent) and masking paper or plastic sheeting. Cover windows, trim, door handles, lights, and any other components that will not be painted.
Overlapping your tape and paper prevents dust and overspray from reaching protected areas. Ensure all edges are firmly pressed down to prevent bleed-through. When disposing of cleaning waste, be aware of environmental guidelines for proper disposal of automotive cleaning waste to protect the environment.
Once the car is clean and protected, you can then begin the actual sanding process, starting with the right grit for the job.
Sanding Body Panels 5 Core Dry Techniques
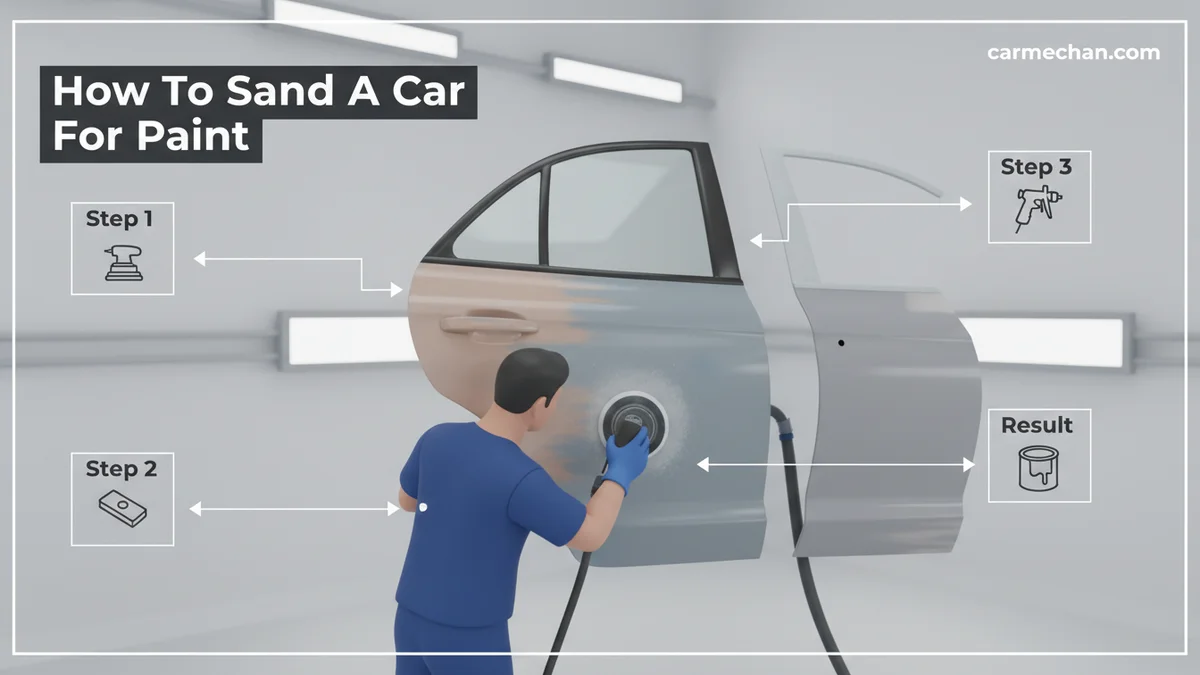
The dry sanding process is where you truly begin to shape the surface, demanding precision and adherence to a specific grit progression to sand a car for paint effectively. This stage refines the panels to accept new coatings.

1. Remove Old Paint
Begin with a relatively coarse grit sandpaper, typically 180 to 220-grit, if you are removing significant old paint or leveling large areas of body filler. Use a DA sander for large, flat panels, moving it in an overlapping pattern. Apply consistent, moderate pressure to avoid creating low spots.
For optimal results, ensure your DA sander is operated at optimal RPM settings for DA sanders when using various grit papers for automotive applications. The goal is to strip down to bare metal or a well-adhered original primer layer.
2. Blend Old With New
When repairing a specific area, the feather edging technique is vital to blend the new repair into the surrounding existing paint. Use 220-grit around the edge of the repair, gradually expanding the sanded area with progressively finer grits (e.g., 320-grit, then 400-grit). This creates a smooth transition, avoiding a visible paint line.
Industry best practices for feather edging to prevent paint demarcation lines involve multiple, gentle steps with increasing grit sizes.
3. Smooth Out Filler
Body filler requires careful sanding to achieve a perfectly smooth and contoured surface. Start with 80-grit to quickly shape the filler, then move to 180-grit, and finally 220-grit to refine the surface and remove coarse scratches. Always use a sanding block when working with filler to ensure the area remains flat and matches the car’s original body lines.
Feel the surface frequently with your hand to detect any high or low spots.
4. Refine Primer Layers
After bodywork and initial coarse sanding, apply a quality automotive primer. Once dry, sand the primer to create a perfectly smooth and uniform base for your paint. Start with 320-grit using a DA sander or sanding block, then progress to 400-grit. The primer layer fills minor imperfections and provides a consistent surface for the color coat.
Ensure all sanding scratches from previous steps are removed before moving to finer grits.
5. Adapt to Panel Shapes
Different areas of the car require different sanding approaches. Use machine sanders on flat, open panels. For tight curves, intricate details, and edges, switch to hand sanding with flexible blocks or foam pads. Always sand with the contour of the panel to maintain its original shape.
Consistent pressure and motion are key to avoid creating uneven areas or “waves” in the panel. Frequently wipe away dust to see your progress clearly.
Once dry sanding has achieved a uniformly smooth surface, the final stages often involve refining with wet sanding techniques.
Wet Sanding vs Dry Sanding for Final Finish
Recommended Best Deal Products

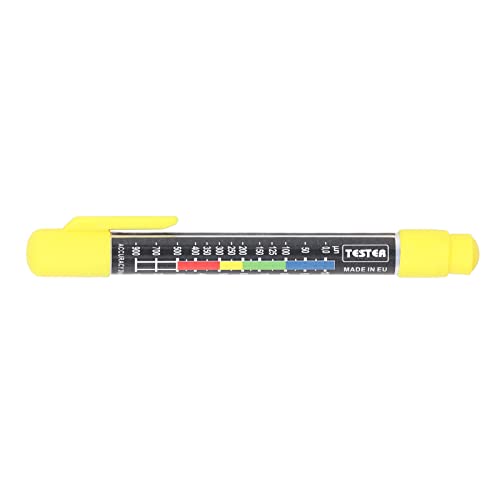

Understanding the nuances of wet sanding versus dry sanding is crucial for achieving an impeccably smooth surface when you sand a car for paint, particularly in the final preparation stages. Each method offers distinct advantages.
Reduce Dust Significantly
Wet sanding involves using water (often with a small amount of soap) as a lubricant while sanding. This dramatically reduces airborne dust, making it a cleaner process for your workspace and lungs. The water also helps to flush away sanding debris, preventing sandpaper from loading up and potentially creating deeper scratches.
This method is particularly beneficial when working with finer grits on primer surfacers or clear coats.
Apply Consistent Pressure
For wet sanding, soak your sandpaper in water for a few minutes before use. Use a flexible sanding block or foam pad, dipping it frequently in a bucket of clean water. Apply consistent, light pressure, working in overlapping strokes. We recommend a recommended water-to-soap ratio for effective wet sanding solutions of a few drops of dish soap per gallon of water to further aid lubrication.
The water acts as a buffer, allowing the sandpaper to glide more smoothly across the surface, reducing the chance of creating uneven spots or deep gouges.
Achieve Ultimate Smoothness
Wet sanding allows you to use much finer grits than dry sanding, achieving a smoother, more refined surface. For final primer preparation, you typically advance to 600-grit, then 800-grit, and sometimes even 1000-grit. This fine sanding removes any remaining microscopic scratches from previous stages, creating a perfectly uniform texture for the paint to adhere to.
The smoother the surface, the glossier and more reflective your final paint job will appear. For basecoat/clearcoat systems, a final wet sand with 800-1000 grit may be necessary before applying the clear coat to ensure optimal adhesion and gloss.
Prepare for Topcoat
After wet sanding, rinse the entire car thoroughly with clean water to remove all sanding residue. Allow the surface to dry completely. A clean, dry, and perfectly smooth surface is paramount for paint adhesion. Consult your automotive paint manufacturer specifications for final sanding grit before applying specific types of paint (e.g., single-stage, basecoat/clearcoat) as recommendations can vary.
Before painting, a final wipe-down with a tack cloth will remove any last traces of dust. This final cleaning step cannot be overstated for a professional finish.
Even with meticulous sanding, mistakes can happen, so knowing how to identify and correct common issues is vital for a perfect outcome.
When to Inspect for Common Sanding Flaws
Knowing when and how to inspect for common sanding flaws is essential to prevent costly rework and ensure a flawless final paint finish after you sand a car for paint. Vigilance at every stage is key.
Spot Micro-Scratches Early
Sanding scratches, even tiny ones, will show through paint. To detect them, use a guide coat. This is a fine, contrasting powder or aerosol sprayed lightly over the sanded area. When you sand, the guide coat disappears from the high spots first, leaving it in the low spots or sanding scratches.
Examples of guide coat products and their application methods are widely available and crucial for quality control. You can also use oblique lighting, shining a light across the panel at a low angle, which will highlight any imperfections or scratches.
Prevent Paint Burn-Through
Sanding through to the bare metal or a previous paint layer is a common mistake, especially on edges and body lines. This is often called “sand-through” or “burn-through.” To avoid this, reduce pressure and use softer sanding pads or hand-sanding on delicate areas. If you do sand through, you must re-prime the affected area before proceeding.
Catching sand-through early prevents localized paint adhesion problems and color variations in your final coat.
Find Pinholes or Dents
After primer application and initial sanding, carefully inspect the surface for small pinholes (tiny air bubbles trapped in body filler) or minor dents that were missed earlier. Use a bright light and run your hand over the surface to feel for any inconsistencies. Pinholes must be filled with a thin layer of spot putty and then sanded smooth.
Small dents may require a thin skim of filler. Always resolve these imperfections before proceeding to finer grits or paint. Even a small flaw will be magnified by a glossy paint finish.
Confirm Optimal Texture
A reliable test to confirm your surface is ready for paint is the “water break test.” After your final wet sanding and rinse, the water should sheet evenly across the entire panel without breaking into beads or separating. If water beads up, it indicates residual contaminants (like wax or grease) that need further cleaning.
The surface should also feel uniformly smooth to the touch, with no discernible texture or grittiness. Consult automotive industry standards for acceptable surface finish roughness before painting to ensure your prep meets professional expectations for 2026.
Mastering these techniques will set you up for success, and by addressing common questions, we aim to solidify your understanding.
Master Your Paint Prep Journey
Successfully preparing a car for paint is a journey that transforms a tired surface into a flawless canvas. We have explored every critical step, from initial cleaning and tool selection to the delicate nuances of dry and wet sanding. Each stage demands patience and precision, ensuring proper paint adhesion and a finish you can be proud of.
By following this comprehensive guide, you will develop the skills to tackle even complex auto body projects.
Remember that the quality of your paint job directly reflects the effort put into the preparation. Skipping steps or rushing the sanding process will inevitably lead to imperfections showing through the final coat. Embrace the methodical nature of sanding, pay attention to detail, and always prioritize safety.
Your dedication to learning how to sand a car for paint will not only yield professional-looking results but also deepen your understanding of automotive restoration. We are confident these proven techniques will empower you to achieve stunning outcomes on your next painting endeavor. Go forth and create something beautiful!
Your Top Questions About Car Sanding
What Sandpaper Grit Should I Start With When Sanding a Car for Paint?
Begin with 180 to 220-grit sandpaper if removing significant paint or body filler. For intact factory paint, you might start with 320-grit. Always progress to finer grits to avoid leaving deep scratches before primer.
Can I Sand a Car for Paint by Hand, or Do I Need a Machine?
While machine sanders (like a DA sander) are much faster and more consistent for large panels, hand sanding is essential for intricate areas, curves, and for detailed block sanding to ensure flatness. A combination of both is ideal.
How Do I Avoid Sanding Through the Paint on Edges and Body Lines?
Reduce pressure significantly when sanding edges and body lines, or switch to a softer foam block or hand sanding. These areas are prone to burn-through due to their raised profile. Constant inspection helps prevent this.
What Is the Purpose of Wet Sanding Before Applying Paint?
Wet sanding with fine grits (600-800+) helps achieve an ultra-smooth surface, removes tiny imperfections, and creates a uniform texture for optimal paint adhesion and gloss. It also significantly reduces airborne dust.
How Can I Tell If My Car Surface Is Truly Ready for Paint After Sanding?
After your final sanding and cleaning, the surface should feel perfectly smooth to the touch. Perform a water break test: water should sheet evenly, not bead. A guide coat can also reveal any hidden scratches.