How to Reset Check Charging System Light
Last Updated on September 13, 2023 by Ryan
In this article, I will provide you with a comprehensive guide on resetting the check charging system light. Facing this issue can often be perplexing and worrisome, but fret not, as I will walk you through the steps to resolve it. By understanding the underlying causes and following the recommended solution, you will be able to reset the check charging system light efficiently and effectively. So let’s jump into the specifics and get your vehicle back on track with optimal charging system performance.

Prime for Young Adults — 6 Months Free
Students and 18–24s get six months of Prime free, then half price.
Start 6 Months FreeHow to Reset Check Charging System Light
Recommended Best Deal Products


The check charging system light is an important warning sign that indicates an issue with the charging system of a vehicle. When this light illuminates on the dashboard, it is crucial to address the problem promptly to avoid potential breakdowns or damage to the vehicle’s electrical components. In this article, I will guide you through the steps to reset the check charging system light, focusing on understanding the light, checking for loose or corroded connections, inspecting the battery, checking the alternator, inspecting the voltage regulator, and resetting the light using an OBD-II scanner, disconnecting the battery, locating the fuse for the charging system, and checking the charging system circuitry.

Understanding the Check Charging System Light
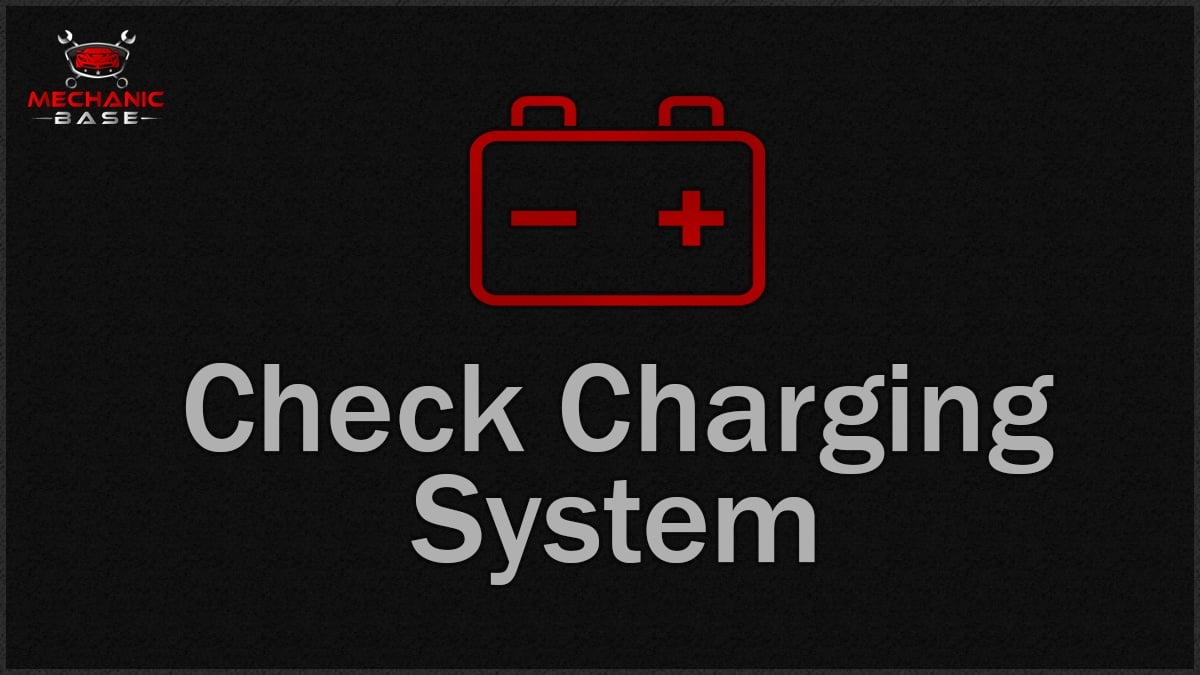
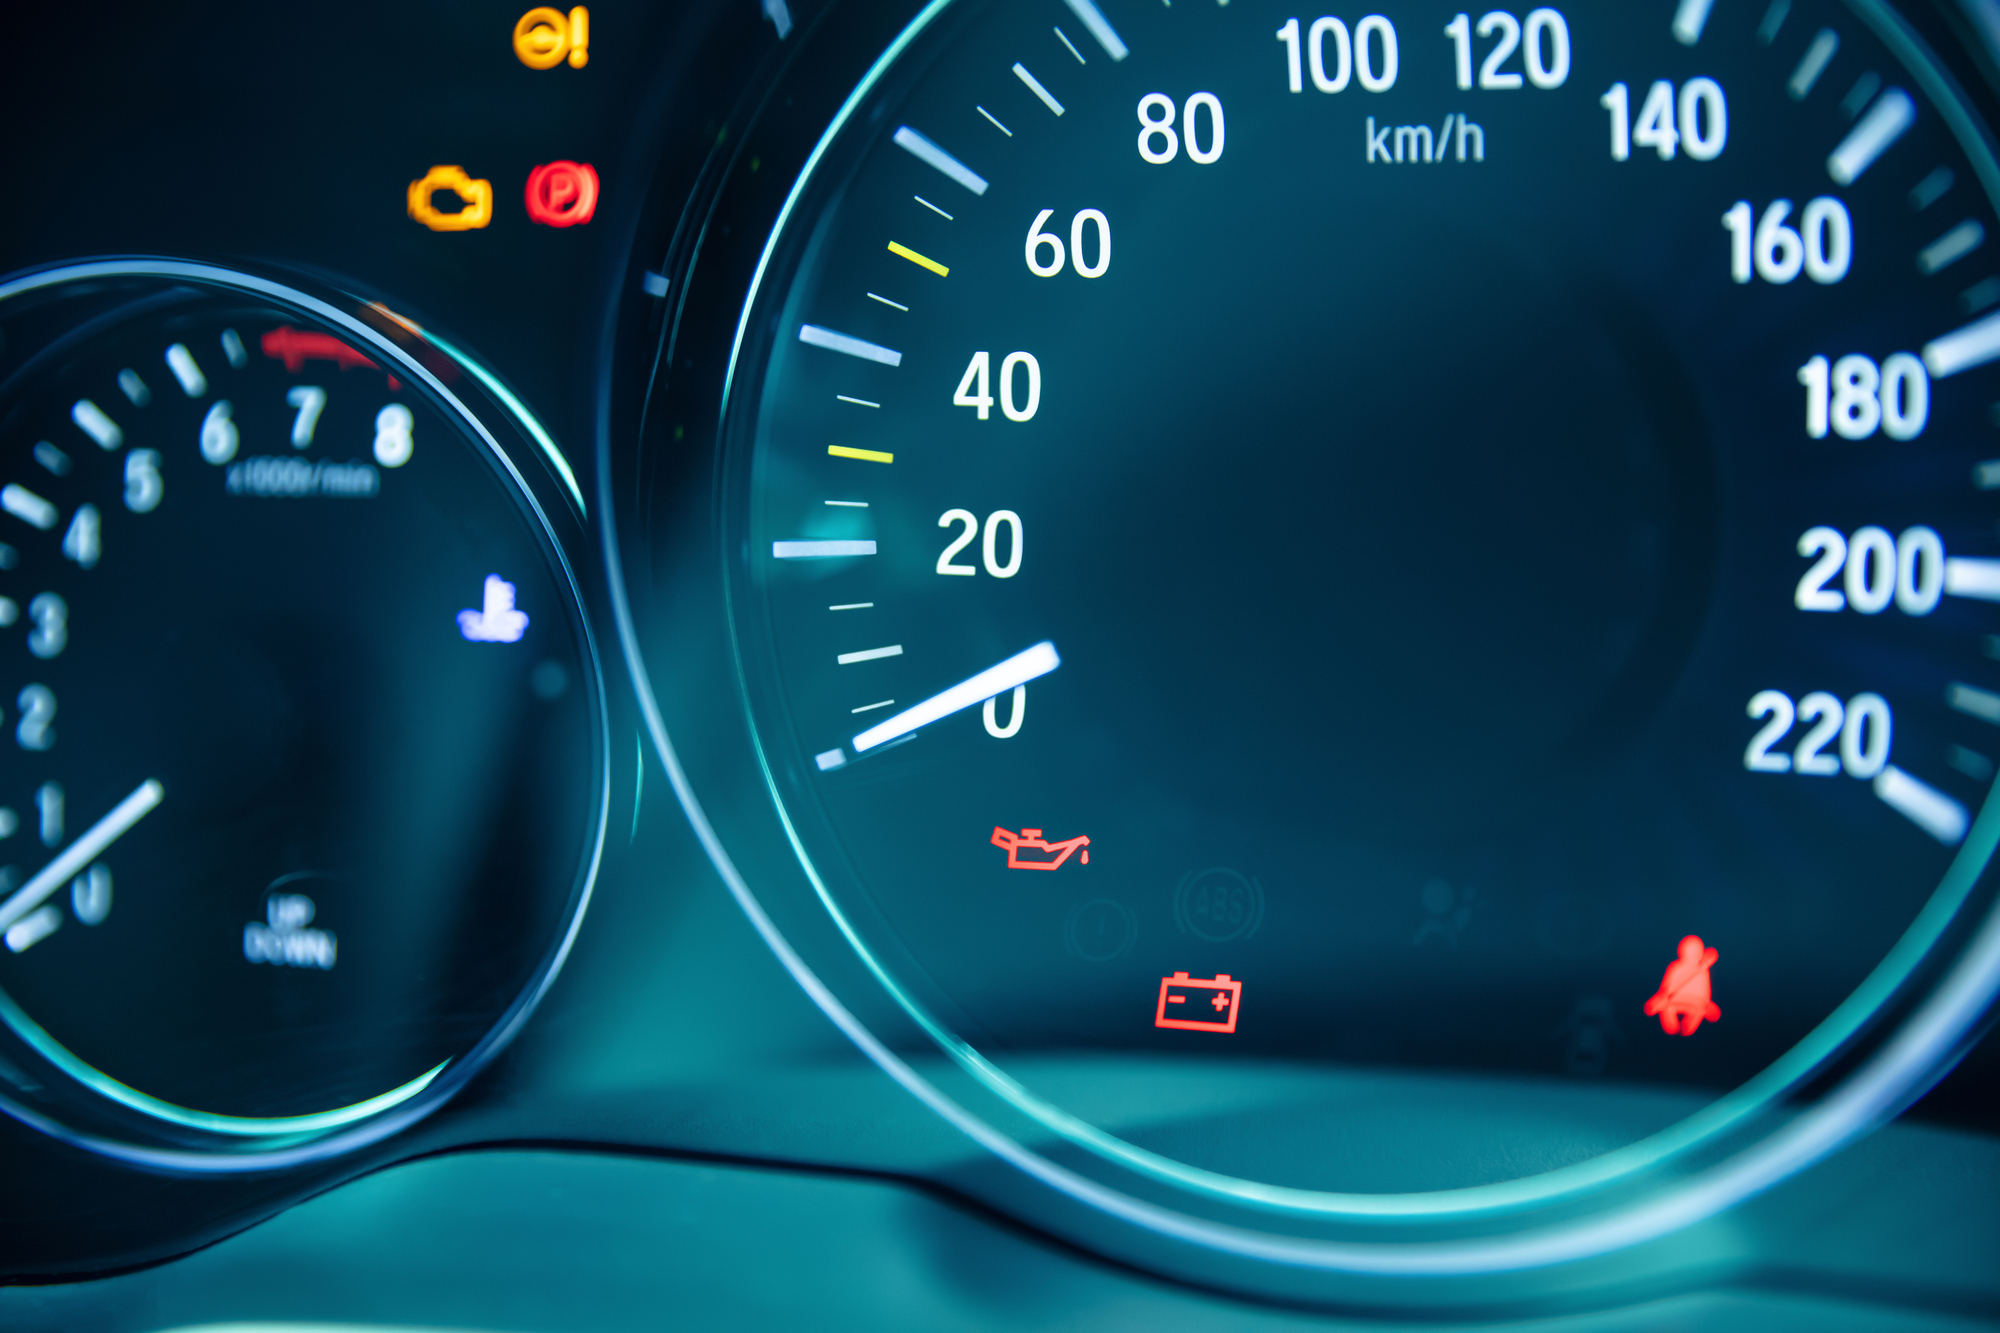
The check charging system light is often represented by a battery symbol or text message on the vehicle’s dashboard. It may illuminate in various colors, such as red, amber, or yellow, depending on the vehicle make and model. This light indicates that there is an issue with the vehicle’s charging system, which comprises the battery, alternator, voltage regulator, and associated electrical components. It is essential to understand that the charging system is responsible for providing electrical power to the vehicle while also charging the battery. Ignoring the check charging system light can lead to battery drain, insufficient power supply, or even engine failure.
Check for Loose or Corroded Connections
Before proceeding with complex troubleshooting steps, it is advisable to check for loose or corroded connections, as these are common culprits behind the check charging system light. Start by inspecting the battery terminals and ensure they are tightly secured. If there is any corrosion present, clean the terminals using a wire brush and a mixture of baking soda and water. Additionally, examine the connections between the battery and alternator, as well as any other charging system components, such as fuses or relays. Ensure all connections are tight and free from corrosion. Addressing loose or corroded connections may resolve the issue and eliminate the need for further troubleshooting.

Inspect the Battery
The battery plays a crucial role in the charging system and can often be a culprit behind the check charging system light. Begin by visually inspecting the battery for any signs of damage, such as leakage or bulging. If such issues are detected, it is recommended to replace the battery as soon as possible. Additionally, check the battery’s terminals for corrosion. If present, clean the terminals using the same method mentioned earlier. Testing the battery’s voltage with a multimeter can also provide insights into its health. A healthy battery should have a voltage reading of around 12.6 volts. If the battery voltage is significantly lower or fails to hold a charge, it may require replacement.
Check the Alternator
The alternator is responsible for charging the battery while the vehicle is running. A malfunctioning alternator can trigger the check charging system light. To check the alternator, start by conducting a visual inspection for any visible signs of damage, such as loose wiring or a damaged belt. Ensure that the alternator belt is properly tensioned and not worn out. A loose or damaged belt can affect the alternator’s performance and cause the charging system light to illuminate. You can also use a multimeter to measure the alternator’s output voltage. Connect the multimeter to the alternator’s positive and negative terminals and rev the engine. The voltage reading should typically be between 13.5 to 14.5 volts. Any reading below or significantly above this range may indicate a faulty alternator that needs to be replaced.

Inspect the Voltage Regulator
The voltage regulator is a vital component of the charging system that maintains a proper voltage level for the battery and electrical components. A faulty voltage regulator can cause the check charging system light to illuminate. To inspect the voltage regulator, visually examine it for any signs of damage or loose connections. Check if all the wires are securely attached to the voltage regulator. Additionally, using a multimeter, measure the voltage across the battery terminals with the engine running. The voltage reading should be within the previously mentioned range of 13.5 to 14.5 volts. If the reading is unusually high or low, it may indicate a faulty voltage regulator that requires replacement.
Resetting the Check Charging System Light
Resetting the check charging system light is essential after addressing any issues within the charging system. This step ensures that the warning light is correctly calibrated and only illuminates when there is a genuine problem. There are several methods to reset the light, including using an OBD-II scanner, disconnecting the battery, locating the fuse for the charging system, and checking the charging system circuitry.
Using an OBD-II Scanner
One of the most efficient ways to reset the check charging system light is by using an OBD-II scanner. This specialized tool allows access to the vehicle’s onboard diagnostic system, enabling the clearing of any stored fault codes. Connect the OBD-II scanner to the vehicle’s diagnostic port, which is usually located under the dashboard or steering column. Follow the scanner’s instructions to retrieve and clear the fault codes related to the charging system. Clearing the fault codes should reset the check charging system light. However, it is crucial to ensure that the underlying issue has been resolved before resetting the light to avoid recurrence.

Audible — Listen Free for 30 Days
One free credit a month and thousands of titles included.
Listen Free for 30 DaysDisconnecting the Battery
In some cases, disconnecting the vehicle’s battery for a few minutes can reset the check charging system light. Begin by locating the battery, typically found in the engine compartment. Ensure the engine is turned off, and the vehicle’s ignition is in the off position. Use a wrench or socket set to loosen and remove the negative (-) terminal from the battery. Wait for approximately 5 to 10 minutes before reconnecting the negative terminal. Reconnecting the battery should reset the check charging system light. However, keep in mind that disconnecting the battery may also reset other settings, such as radio presets or the clock.
Locating the Fuse for the Charging System
Another method to reset the check charging system light is by locating and removing the fuse that controls the charging system. Consult the vehicle’s owner’s manual or a fuse box diagram to identify the specific fuse for the charging system. Once located, use a fuse puller or a pair of needle-nose pliers to remove the fuse. Leave the fuse out for approximately 10 to 15 minutes before reinserting it. Reinserting the fuse should reset the check charging system light. However, it is crucial to note that removing the fuse may affect other electrical components, so it is advisable to exercise caution and consult a professional if unsure.
Checking the Charging System Circuitry
If the above methods do not reset the check charging system light, it is essential to inspect the charging system circuitry for any faults or damages. This step requires a thorough understanding of the vehicle’s electrical system and may be better suited for professional technicians. Carefully examine the wiring, connections, and components associated with the charging system, ensuring they are intact and free from damage. Use a wiring diagram or consult a repair manual to assist in this process. If any faults or damages are identified, repair or replace the affected components accordingly. Resetting the check charging system light may occur automatically once the underlying issues within the charging system circuitry are resolved.
In conclusion, the check charging system light serves as a crucial warning sign of potential issues within a vehicle’s charging system. Understanding the light and following the necessary steps to reset it can help ensure the proper functioning of the vehicle’s electrical components. Start by checking for loose or corroded connections, inspecting the battery, checking the alternator, and inspecting the voltage regulator. If the issue persists, resetting the check charging system light can be achieved through methods such as using an OBD-II scanner, disconnecting the battery, locating the fuse for the charging system, or checking the charging system circuitry. Keeping the charging system in optimal condition is essential for the vehicle’s overall performance and reliability.
What Does It Mean When The Car Light Says Check Charging System?
When the car light says “check charging system,” it means that the vehicle is running solely on battery power. This indicates a problem with the charging system. If the issue persists and the charging system fails, the battery will not be able to recharge and will eventually drain completely.
To address this, you can replace the alternator, inspect the drive belt, clean the charging system parts, check the wiring, reduce the use of accessories, change the ECU, drive the car frequently, or replace the battery. It is important to take these steps to prevent a dead battery and ensure that the charging system is functioning properly.
Why Is My Check Charging System Light On After Replacing Alternator?
Recommended Best Deal Products


One possible reason for the check charging system light to come on after replacing the alternator is a bad voltage regulator. The voltage regulator is responsible for regulating the charging of the battery from the alternator. If it is not functioning properly, the battery may be over or undercharged, causing the light to come on.
It is important to inspect the alternator and wiring to ensure everything is connected properly. If the issue persists, it may be necessary to replace the battery or consult a professional for further diagnosis and repair.
Audible Premium Plus — Annual Membership
12 audiobook credits up front, plus the full Audible catalogue.
See Annual PlansWhy Does My Honda Civic Say Check Charging System?
The “check charging system” warning light in your Honda Civic is an indication that there may be an issue with the electrical charging system. This warning light typically appears when there is a problem with the alternator or when the ignition switch is turned on without the engine running.
If you notice the light while driving, it is important to stop and check the alternator and wiring connections. If the charging system is not functioning properly, it can lead to a dead battery as it will not be able to recharge.
To fix the issue, you may need to replace the alternator, inspect the drive belt, clean the charging system parts, check the wiring, reduce the use of accessories, or even change the electronic control unit (ECU). It is recommended to consult a professional if you are unsure about how to proceed.
Frequently Asked Questions On How To Reset Check Charging System Light
Recommended Best Deal Products


How Do I Fix My Charging System Warning Light?
To fix your charging system warning light, you can take the following steps: 1. Replace the alternator. 2. Inspect the drive belt. 3. Clean the charging system parts. 4. Check the wiring. 5. Reduce the use of accessories. 6. Change the ECU.
7. Drive the car multiple times. 8. Replace the battery.
What Does It Mean When The Car Light Says Check Charging System?
When the car light says “check charging system,” it means that there may be a problem with the vehicle’s charging system. This can result in the battery running solely on power and potentially leading to a dead battery if not addressed.
It is recommended to check the alternator, drive belt, and wiring, and reduce the use of accessories. If the issue persists, it is best to consult a professional.
Why Is My Check Charging System Light On After Replacing Alternator?
If your check charging system light is on after replacing the alternator, it could be due to a faulty voltage regulator. This component regulates the charging of the battery from the alternator. If it’s not working properly, it can cause the battery to be over or undercharged, triggering the light to come on.
Why Does My Honda Civic Say Check Charging System?
The Honda Civic displays the “check charging system” warning when there is an issue with the electrical charging system. If the light comes on while driving, check the alternator belt for any looseness or damage.
Conclusion
To reset the “Check Charging System” light, follow these simple steps. Firstly, charge the battery to ensure it has enough power. Next, detach the battery by removing the negative terminal. Leave it disconnected for about 15 minutes to allow the vehicle’s computer to reset.
Afterwards, reattach the battery by connecting the negative terminal first, followed by the positive terminal. This will ensure a secure and proper connection. Finally, start the vehicle and check if the “Check Charging System” light has been reset. If it has, congratulations! You have successfully reset the light.
If not, it may be necessary to seek professional help to diagnose and resolve any underlying issues. Remember, regular maintenance and inspections of the charging system are essential to prevent future problems. Stay proactive and keep your vehicle running smoothly.