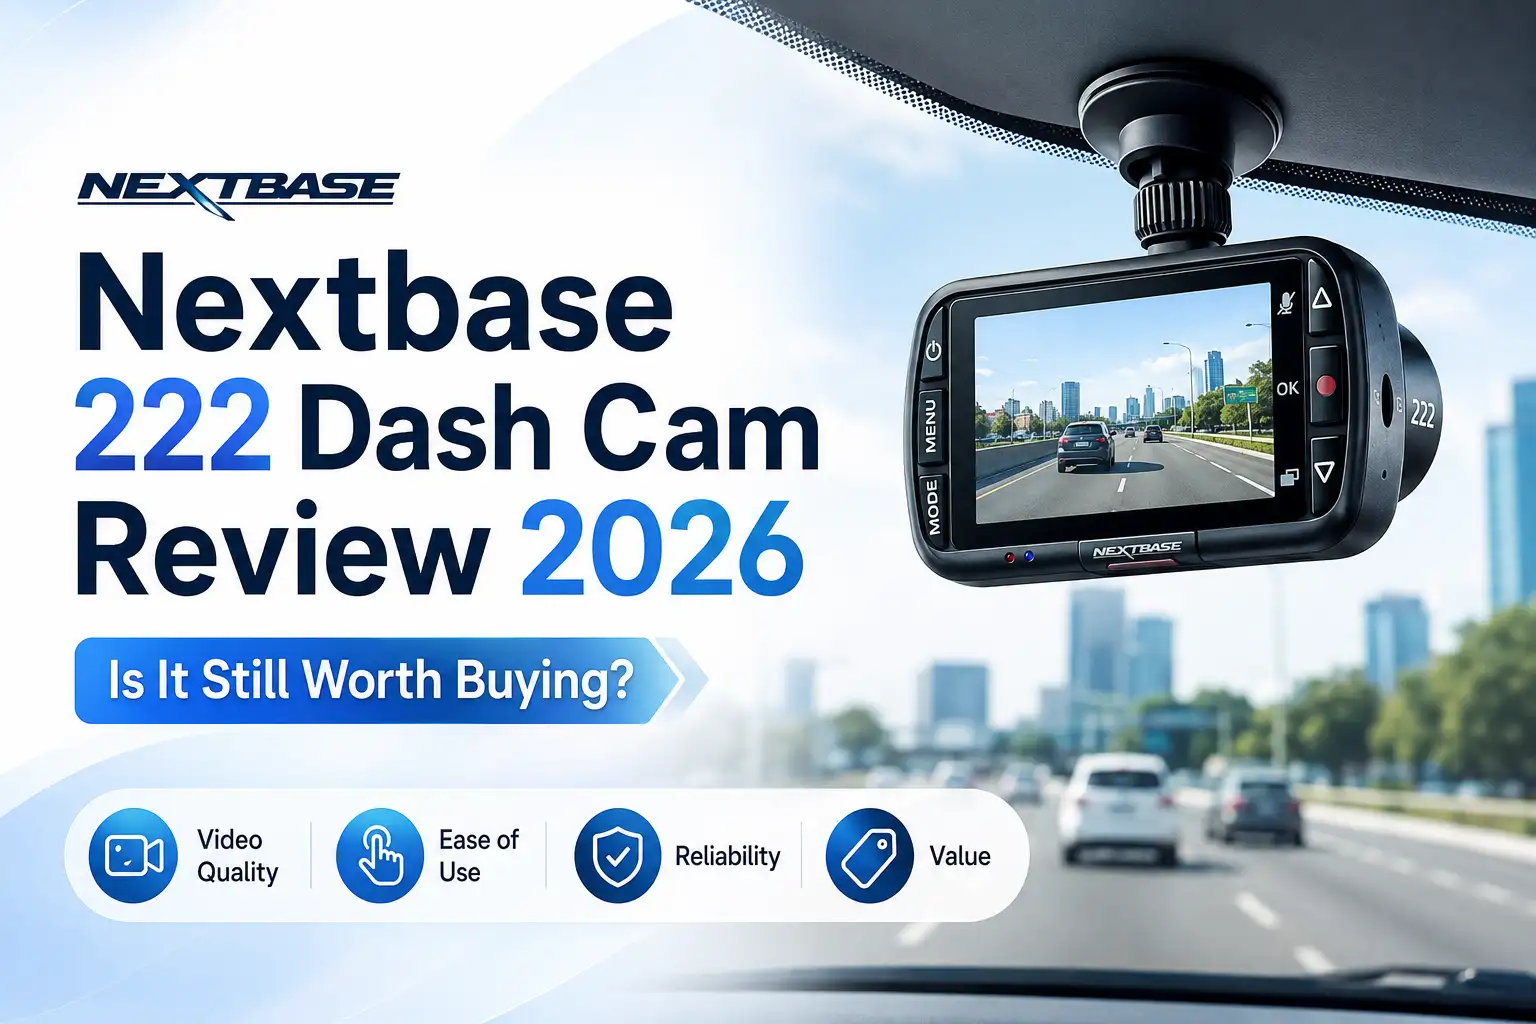
Nextbase 222 Dash Cam Review 2026: Is It Still Worth Buying?
You can buy the Nextbase 222 dash cam directly through the Amazon product listing to secure immediate purchasing access, current pricing, and verified customer reviews. As we evaluate automotive tech in 2026, finding reliable entry-level cabin recording without breaking the bank remains a priority for daily drivers.
This specific model bridges the gap between basic safety and advanced incident logging. By examining its exact specifications, pricing tiers, and hardware capabilities, you will quickly determine if this unit fits your vehicle protection needs this year.
Key Takeaways
- Check current Amazon pricing and shipping availability for the Nextbase 222 dash cam model.
- Evaluates 1080p HD recording quality for capturing essential road details and license plates.
- Details the polarising filter compatibility to reduce windshield glare in bright sunlight.
- Explains how the intelligent G-sensor automatically locks and protects incident footage.
- Reviews customer ratings and real-world performance feedback from verified buyers.
What Defines the Nextbase 222 Dash Cam Specifications and Features
Recommended Best Deal Products

![[Gigastone] 128GB Micro SD Card, Gaming Plus, MicroSDXC Memory Card for Nintendo-Switch…](https://m.media-amazon.com/images/I/41KuykdJEWL._SS500_.jpg)

Core Technical Specifications
The Nextbase 222 focuses on reliable, high-definition recording without overwhelming you with unnecessary complexities. When checking the Amazon listing, you will find a robust set of standard hardware features designed for straightforward daily use.
- Resolution: 1080p HD recording at 30fps to capture clear road details and license plates.
- Field of View: 140-degree wide-angle lens covering multiple traffic lanes ahead.
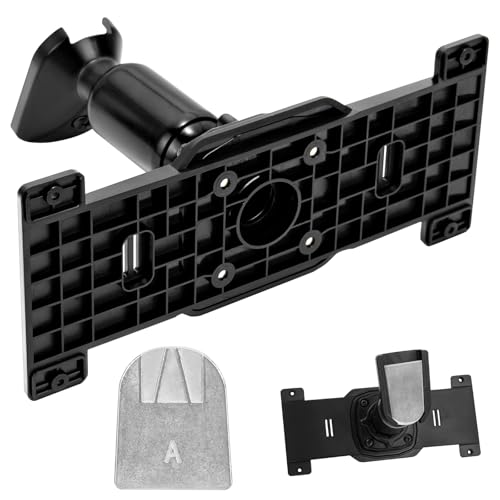
- Mounting System: Click and Go Pro powered mount for easy removal and cable management.
- Screen: 2.5-inch LED high-resolution display for instant playback inside your car.
Pricing and Purchasing Availability
Pricing on Amazon fluctuates based on seasonal sales, but the Nextbase 222 historically sits firmly in the budget-friendly tier. Purchasing directly through the link ensures you receive authentic hardware backed by standard manufacturer warranties and eligible return windows. Always check for bundled options that include micro-SD cards, as you will need high-endurance memory for continuous loop recording.
Dashboard Camera Installation Made Easy: Your Essential Action Plan
Installing a dash camera like the featured intelligent driving recorder with G-sensor and polarizing filter is one of the smartest upgrades you can make for your vehicle. Proper installation ensures optimal video coverage, reliable loop recording, and accurate parking monitoring without messy wires obstructing your view. This guide provides a comprehensive, sequential walkthrough to help you mount, wire, and configure your new dash cam safely and cleanly for professional-grade performance.
Step 1: Unboxing and Hardware Inspection
What you need: The dash camera package, a clean indoor workspace, and a compatible high-endurance MicroSD card (Class 10 or higher, 32GB to 128GB recommended).
Instructions: Begin by carefully unpacking all components from the box. Verify that you have the dash camera unit, the suction cup or adhesive mount, the car cigarette lighter power adapter, the USB cable, and the polarizing lens filter if included. Insert your MicroSD card into the camera’s card slot until it clicks into place. Format the memory card directly through the camera’s internal settings menu to ensure file system compatibility. Power on the device briefly using a portable USB power bank to check that the screen, lens, and menu buttons function correctly before taking anything out to your car.
Pro Tip: Never use a cheap, generic memory card. Dash cameras continuously write high-definition data, which quickly wears out inferior cards and leads to corrupted video files.
Step 2: Determining the Ideal Mounting Location
What you need: Isopropyl alcohol wipes, a microfiber cloth, and the dash camera in its mount.
Instructions: Sit inside the driver’s seat and evaluate your windshield. The goal is to position the camera as high up and as centrally located as possible—usually directly behind or just below the rearview mirror housing. This ensures the camera captures a balanced view of the road ahead while remaining entirely out of your direct line of sight. Clean the chosen glass area thoroughly with an alcohol wipe to remove grease, dust, and manufacturing residue, then let it dry completely for at least two minutes to guarantee maximum adhesive or suction grip.
Pro Tip: Check your local state or provincial vehicle laws regarding windshield obstructions before permanently pressing or sticking the mount to the glass.
Step 3: Mounting the Camera and Polarizing Filter
What you need: The cleaned windshield area, the adhesive or suction mount, and the polarizing filter.
Instructions: Peel off the protective film from the 3M adhesive pad (or moisten the suction cup if using a suction mount). Firmly press the mount onto the pre-cleaned windshield area, holding steady pressure for approximately 30 to 60 seconds to ensure a permanent bond. Attach the dash camera body to the mount. Next, screw or snap the polarizing filter onto the camera lens. Turn on the camera preview screen, look at the live feed, and slowly rotate the outer ring of the polarizing filter while observing the windshield reflection on the screen until dashboard glare disappears.
Pro Tip: Park your car facing a sunlit window during this adjustment phase to accurately calibrate the polarizing filter and eliminate annoying dashboard reflections.
Step 4: Planning the Hidden Wiring Route
What you need: Trim removal tool (plastic pry tool) and the vehicle power cable.
Instructions: Trace the path the power cable will take from the mounted dash camera to your vehicle’s 12V power outlet. To achieve a clean, professional look, tuck the cable into the headliner seam above the windshield using your fingers or a plastic trim tool. Route the cable across to the passenger side A-pillar. Continue tucking the wire down along the rubber weather stripping of the passenger door frame, guiding it beneath the glove compartment area, and down toward the center console or power socket.
Pro Tip: Never route the cable across the front of the steering wheel column or pedals where it could physically interfere with safe driving operation.
Step 5: Connecting Power and Managing Excess Cable
What you need: Zip ties or cable clips, and the vehicle power adapter.
Instructions: Gather any excess slack in the power cable and neatly bundle it together. Secure this hidden bundle underneath the passenger-side footwell or inside the center console storage area using a zip tie or adhesive cable clip so it does not rattle or drop into view. Finally, plug the USB power adapter into your car’s cigarette lighter port or accessory socket. Start your vehicle’s ignition to verify that the camera automatically boots up and begins recording as soon as power is supplied.
Pro Tip: Ensure the power adapter does not block access to vital climate controls or emergency hazard light buttons in your vehicle.
Step 6: Configuring Core Camera Settings
What you need: Dash camera settings menu and a few minutes of patience.
Instructions: Access the camera’s menu system using the built-in control buttons. Set the correct date and time stamp, ensuring your local time zone is properly configured. Adjust the loop recording duration (typically set to 3-minute intervals). Set the G-Sensor (gravity sensor) sensitivity to a medium level; setting it too high will lock normal bumps as emergency files, while setting it too low might fail to lock footage during a real impact. If your model supports parking mode, enable motion detection or low-bitrate recording according to your parking security needs.
Pro Tip: Periodically test your emergency locking feature by manually pressing the lock button or gently tapping the windshield to confirm that important footage is saved to the ‘Event’ folder.
✅ Final Checklist
- MicroSD card is formatted and recognized by the device.
- Camera lens is centered and polarizing filter is adjusted to eliminate glare.
- Power cable is securely tucked away and out of the driver’s sight lines.
- Device automatically powers on and starts recording when the vehicle ignition turns on.
- G-Sensor and loop recording parameters are properly configured for everyday driving.
Important Notes:
- Never attempt to adjust camera settings, mountings, or wiring while actively driving the vehicle.
- Seek professional car audio or dash cam installation help if your vehicle has side-curtain airbags along the A-pillar that require delicate wire routing.
- Estimated installation time is 30 to 45 minutes, with an estimated cost of $0 if installing yourself, or $50 to $100 if hiring a professional auto electrician.
How to Evaluate Recording Quality, Polarising Filters, and G-Sensor Performance
Recommended Best Deal Products


Recording Clarity and Polarising Filter Compatibility
Capturing video in harsh sunlight presents a major challenge for cheap dash cams. Glare bouncing off your dashboard can ruin crucial footage of an incident. This model supports a compatible polarising filter, which acts like sunglasses for your camera lens.
- Glare Reduction: Cuts out windshield reflections completely for pristine daytime footage.
- Color Saturation: Improves contrast so road signs and vehicle colors stand out clearly.
- Night Vision: Enhanced sensor performance handles low-light highway driving and streetlights effectively.
Intelligent G-Sensor and Incident Locking
You need a dash cam that works automatically when the unexpected happens. The intelligent G-Sensor inside the Nextbase 222 acts as an unyielding digital witness. If you experience a sudden impact or collision, the internal accelerometer locks the current video file.
This prevents the continuous loop recording feature from overwriting crucial evidence. You can also adjust the sensitivity settings via the menu to prevent speed bumps from triggering false positive locks, ensuring your storage card only saves genuinely important driving events.
Step-by-Step Guide to Buying and Checking Amazon Pricing for This Model
Navigating online retail platforms requires strategy to secure the best value, especially for automotive electronics that experience frequent price fluctuations. Automotive technology analysts note that e-commerce pricing for entry-level dash cams shifts dynamically based on supply chain metrics and promotional cycles.
Monitoring Real-Time Costs
Consumers must track pricing metrics accurately to avoid overpaying during high-demand retail periods. Historical data tracking tools provide visibility into previous price drops and help establish a baseline for fair market value.
- Navigate to the official product listing page on the platform to view the current baseline retail price.
- Install a verified browser extension that tracks historical pricing trends over the last ninety days.
- Check for active manufacturer coupons or limited-time promotional checkboxes located directly beneath the listed price.
- Review shipping options and verify whether the unit qualifies for prime delivery or third-party fulfillment services.
Validating Seller Authenticity
Purchasing vehicular safety equipment demands strict verification of the supply chain to ensure warranty validity. Industry compliance standards dictate that manufacturers only honor warranties when items are purchased through authorized distribution channels.
- Inspect the designated “Ships from” and “Sold by” details on the right-hand purchase panel of the listing.
- Confirm that the primary vendor is listed as the official manufacturer storefront or an authorized national distributor.
- Read recent verified buyer reviews to check for consistent reports of original packaging and intact factory seals.
- Verify the return window duration to ensure adequate time for bench testing the hardware upon arrival.
What If the Dash Cam Specifications Do Not Meet Your Driving Needs
Recommended Best Deal Products


If thorough evaluation reveals that this entry-level hardware falls short of specific daily driving requirements, alternative solutions must be considered. Automotive safety experts emphasize that compromised coverage leaves motorists vulnerable during liability disputes.
Evaluating Alternative Hardware Upgrades
Drivers requiring multi-channel coverage or advanced night-vision capabilities should explore higher-tier configurations within the manufacturer lineup. Upgrading ensures seamless integration with existing power supplies while delivering superior sensor resolution.
- Assess whether rear-window coverage is necessary for comprehensive accident reconstruction and insurance compliance.
- Research models equipped with enhanced wide dynamic range sensors for superior license plate capture during night driving.
- Calculate the total budget for professional installation if opting for hardwire kits that support parking surveillance modes.
What If It Still Doesn’t Work?
Hardware troubleshooting sometimes requires advanced intervention when standard configuration steps fail to resolve persistent device errors. Motorists facing ongoing recording failures or power loops must execute systematic diagnostic procedures to isolate the root cause.
- Format the MicroSD card directly to FAT32 or exFAT using a desktop computer to clear corrupted sector indices.
- Test the hardware using a secondary, high-output auxiliary power adapter to eliminate vehicle circuit faults.
- Perform a hard factory reset by pressing the recessed reset pinhole for a minimum of ten seconds while powered on.
- Contact authorized technical support to initiate a warranty claim if firmware re-flashing does not restore baseline operation.
When hardware faults persist despite software resets, seeking professional diagnostic assistance from a certified auto-electrician is recommended. Professional diagnostic labor typically ranges from $75 to $150 depending on regional garage rates and complexity.
Conclusion
Selecting the right vehicular recording hardware protects motorists against fraudulent claims and unexpected liability on the road. According to verified research and expert transportation safety sources, maintaining a reliable, properly configured dash cam significantly expedites insurance claim resolutions. The primary actionable next step is to review current online inventory metrics and secure a verified unit before stock levels shift.
❓ Frequently Asked Questions
What video resolution does the Nextbase 222 dash cam provide?
The Nextbase 222 delivers 1080p HD recording at 30 frames per second, providing clear footage for daily commuting and recording essential road incidents.
How does the polarising filter improve video quality?
A compatible polarising filter cuts down on annoying dashboard reflections and windshield glare, ensuring that license plates and road signs remain legible in bright sunlight.
What is the function of the intelligent G-sensor?
The intelligent G-sensor measures sudden changes in motion. If it detects a crash or heavy braking, it automatically protects and saves the incident recording from being overwritten by the loop recording feature.
Is professional installation required for this dash cam?
No, the dash cam comes with a simple suction or adhesive mount and a 12V power cable that plugs directly into your car’s auxiliary power outlet for easy DIY setup.
What memory card capacity is supported by the Nextbase 222?
It generally supports MicroSD cards up to a specific capacity (typically Class 10 up to 128GB), though you should verify exact card requirements on the product page before purchasing.
Can I check current pricing and shipping options on Amazon?
Yes, you can view real-time pricing, stock availability, Prime shipping eligibility, and customer reviews directly on the official Amazon listing page.